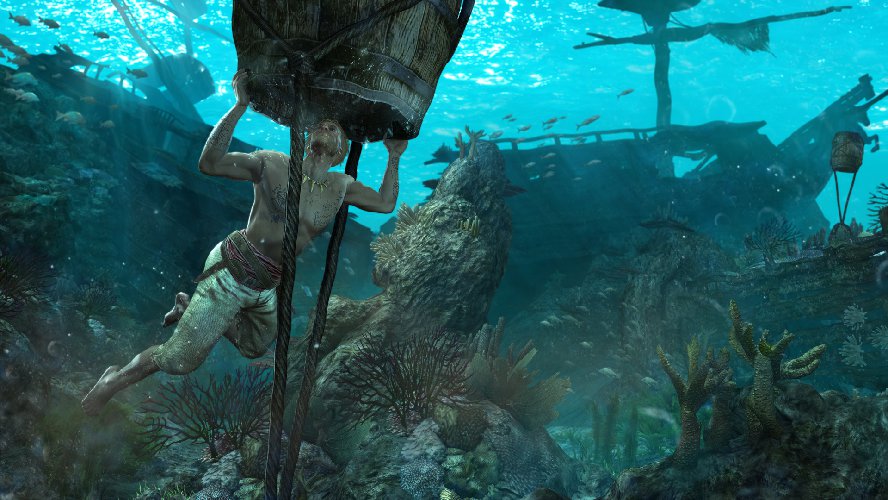
Memory 01: Diving for Medicines
Sidebar: Optional Objectives
– Loot treasure chests (3)
– Avoid being attacked by a shark
Return to the ship and set sail for open sea. Your next destination is Nassau. Use fast travel to get there, or take your time and plunder a few ships along the way.
When you arrive in Nassau, follow Blackbeard. You need to purchase a diving bell if you haven’t already. They run 5,000R from any merchant, or from the Jackdaw upgrades in the captain’s cabin. Once you have the diving bell, fast travel to Salt Key Bank or Havana to cut your travel time to the mission location.
Meet up with Blackbeard’s ship for another cut scene, then sail just a bit farther to reach the shipwreck. Dock to initiate the diving bell sequence. Swim over to the ship, but watch out for jellyfish. If you touch one, it inflicts damage, just like real life… almost.
When you reach the ship, interact with the hull and dive in to find the chest with the medicines. Once you open the chest, the place crashes down on you and you need to swim through the cave to get out. When you reach the air pocket, lunge upwards to replenish your air supply.
Keep swimming until you reach the current. Move left or right to avoid the rock pillars, then move left when you reach the fork. Your next obstacle requires you to avoid being eaten by sharks. Sounds easy right? Unfortunately, the sharks don’t appear on your radar, so you’ll have to use visual cues to know when to swim forward and when to stay put.
If the sharks are alerted to your presence, hide in the seaweed below until they pass. Move from seaweed patch to seaweed patch until you make it to the dive bell.
Memory 02: Devil’s Advocate
Sidebar: Optional Objectives
– Rescue survivors (5)
– Kill guards stunned by smoke bombs (3)
Fast travel back to Salt Key Banks to reach the next mission start point. After a short cut scene, you’re off to find the Queen Anne’s Revenge because Blackbeard has gone a little crazy. Go figure!
You’ll find the ship at coordinates 880,542. Stop the Jackdaw near Blackbeard’s ship and begin the swim to shore. Your next task is to defend Blackbird. First you have to find him, now you have to defend him. Seems he can’t do anything on his own!
If you want to get the optional objective as well, equip your smoke bombs and incapacitate three soldiers while they’re stunned by a bomb. Stay close to Blackbeard and make sure he doesn’t die. If you simply fight any soldier that comes near him, you won’t have much of an issue. Make sure you have your countering down, though. If you get attacked by multiple soldiers at once, counters come in handy.
Head to Blackbeard’s ship and take the helm. Follow the ship dead ahead, but watch out for mortar fire. If you see yellow water, either move through it at full speed, or stop to avoid it. You want to maneuver behind the ship, then turn so you can use heavy shots. Aim low on the hull and she’ll go down without much of a fight. Blackbeard’s ship is heavily armed, which comes in handy.
With the ship incapacitated, Blackbeard decides it needs to be rammed. No one ever said he was intelligent. After another short cut scene, jump across to the adjacent ship and run over to the far side of the mast. Just below, you should find the captain of the ship. He needs to die by your hand. Assassinate him from above if you can, otherwise jump down and take him out via sword fight. Once again, your counter ability comes in handy, as the captain is easily defeated with counters. Defeat the captain to complete the mission.
Memory 03: The Siege of Charles-Towne
Sidebar: Optional Objectives
– Use sleep darts on the crocodiles
– Skin a crocodile
Fast travel back to Nassau if you wish to cut your travel time and get right to the next mission. Your mission begins close to Nassau. When you reach the mission location, you and Blackbeard have a few words, and as always, you inform him that you’ll handle it.
Tail the gunboat, but it is imperative that you are not spotted by the gunboat or any other ships. If you’re seen, the game is over. The best way to do this is to ignore what your radar says in terms of the land formations. You need precision sailing to get through this unseen, so hold R1 to shift the camera to the chain gun view directly ahead of your ship.
Keep a close eye on the radar so you know where you need to go to avoid being seen by the enemy ships. Again, do not pay attention to the land masses on the radar. Use visual cues to determine how close you are to land as you navigate around the watchful eyes of the enemy ships.
When you’re clear, you automatically dock at the guard post. Jump over to land and use the rooftops to make it over to the post. When you see the guards, use a sleep or berserk dart to incapacitate them. If you don’t have either, jump down into the cart of hay below and do it the old fashioned away.
Only two guards remain who have a direct line of sight on the alarm bell that needs sabotaging. Wait until they’re not looking toward the bell, then quickly run up and sabotage it. As soon as the bell is down, run back to the Jackdaw and continue tailing the gunboat.
Once again, you need to disembark. This time it’s to tail the rowboat. Use the crates in the water to run across and avoid the crocodiles. If you have sleep darts, use them on the crocs, then skin them to obtain the optional objective. If you move quickly, you’ll have plenty of time.
Stay behind the wooden wall, making sure the soldiers in the row boat don’t see you through the various holes in the wood. When you reach the larger opening, wait for the row boat to pass, then swing over to the wooden pole and wait until the row boat starts to move again.
Climb the building and wait for the row boat to circle around, then continue to take the high ground, moving from building to building until you have to kill the captain. At this point, don’t worry about taking the high ground too much. Just avoid the guards and never stop running. Pull out your weapon when you start to get close and tackle him as soon as you’re in range. You do not have time to climb all over everything or engage in combat with any of the soldiers. Do nothing but run and avoid the guards until you catch the captain. Take him down to complete the mission!
Don’t miss a thing! Get the official Assassin’s Creed guide and get all the maps, missions, challenges, collectibles, unlockables, bonuses, secrets, Achievements, and Trophies.


