You have completed Part 1 . . .
Karma
Now, you must secure Karma.
Once the cutscene ends, you must get through the security checkpoint. Follow your squad. Once you get to security an alarm will go off, but don’t worry. Someone else has been flagged. Continue forward until you reach an elevator. Wait for the doors to open and then go inside. Harper will go off on a separate mission. You and Salazar will head to the CRC.
When the door to the elevator opens again, your cover will be blown. Take out the security inside and then follow Salazar. You will then use a remote controlled robot to infiltrate the CRC room. The robot is named Ziggy. Navigate Ziggy to a control center and zap it. Then follow the waypoint until you reach a vent with a guard behind it. Disable the guard and collect his retina information. Once this is done, Ziggy will be found and destroyed.
Follow Salazar to a locked door and activate the retina scan. Once inside, take out the enemies in the room. To save time, head to the left of the room toward the waypoint marked “Access”. Activate it and then rendezvous with Salazar to find Karma. After that, prepare for an onslaught of soldiers. Take them out and keep moving forward until you reach and elevator. Here, you and Salazar will split up in order to find Karma. You will rendezvous inside Club Solar.
Once inside Club Solar, follow the waypoint to Karma aka Chloe. Once their terrorists will come in the club and begin to shoot and take hostages. An amazing slow motion sequence will begin. Be prepared to on the soldiers in the room. Take them all out.
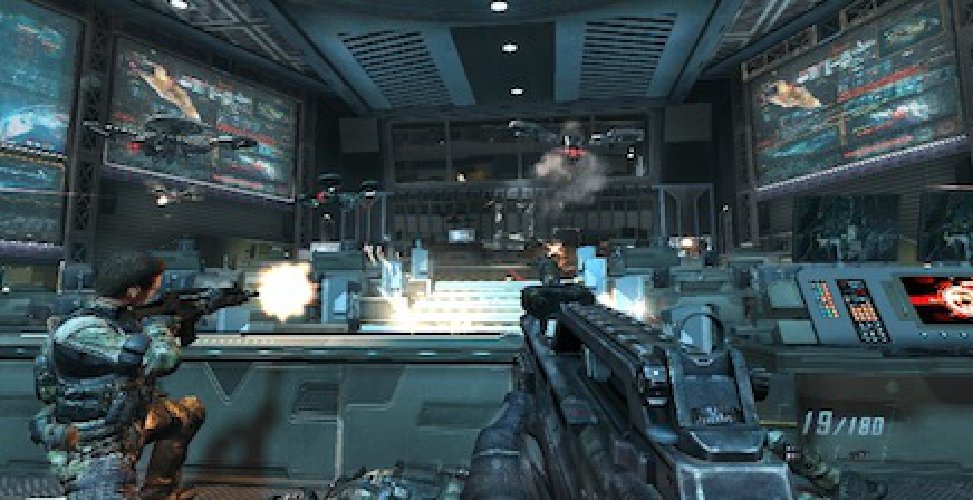
You will track Karma and her kidnapper to the mall. The area will be crawling with soldiers so be prepared to run and gun. Only take out the soldiers who get to close in order to preserve ammo. Locate Salazar and help him open the door. Then, to the left of the door, there is an “Access” waypoint. Open the door and activate the drone inside for backup. Then continue through the door. This room is crawling with drones. Take cover and take them out first. Then continue to the next waypoint. You will now face a mixture of soldiers and drones. Focus on taking out the drones from range, and watch out for soldiers. Be aware of the directions you are being hit, as enemies will attempt to take you out from behind. Continue following the waypoint until you reach Defalco and Karma to end the mission.
Customize your loadout at the mission briefing and continue.
Suffer With Me
You must meet with Mason and McKnight. Turn to the right and follow the waypoint. Then, head to the back of the house to go over the mission with Mason and McKnight.
After you land on the shore, follow Mason up the hill and attack the soldiers. Take a protected position on the left side and take out the enemies as they come out of the doors and the windows. With the first wave defeated, follow Mason downstairs and towards the next wave of enemies. At this point you must follow mason. There is a room at the end of the hallway on the right. Access it for a protective vest. Then follow Mason.
Once outside, mount the turret in the back of the truck and take out the RPG on the second floor to the right. Then, take out all remaining guards and continue forward. Follow Mason until you reach Noriega and capture him.
You now must escort Noriega to the Army checkpoint. Take out the three armed men by the van and then proceed forward into the next location. Noriega will now be armed to provide backup. Go through the next door marked by the waypoint, and take cover. You must take out all the enemies before moving forward. After everyone is dead, proceed forward and follow Mason.
You must run and gun. There will be enemies coming from all sides. Keep heading towards the left to provide cover fire for Mason and Noriega. Once you reach the end you will activate a cutscene.
Follow Mason forward through the destroyed building. Once you reach a narrow hallway, guards will attack you. Take them out. Noriega will get away in the scramble. Continue forward and take out more enemies. You will then catch Noriega trying to escape. You will also give him a reminder on why he should not try this again.
The building will begin to explode and you must escape. Run down a hallway and jump at the very end. Once you make it out you will reach the Army checkpoint.
You and Noriega are alone on a roof. You are given the order to shoot Menendez once he exits the vehicle. Shoot him.
Customize your loadout and continue.
Achilles Veil
Capture Menendez
You will approach Menendez. He will discuss that there is a traitor in his organization. Follow Menendez into the next room as he embraces Defalco. Then follow him on stage to address his followers. You will be attacked. Head forward toward the waypoint on the screen. Take out the soldiers in the area. Continue on the left to reach a access point. Open it to retrieve a sword.
Continue forward towards the waypoint and take out the enemies. Stay on the left for cover and vantage points for killing enemies. Continue straight and notice a access point on the right. Go to it and open it to access a turret on the balcony. Take out everything in sight, even your own men if you have too, and then head down the stairs on the right. Head to the right and through the door to meet Menendez.
***SPOILER WARNING!***
You are given a choice to shoot Harper or shoot Menendez. We chose to shoot Harper so the rest of the gameplay reflects that decision.
Head forward with your squad and take out the enemies. You must continue to storm the compound to find Menendez. Keep moving forward. There is a lot of gun power and a lot of grenades. Keep moving and follow the waypoint on screen to Menendez to end the level.
Customize your loadouts and continue to the next mission.
Odysseus
Interrogate Raul Menendez
You must now interrogate Menendez. Go to the door at the end of the hall and activate the retinal scan. Then enter the room and face Menendez. Before the interrogation begins, the Obama is attacked. Menendez some how over powers Salazar and knocks you out. You awake to the Obama being attacked. Grab some weapons form the dead soldiers and defend the Obama.
Open the door and go into a tight corridor. Take out the enemies in the hallway. There is a door to the right that you can open. Enter it and take the personal effects in that room. Then continue forward. As always, be aware of grenades, as they are harder to avoid in such a tight space. Keep moving forward and you and Salazar will split up.
Continue up the stairs and to the right. Take out the soldiers in this area. The enemies will have powerful weapons that do a lot of damage in tight spaces. Take out all the enemies and then enter the door on the left. Take out the soldiers in the room first and then head right to the “Access” waypoint. Here, you are able to take over the turrets and take out as many enemies in the room as possible. After the enemies are done head to the controls of the ship marked by the waypoint.
Next, continue towards the next waypoint and assist the SEALs by using the sniper rifle to do some serious damage. When finished continue towards the waypoint. This will be a most enemy you have encountered in the game. You will have backup that will ripsaw after they die. Keep advancing towards the waypoint and take out the enemies. Be on the look out for ceiling turrets as well. Make it to the next checkpoint.
You will once again play as Menendez. Head up the stairs and straight for Admiral Briggs. You will not hold him at gunpoint. You will then experience the biggest betrayal yet.
***SPOILER WARNING!***
You must decide if you want to wound or kill Admiral Briggs. We choose to wound him. The rest of the gameplay reflects that choice.
You must now reach the server room as Mason. Crawl through the ventilation system and kick open the next vent. Approach the command console in the room. You will receive word that person who betrayed you has surrendered. Confront him and then find Menendez.
You will taken on to the deck of the aircraft. Take out the enemies and head toward the VITOL for evacuation. You can also find a robot to assist you in the killing in a “Access” point to the left of the where you entered. Make it past the gunfire and enter the Vitol.
Customize the loadouts and continue.
Cordis Die
Protect P.O.T.U.S.
You must now get the president to the “Prom Night” bunker. To do this, you must shoot down the drones in the air. Jump over to the SAM truck and use it to take out as many drones as you can. Once the drones are gone you will return to the interstate.
You must now choose to rappel down with the CIA agents or snipe form above. The threats of both choices are similar so select the one you would prefer. If you do not have a sniper rifle the only choice is to rappel. We chose to rappel.
Rappel down to the street and take out the enemies at the bottom. Advance towards the set of heavily armored cars on the road. Take out the RPGs in the top left and right first. Once they are gone, take out the other enemies and then get inside of the vehicle. Plow through other cars and enemies until an unexpected semi truck greets you.
Once you awaken you must continue forward on the street on foot. You will have to take out three C.L.A.W.s on the way. To make it easier, locate the “Access” waypoint on the map takes out the flying drones. That and a charged shot from a sniper rifle should do the trick. Take out all the enemies and make your way to the FA-38. Time to fly a jet. Use the FA-38 to protect the convoy and shoot the drones out of the sky to end the mission.
Customize your loadout and continue.
Judgment Day
Find Raul Menendez
You are about to jump out of the plane and begin your final assault when it explodes! Fly down out of the plane using your jet pack and avoid the aircraft debris and enemy missiles. Once you land you must then gain entry to the military facility. Continue straight towards the waypoint. Take out the RPGs up top first then take out the soldiers. Once they are defeated head to the right and up the stairs.
Watch out for the turrets mounted onto vehicles. Enter one of the buildings on the left and snipe the enemies. Continue to push forward and take out the two C.L.A.W.s in the area. After they are out then turn your focus to the enemies. Once all threats have been neutralized, head forward into the building.
Take out the enemies on the first floor and turn left for a weapons refill. Continue forward toward the waypoint. Once you reach some A.S.D.s, hack them with the computer panel on the right side to turn them on your side. Take out the rest of the enemies and advance to the control room. Prepare for enemy quads. Take them out and then advance to the control room.
The building explodes and you are on the move once again. There is no turning back. It is time to find Mendez and bring him down! This however will not be easy. Menendez’s men are wearing invisible camo. Use your EMP grenades when needed to view them and then take them out. Continue moving, as you do not have to kill every enemy to make it to the end, you just have to survive.
When you get to the final room, you will face an onslaught of soldiers. Take them out. The bottom blows form beneath you and you come crashing down, grabbing a pipe to hang on for your life. Menendez’s men are about to kill you when you spot a gun. You drop down and in one fell swoop you take out all the guards. This is another slow motion sequence so be aware of that. After the men are gone, you capture Menendez.
You are now faced with the option of killing him or capturing him. We chose to capture him, as death is too quick for a man like him. You will then lead him out of a door and into custody.
Enjoy one of three alternate endings. Remember to stay after the credits!


