
Destiny – Iron Banner Tips
How to hit level five in the Iron Banner.
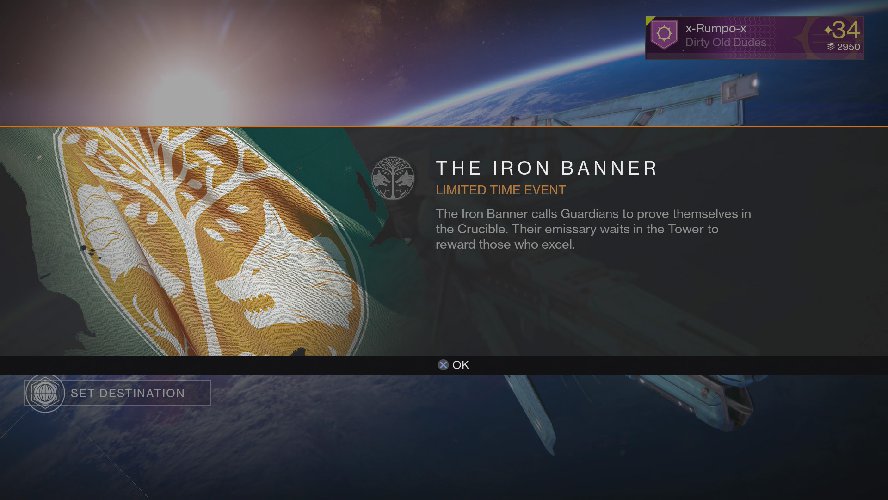
The Iron Banner isn’t your typical PvP event in Destiny. It’s a rare game mode that only pops up every month or two, and ends after only one week. For players that can’t put a few hours into Destiny each day, ranking up to the maximum level and buying yourself some sweet gear might seem like a tall order. Truth be told, hitting the max level in seven days takes a commitment, but there are also quite a few things that players can do to stack the deck in their favor. Today, we’re going to cover some tips to help you gain as much Iron Banner reputation as possible, as well as hold your own in battle.
Iron Banner – Getting Started
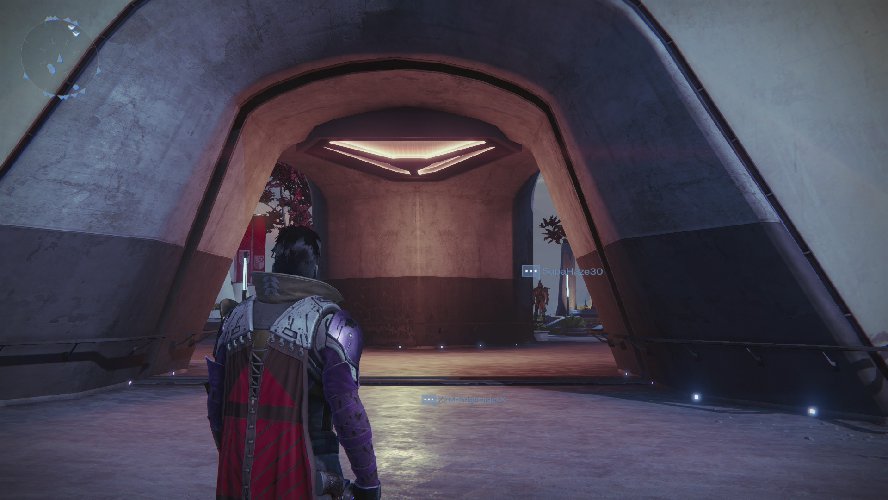
Getting started with the Iron Banner means a trip to the Tower. When you spawn in, look to where the big gate is above the Hall of Guardians in front of you. It should be open, which is a great sign that the Iron Banner event is currently active. Make your way to this area and locate Lord Saladin, the vendor who will handle all of your Iron Banner needs.
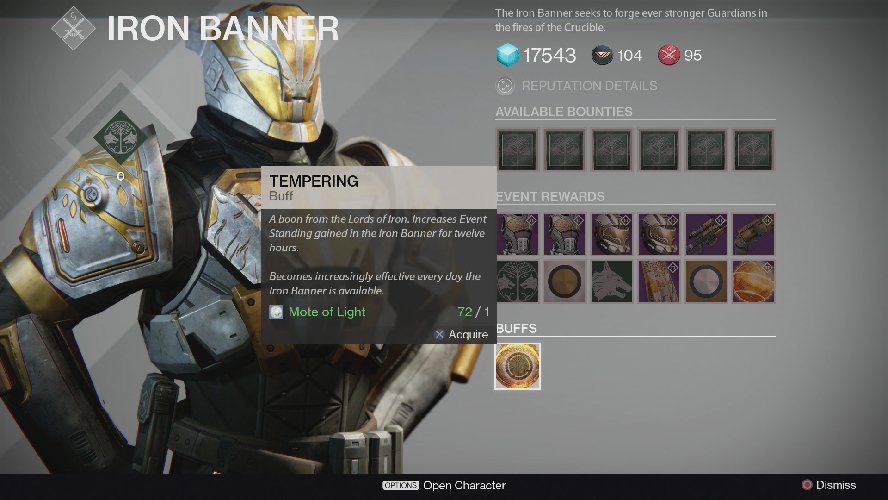
Your first order of business here should be buying the Tempered Buff, an item that will increase the amount of Iron Banner reputation you earn for 12 hours. This will cost you a single Mote of Light, but it will cut down on the amount of time you need to spend grinding this event. The best part about this buff is that it grows stronger as the week progresses. On day one it will provide you with a 10 percent boost, but on day two that increases to 13 percent. By day seven, the final day, the Tempered Buff will provide you with a 125 percent reputation boost. If you don’t have a lot of time to dedicate to the Iron Banner, it’s best to try and close out strong.
The other order of business that you have with Lord Saladin has to do with bounties. He’ll have Iron Banner specific bounties each day, and completing them will earn you more Iron Banner reputation. Some of these will be easy, and some will be a little bit ridiculous. Either way, grab them all. You never know what you’ll accidentally do, and you can keep them in your inventory for multiple days. You might not be able to get 15 Rocket Launcher kills in one day, but perhaps you can in a week. When it comes to the Iron Banner and reaching level five (the maximum level), every advantage helps.
Iron Banner – Getting Geared
You’re not quite ready to leave the Tower yet, there’s still your gear to talk about. This refers to your armor, weapons, and even class items that you may have earned in previous Iron Banner events. You see, unlike the Crucible where armor and damage are the same for everyone, the Iron Banner lets you keep your specific stats and match them up against other Guardians. This means level 34 players are going to have an easier time killing level 33 players, and weapons with 365 damage are more deadly than weapons with 331 damage.
Before you leave, figure out which of your Guardians (Hunter, Warlock or Titan) is the highest level, and choose that one to take into this PvP event. You’ll also want to round up your best weapons and use the vault to transfer them to your preferred character. Make sure there is a wide variety of choices, including Sniper Rifles, Hand Cannons, Pulse Rifles, Rocket Launchers, and of course… Shotguns. A player that can move around the map effectively will destroy the dreams of their competition with a Shotgun.
Players will also be happy to know that if they have participated in previous Iron Banner events and purchased some of the Class Items, Emblems and Shaders, these can be used to get some additional reputation. Make sure that at least one of these is equipped prior to leaving the Tower. It may or may not blend in well with the look you’re going for, but there will be time for aesthetics after you hit level five Iron Banner reputation.
Iron Banner – Time to Fight

All the preparation in the world is fine, but nothing can happen until you start fighting it out against other players. For this, we highly recommend that you try and get together with a few of your best gaming pals, using teamwork and communication to win more rounds than you lose. Of course we also understand that some people play this game alone, in which case you might find yourself on some pretty terrible teams. If this happens, don’t be afraid to switch lobbies after a couple losses. Nobody expects you to stay in there and take a beating, except maybe the team that’s giving you the beating.
The next thing you’re going to want to master is map knowledge. If you know your way around, as well as the high traffic routes of your opponents, you are more likely to win battles because you are in the right place at the right time. If you run aimlessly around the world without a clue of where you’re going, expect to land yourself on the bottom of the scoreboard. There is no replacement for map knowledge, and you will not perform at optimal levels until you gain it.
The same goes for the radar, one of the most important aspects of PvP in Destiny. The radar is always active, and it is a fool proof way of knowing where your opponents are. You might even find that you are looking at it for several seconds without bothering to look at the actual game world on your screen. The reason for this is that you don’t have to. If your radar is clear, you are clear. It takes some getting used to, but you need to train yourself to rely heavily on the radar at all times. Your opponent is doing this, so if you aren’t than you can expect to be on the losing end of most of your encounters.
In terms of the gunplay, we really enjoy an Exotic called Red Death, a Special Weapon called the Judgement VI, and a Rocket Launcher called The Last Rebellion. This gives us a weapon that is accurate and works at range, a weapon that is devastating up close, and another that will obliterate an entire team with one round if they are close enough together. We have each of these weapons leveled up to 365 damage to ensure we aren’t giving anything up to the opposition.
Of course, rarely do two Guardians have the same weapon options, and there are better guns to take into PvP situations than our suggestions. Our point is more about being prepared for anything than telling you what to use specifically. Some maps might favor the Shotgun, and others the Pulse Rifle. The goal is to give yourself the best chance of success in any scenario.
We’ve got a lot more Destiny for you, including an in-depth look at the latest DLC, the House of Wolves. This includes a full story walkthrough, bounty guides, and boss fight strategies. Be sure to look it over before you head out on your next PvE adventure.