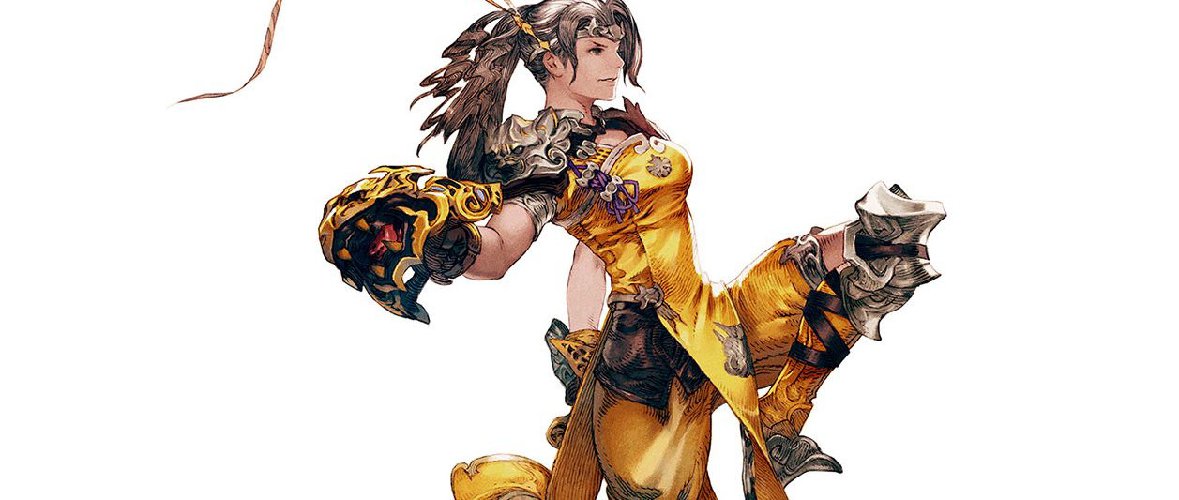
First and foremost, the Pugilist is a melee damage dealer (DPS) class. The Pugilist and Lancer are the only two melee DPS classes in Final Fantasy 14: A Realm Reborn, and they share a lot of similar abilities. Where they differ is in how the class plays at early levels, and the tools they use to inflict damage at higher levels when they transition to the Monk and Dragoon respectively.
When you first start playing as a Pugilist, you gain several defensive abilities that help considerably while you solo your way to level 15. You learn Featherfoot at level 4, and Second Wind at level 8. Featherfoot increases your evasion by 15 percent for 10 seconds. While soloing enemies, this mean they will miss more for that short period of time. Meanwhile, Second Wind is essentially a single use healing ability. It heals based upon how much attack power (strength) you currently have, but it’s about the same as a powerful healing spell from a Conjurer. It can only be used once every two minutes though, so save it for dire times.
On the offensive side of things, the Pugilist has several abilities as you make your way to dungeon runs at level 15. What makes a Pugilist unique is the fact that most of their offense revolves around changing forms (fighting stances). Certain attacks and abilities can only be used from specific forms. Performing certain attacks transitions from one form to the next. At lower levels this is no different from using abilities as they proc. The ability that is ready to use is highlighted when you’re in the appropriate form. However, at later levels when you need to use special abilities for specific fights, you need to pay attention to your current form and change accordingly.
Pugilists start with Bootshine at level 1, then learn True Strike at level 2, Snap Punch at level 6, Haymaker at level 10, and Internal Release at level 12. Bootshine is your basic attack, which transitions into Raptor form. When used from behind the target it inflicts critical damage while in Opo-opo form. True Strike, can only be used from Raptor form, transitions into Coeurl form, and also inflicts more damage from behind a target. Snap Punch is the third attack in the combo, can only be used from Coeurl form, inflicts more damage from the side of an enemy (flank), transitions into Opo-opo form, and activates Greased Lightning, which increases damage by 9 percent and attack speed by 5 percent.
Once you hit level 6 and have all three main combo attacks, your basic rotation should be Bootshine > True Strike > Snap Punch. Then you add Internal Release to the rotation when it’s available. It increases your critical hit rate by 20 percent for 15 seconds, but has a 60 second cool down between uses. In addition, you’ve got Haymaker, which goes hand in hand with Featherfoot. Featherfoot increases evasion, and Haymaker delivers a powerful attack that also causes a 20 percent slow to the target, but can only be used immediately after evading an attack.
As you make your way to level 30 and transition to Monk, then to level 50 for endgame activities, your style of fighting changes a bit as you gain new techniques. Almost all of a Monk’s attacks are governed by your current form, so always pay attention to your form and which attacks you want to use to create combos as you switch from one form to the next with each attack. You learn damage over time techniques with Touch of Death (level 15), and Demolish (level 30). You learn area of effect (AoE) attacks with Arm of the Destroyer (level 26), Rockbreaker (level 30), and Howling Fist (level 46). You also learn utility attacks with Twin Snakes (level 18), Fists of Earth/Wind/Fire (level 22/34/40), Mantra (level 42), and Perfect Balance (level 50). Then you learn several attacks that stun or otherwise enfeeble a target with Shoulder Tackle (level 35), Steel Peak (level 38), One Ilm Punch (level 45), and Dragon Kick (level 50).
You should start fights with the DoT abilities to constantly drain a target’s health, but save Shoulder Tackle, Steel Peak, One Ilm Punch, and Dragon Kick for specific situations. Shoulder Tackle and Steel Peak stun an opponent, which is great when a target is about to use an AoE attack. Shoulder Tackle even rushes to a target if you’re not close when the battle begins. One Ilm Punch dispels one beneficial status from a target (e.g. Haste), but there are very few instances in which it can be used because many enemies are immune to the effect. Dragon Kick reduces a target’s blunt resistance and intelligence. This should be used on magic-based enemies that attack with spells, or to boost your own damage since many Monk weapons are considered blunt.
The various Fist attacks provide a specific advantage when used, but only one can be active at a time. Fists of Earth reduces damage taken and should only be used when getting hit by an AoE attack or when you take hate from the tank. Fists of Wind increases movement speed, which should be your primary Fist technique until you learn Fists of Fire. The faster you move, then faster you can get into position to inflict maximum damage from behind a target or to its side. Fists of Fire increases your damage by 5 percent, which should be your default Fist technique once you hit level 40.
Rounding out the Monk, you’ve got Perfect Balance and Mantra. Mantra should be used any time healing is more necessary than usual. It increases HP recovery of healing magic 5 percent for yourself and surrounding party members. This is especially effective in situations where an enemy is using multiple AoE attacks on the party. Perfect Balance can only be used once every six minutes, but allows you to use any skill no matter which stance you’re in. This comes in handy when you need to stun or silence (Arm of the Destroyer) a target, but don’t want to worry about which form you’re in, or it needs to be done at the start of a battle when you can’t change to the appropriate form fast enough.


