
Sniper Elite 3 Walkthrough Mission 5: Siwa Oasis – Kill the Officer
How to kill the officer and make his death look like an accident.
Sniper Elite 3 Free Guide and Walkthrough
The game’s fifth mission isn’t that much different from the rest. There might be less bad guys to deal with, but the terrain will remind you of the movie Black Hawk Down. You’ll find lots of broken buildings and sniper nests, two things you’ll take full advantage of.
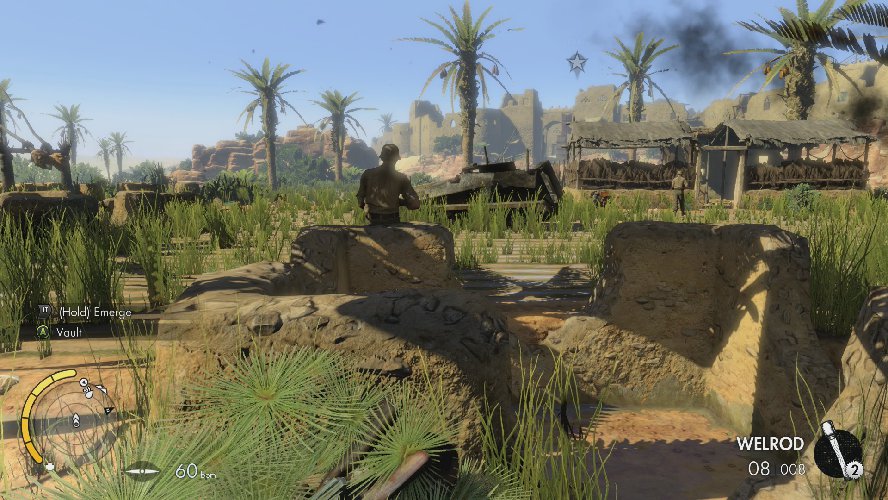
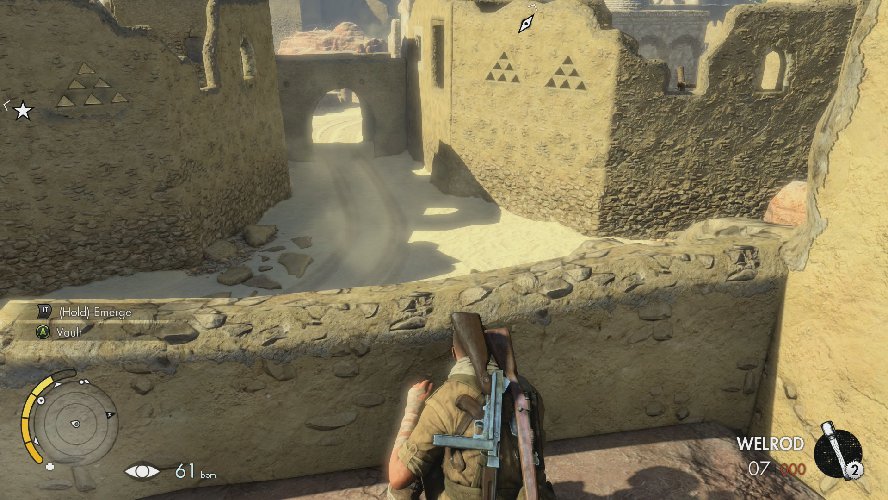
Your first objective when you take control of Karl Fairburne is to find a way into the old city. Go forward, sneaking up behind the soldier leaning against the half wall in front of you. When nobody is looking, put a Welrod shot in his head. From there, head to the north and cross the road, making sure that nobody is looking when you do. There will be a bad guy over there, so take him out when the coast is clear.
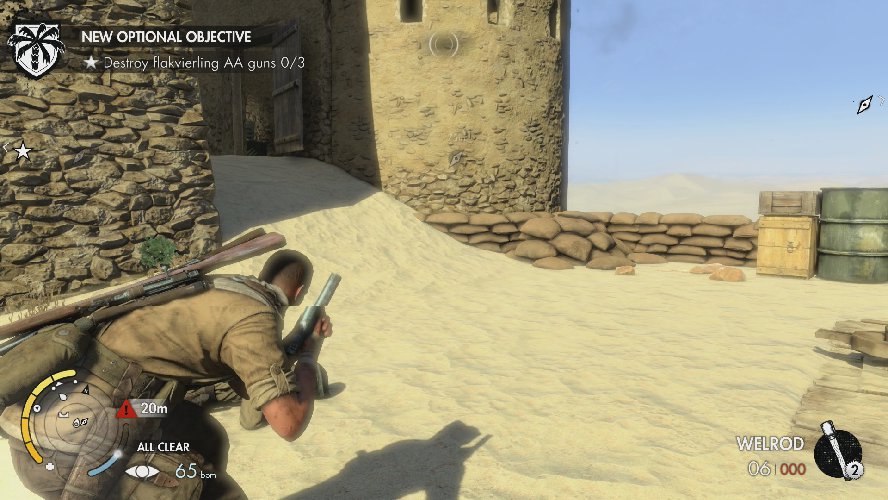
Continue to head northwest until you find yourself at the bottom of a path that leads to an AA gun. There will be several soldiers guarding it, but a well-placed grenade will take out the first of this three part optional objective, destroyed flakvierling AA guns. Just make sure clean up anyone who lived through that mess, as well as loot the bodies for any goodies they were carrying.
From this AA gun, you will see one of three entrance points into the city. There’s also the front gate (no thanks), as well as a smuggler’s entrance on the other side of the map. We’re skipping those two, since both of them require you to sneak and kill your way through more bad guys than necessary.
From the AA gun, head northwest. You’ll only go a few feet before completing the objective to find a way into the city. You’ll also get a new one, asking you to search Vahlen’s office.
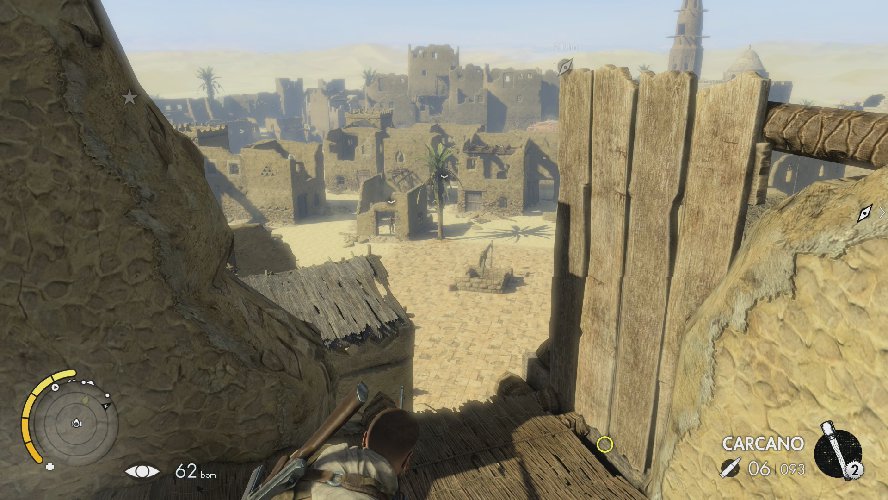
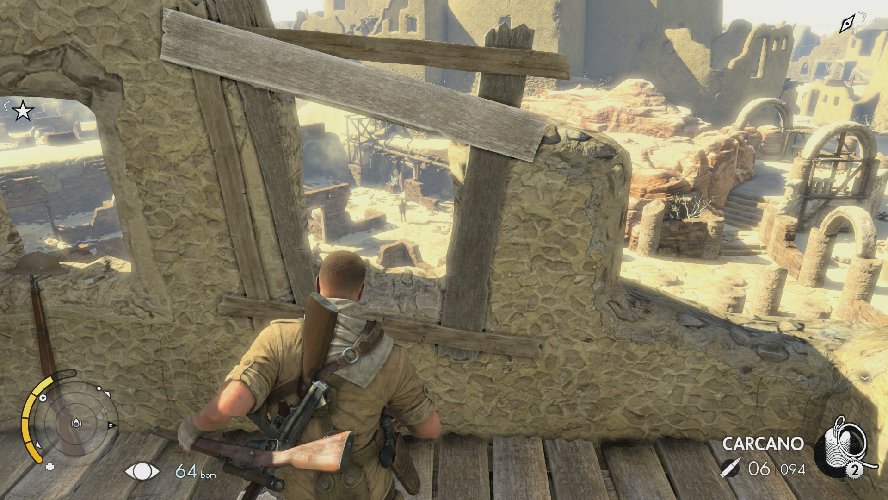
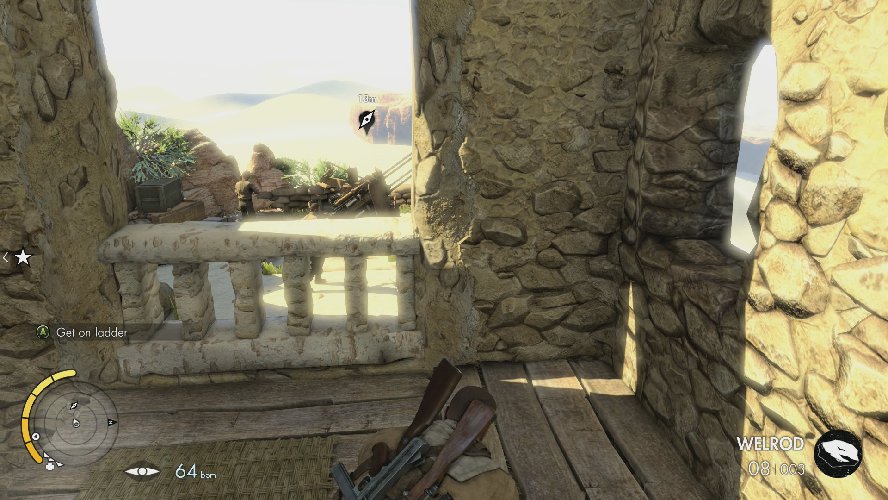
As soon as you enter the city, take your first door on the right and head up the ladder. From there, you’ll find a bit of a half wall, cross a wooden plank and climb another ladder to enter a sniper’s nest. Take your binoculars out and use them to tag as many soldiers as you can. From this location, you can use the sound of the aircraft overhead to mask your shots. Take full advantage of this opportunity and kill everyone you see.
Tip: Place Trip Mines at the bottom of stairs and ladders when you’re sniping from many of the map’s high points. If for whatever reason your cover is blown, nobody will be able to sneak up behind you.

Once you’re satisfied that you killed everyone, climb back down and pick up your Trip Mine that wasn’t detonated. Spend a moment rummaging through the belongings of all the dead soldiers, then head to the next AA gun, which is about 60-70 meters to your north. In fact, you can see it from the plank you used to cross into the sniper’s nest.
Tip: When we scoped out the AA gun from this location, there were no bad guys in sight. When we got close to it on foot, however, there were five or six. Be aware, just because you don’t see them now doesn’t mean they aren’t there.
The next AA gun is crawling with bad guys, so your best bet is to use the Welrod to take out a couple as they wander off on patrol. Once you’re close, toss a grenade and you should take out most of the remaining forces. If anyone lives, clean up the mess and steal all their stuff.
Once you blow up the second AA gun you’ll complete two thirds of the optional objective, destroyed flakvierling AA guns. Now there’s one more to go. Next to this gun, however, is a ladder that leads to a soldier standing on a platform. Climb up there, then look to the northwest where you’ll see a road leading to a gate. That’s where you’re headed, so climb down and start sneaking that way.
There are a lot of enemy soldiers just inside this gate. Even so, if you time it correctly, you can sneak to your left, hopping over a half wall and then sneaking up some stairs. Although you will go up the ladder just inside the room, don’t forget to leave a Trip Mine at the bottom for good measure. You should have no trouble spotting this location on your map because it is marked as one of the official sniper’s nests.
Tip: As soon as you get into the nest, look to your northwest and on top of the building. There is an enemy sniper up there, and he can easily spot you from his location. Wait for the planes to pass by overhead, then take him out first before you do anything else.
This area features many bad guys, but dealing with them now will make the rest of this mission much easier. With that pesky sniper down, start tagging targets with your binoculars. When your shots are masked, start wrecking some fools. Try to target soldiers who are isolated so nobody will find their bodies and have a panic attack. Even if one of your shots is heard, stay calm and take a break. They normally can’t pinpoint your location from one shot, and even if they do, you left a Trip Mine for them if they try to attack.
Tip: Look to your southwest when things are a bit clearer. There are several bad guys in the distance, and hitting them from here is no trouble for a sharpshooter like you. We spent about 15 minutes in this sniper’s nest. We killed everyone we could see, leaving the remainder of this mission much easier.
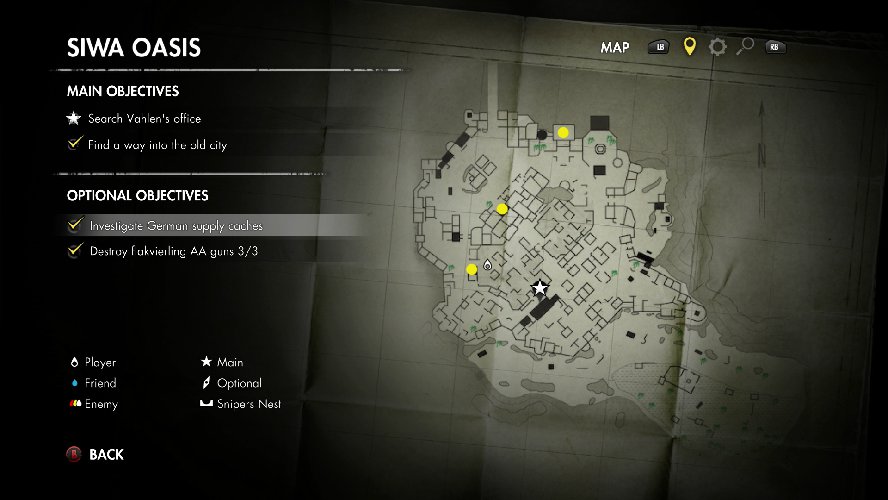
Do you recall the building that the sniper was on a short while ago? Well, you’re headed there next, where you’ll check your first of three locations to complete the investigate German supply caches optional objective. Because describing one room or building is nearly impossible on this map, we left you a handy graphic above. If you click on it, the locations of the supply caches are marked with yellow dots. Visit all three of those locations and you’ll complete this optional objective. Considering the number of people you already killed, you shouldn’t expect too much resistance.
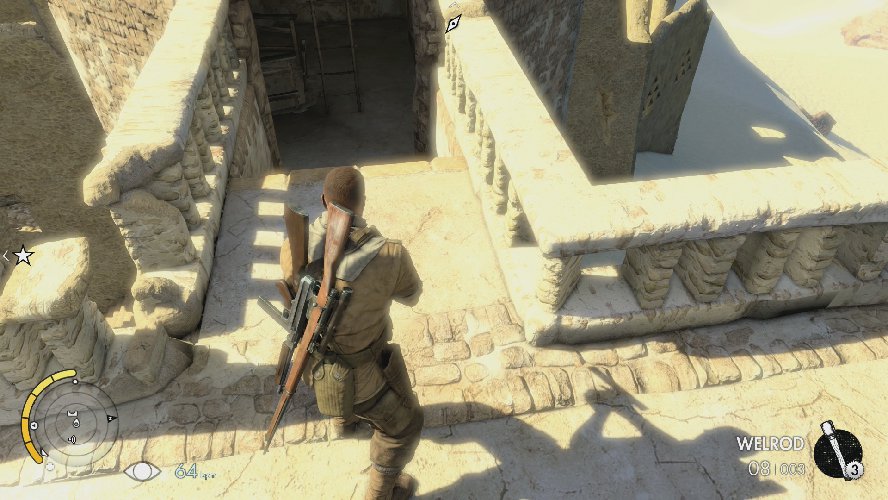
As soon as you are done investigating the first supply cache, head up two sets of ladders that are in the same room, then move a few feet west and go up a third to enter another sniper’s nest. Don’t forget to put a Trip Mine at the bottom if you have one.
This is a pretty good location. There aren’t many people left to shoot if you’ve been following this guide, but you should spot two or three at least. Again, wait for the overhead planes to mask your shots and then thin out the enemy forces. When you’re done, collect your Trip Mine and go all the way back down to the ground level.
When you’re back on the ground, head along the road and toward the final AA gun to the northwest. You’ll be approaching from the east, climbing up a ladder in a back room to get a good view of the weapon and its operators. When you’re ready, toss a grenade over the railing and complete the optional objective, destroyed flakvierling AA guns.
Tip: If you haven’t completed the other optional objective, investigate German supply caches, do that now using the image and instructions above
, then move on with the walkthrough.
<mission5_11>
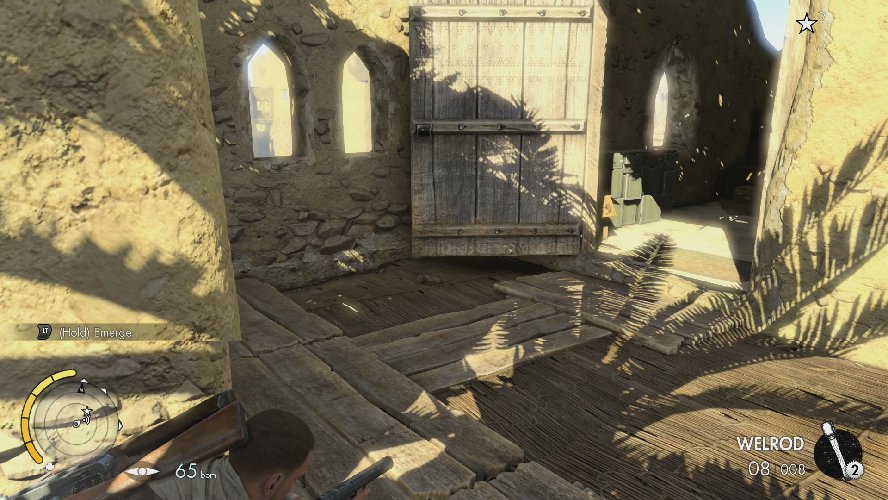
It’s now time for you to head to your primary objective and search Vahlen’s office. Use the marker on your screen and get moving. Travel slowly, making sure you kill anyone who managed to survive your wrath in the earlier parts of this mission. You will notice there are some bad guys near your objective, as well as a few outside. Use your Welrod to clear out the area around your objective marker, then head upstairs to search Vahlen’s office.
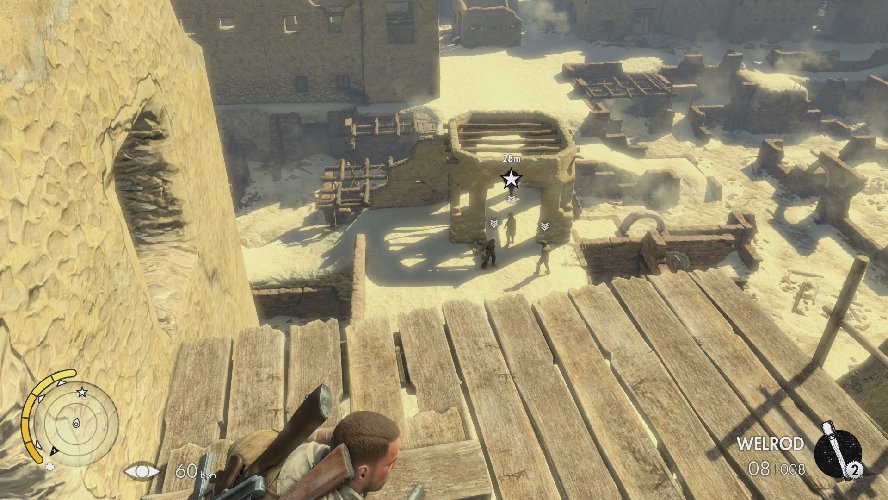
Once the meeting is over you’ll have a new objective, asking you to climb the scaffolding to the vantage point. Guess what? This is ridiculously easy since you killed everyone already. Don’t even bother sneaking. Just run to your objective marker and climb the three ladders to the top of the platform. This will update your objective to observe the officers and tag the correct one. Whip out your binoculars, then tag all three officers to complete that objective and give you yet another one, this time requiring you to kill the officer after he’s received the intel.
When the meeting is over, climb down all three ladders and start following your target. Do not kill either of the other two officers right now or you’ll fail the mission. Just crouch and sneak behind your guy until he enters a room and your objective updates. Once he has the file, you’ll be told to kill the officer and retrieve the intel, with an optional objective to make his death look like an accident.
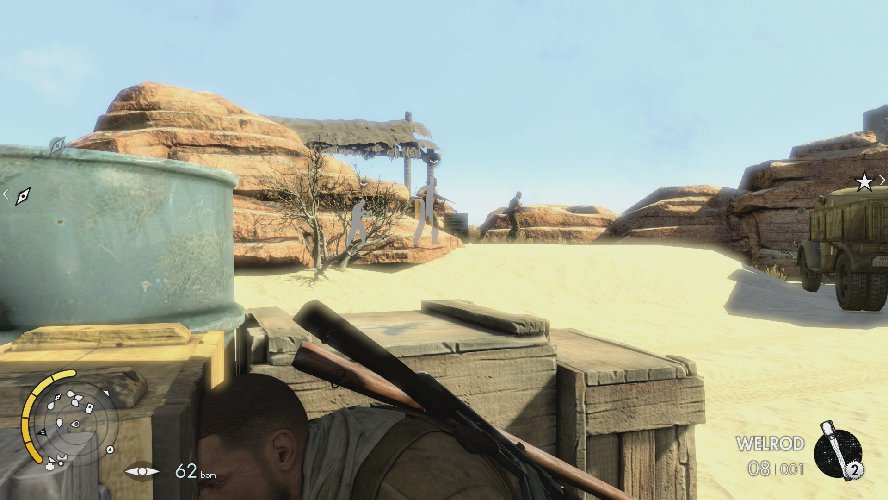
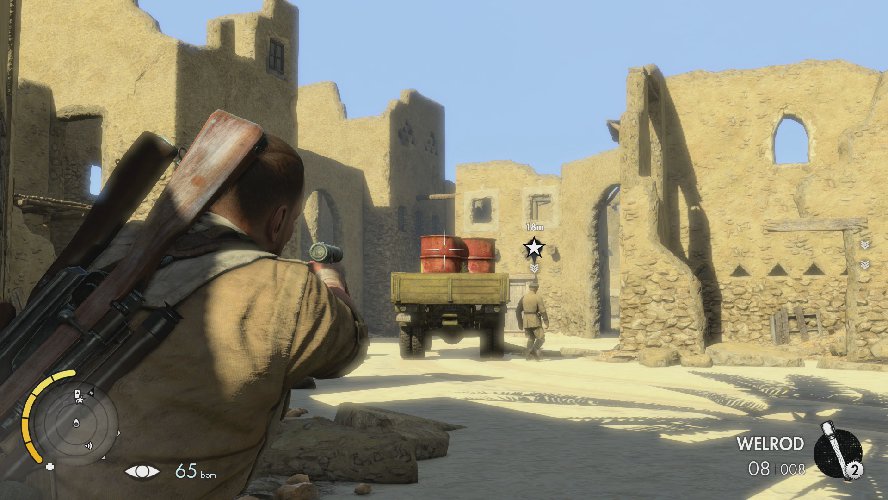
Follow the officer until he stops at a truck. Take aim with your Welrod and shoot the red barrel in the back of the truck, then shoot the soldier who comes to investigate. Once this is done, approach the officer’s body and search it for the documents.
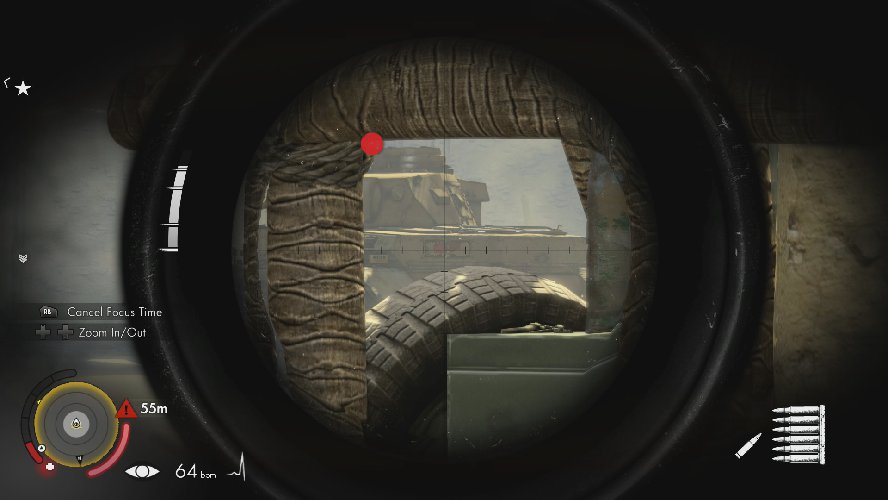
In Sniper Elite 3, you’re never done when you think you are. As soon as you get the intel, head up a nearby ladder to discover two rooms to the right of where the truck was. From here, you’ll have to destroy the Panzer IV to escape the city. It’s easy enough. Wait for it to drive past you, then put three rounds into the weak point on the back. If you can’t get a shot, climb down the ladder and reposition. If you’re not sure where the weak point is, use your binoculars and it should be highlighted for you.
With that out of the way, head to the main gate and you’ll complete the objective, destroy the Panzer IV to escape the city, leaving the eliminate the snipers before you pass the mission. That shouldn’t be too hard, since there are only two of them and they’re bunched up. As soon as the cut scene is over, take cover behind the sandbags and kill the final two enemy soldiers, then regroup with Brauer. With that, Mission 5: Siwa Oasis is complete and you will have unlocked In the Nick of Time.