
Sniper: Ghost Warrior 2 – How to Get Headshots in Expert Mode
Learn how to get headshots in Expert Mode. Check out this guide excerpt from the Sniper Survival Kit in Prima's Official Guide.
Today marks the release of City Interactive’s fantastic Sniper: Ghost Warrior 2, and of course, our comprehensive media-rich eGuide available right here or on Steam.
There’s a whole load of great content in the guide in a brand new format; and it’s more than simply a step-by-step walkthrough (though we’ve gotta say that’s looking mighty fine). We’ve got videos to get you through the hardest sections and achievements, interactive maps, multiplayer tips and exclusive art.
Right here we’re featuring an extract from our Sniper Survival Kit, which teaches you the essential tips that’ll help you become the ultimate undetected long-range killer.
Going on task force missions is hard work. If you choose Medium difficulty, expect to test your sniper skills. If Medium is a bit too difficult, switch to Casual difficulty to help you get through. For a real challenge, try Expert mode.
On Casual and Medium difficulties, you have access to the ever-useful Hit Indicator. When you zoom in on a target, wait a few seconds and a small, red dot will appear on your reticle.
This dot represents where the bullet will strike when factoring in distance (gravity effects, which pull the bullet down) and wind (air currents, which push the bullet left or right).
Notice that the bullet’s impact point is rarely directly in the center of your reticle. Waiting for the Hit Indicator gives you far greater precision; however, it does take longer to line up the shot and won’t be effective when you have to make quick shots under duress.
You have access to more medkits and ammo in Casual and Medium modes.
Expert Mode
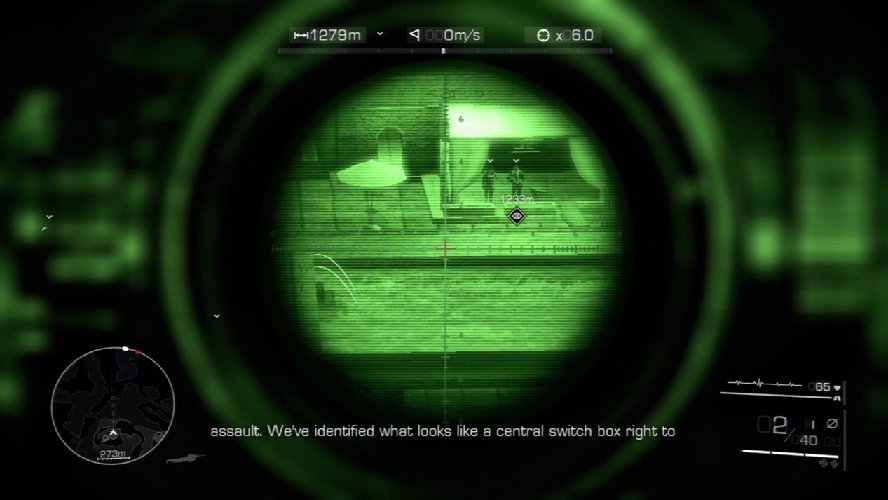
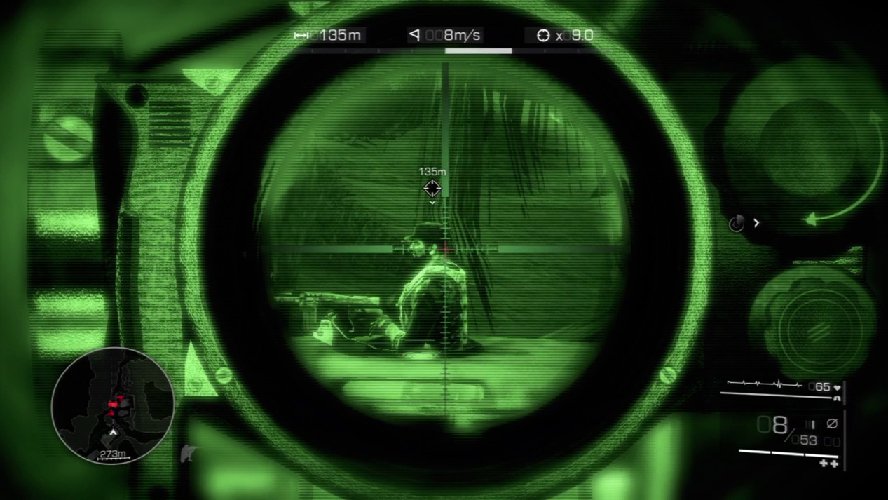
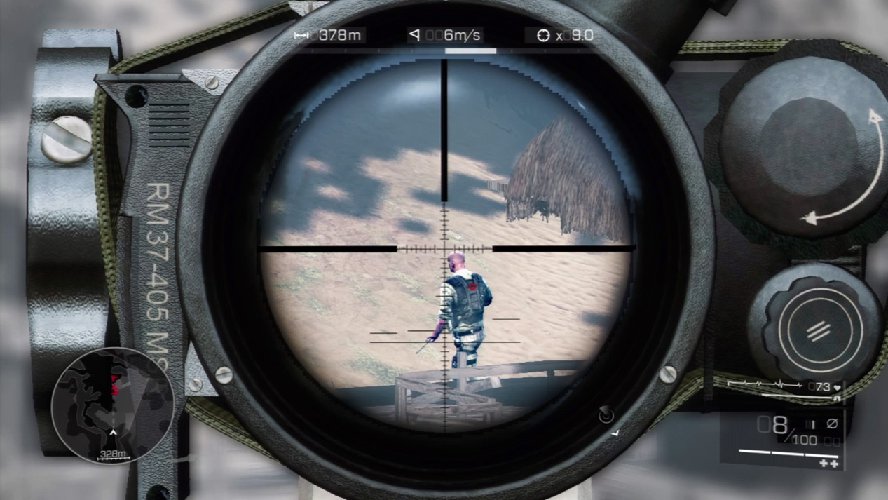
On Expert mode there is no Hit Indicator; you must calculate the effects that gravity and wind will have on bullet trajectory on your own. All the information you need is at the top of your scope when you zoom in with your sniper rifle.
At the top left is your distance in meters (marked with a double-sided arrow icon).
In the middle is your wind force (marked by a flag icon) and wind direction (marked by the bar beneath the numbers). The force is represented by meters per second, and the directional bar visually shows the wind blowing left or right; the longer the bar, the greater the force on the bullet.
At the top right is your magnification settings (marked by a small target icon).
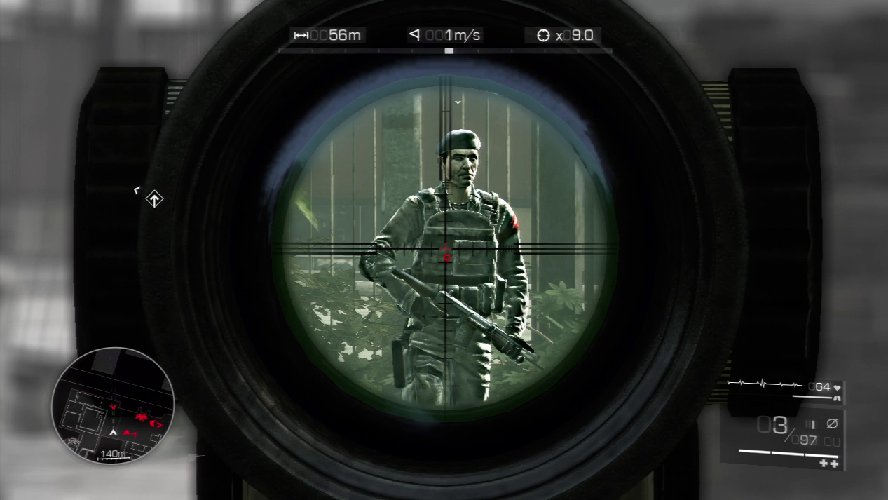
You should always aim for a headshot in Expert mode. If gravity doesn’t affect the bullet too much, you will still end up with a headshot. For a longer shot, gravity will drop the bullet, but if you’ve lined up a headshot, in most cases the bullet will still strike the torso for a kill, even with gravity drop.
To compensate for wind, make sure your reticle is centered on the target so that if the bullet drifts left or right it will still strike flesh.
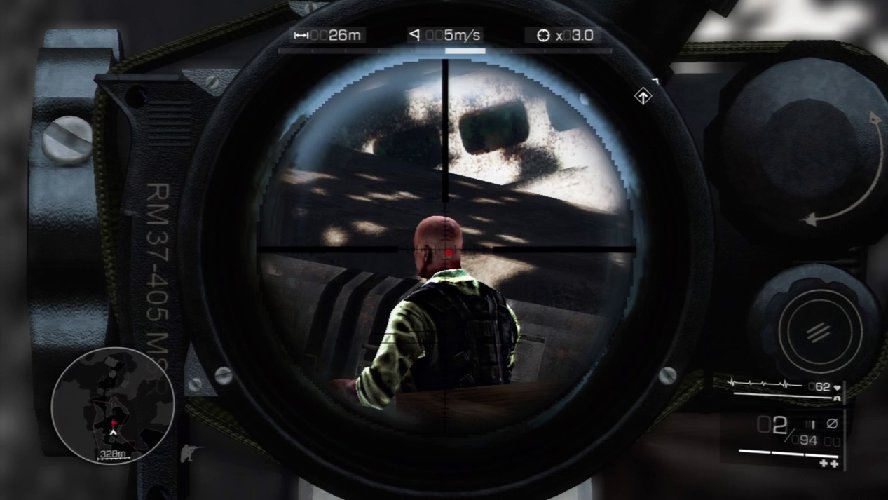
Of course, each weapon has different ranges and calibrations. When you first use a new weapon, experiment with it to get the right feel. On your first isolated target during a mission, zoom in on the enemy, calculate the offset from gravity and wind, and take the shot.
If you hit head, neck, or torso, then you’re good. If you miss, recalibrate for each subsequent shot until you hit. Pay strict attention to how far off the bullet hits from the reticle’s center; that’s your baseline shot at that distance and wind.
Based on the distance and wind in future shots, you should be able to adjust your kill shots quickly.

On your first mission, for example, your starting sniper rifle zooms at 3x and 9x magnifications. A close- or medium-range shot at 70 meters or less with no wind will hit very near the center of your reticle.
At a long-range shot of 120 meters with minimal wind, the bullet will drop to just below the first reticle line on the scope. For a very long shot of 300 meters with minimal wind, the bullet will drop to approximately the third reticle line.
Even longer shots will drop farther down your reticle lines, so headshots turn into torso shots and torso shots will likely miss. Wind force of 1 or 2 meters won’t stray the bullet too far; stay centered on the target and you’ll hit without a problem.
Wind force of 3 to 5 meters will move the bullet out to approximately the first reticle line to the left or right on long-range shots or less. Any wind force higher than 5 meters will seriously push your bullet in the wind direction, so aim accordingly.
For more details on the various weapons and their calibrations, see the “Weapons” chapter.
How Difficulty Settings Affect the Game
| Game Factor | Casual Setting | Medium Setting | Expert Setting |
|---|---|---|---|
| Medkit Placement | 1 after each main encounter | Standard placement of medkits | 1 medkit across each mission |
| Ammo Placement | Ample ammo across each mission | Standard placement of ammo | Very little or no ammo across each mission |
| Ballistic Factors | No ballistic factors (bullet hits directly in the middle of the crosshairs) | All ballistic factors present | All ballistic factors present |
| Hit Indicator | No need | Yes | No |
| Tagged Enemies | Only when the spotter/dispatch indicates enemies | Only when the spotter/dispatch indicates enemies | Only when you tag enemies through the binoculars |
| Indicator Icons (kill, shoot at, clear area) | Yes | Yes | No |
| Highlighted Objects (to shoot at or interact with) | Yes | Yes | No |
| Hold Breath (slo-mo while aiming) | Yes | Yes | No, but holding breath is possible to steady the scope |
| Navigation Waypoints | Standard placement | Standard placement | Fewer waypoints |
Get the official Sniper: Ghost Warrior 2 eGuide with complete mission walkthroughs, interactive maps, strategy videos, and all achievements & trophies.