Sniper: Ghost Warrior 2 Mission 2 – Assault on the Villa Walkthrough
Struggling with that tricky second mission? Here's a walkthrough extract from the official Prima Sniper Ghost Warrior 2 guide.
If you’ve been playing City Interactive’s brilliant new title Sniper: Ghost Warrior 2 since its release this week you may well have run into a little trouble on Mission 2 – Assault on the Villa. Thankfully, that’s what we’re for.
Right here’s a handy extract from our Sniper: Ghost Warrior 2 eGuide, which in case you missed looks mighty fine once you’ve stepped inside. Enjoy!
Waypoint 4
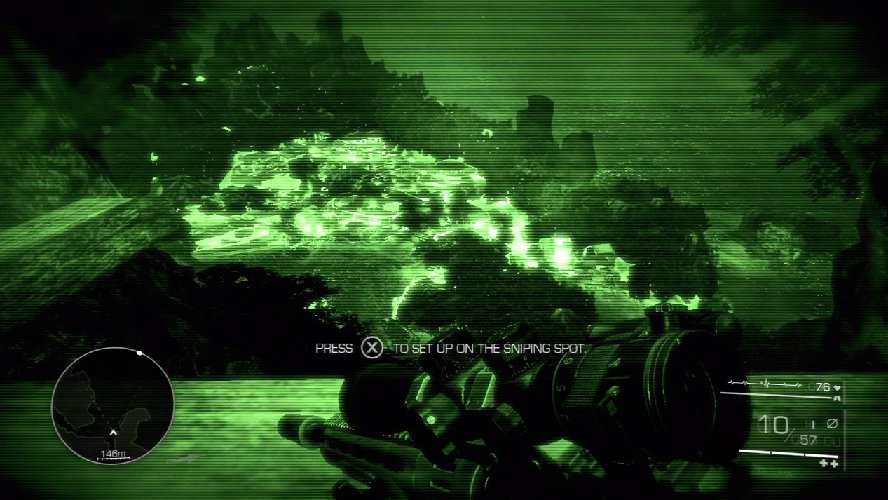
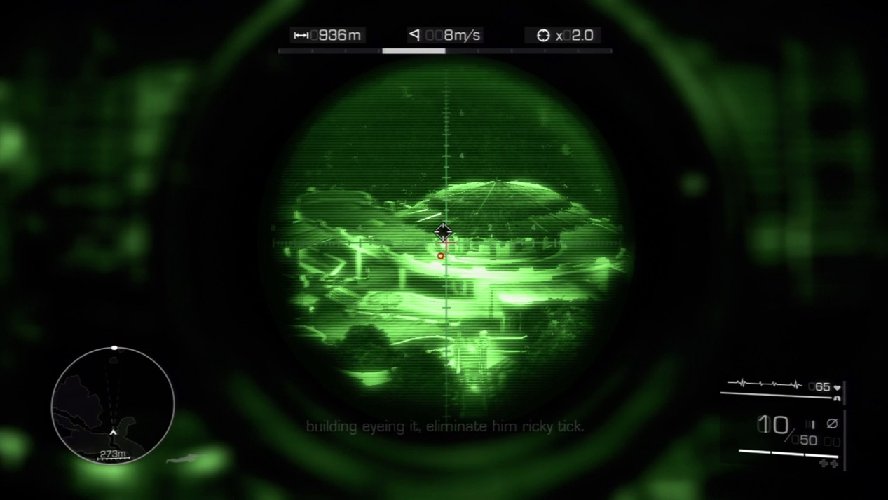
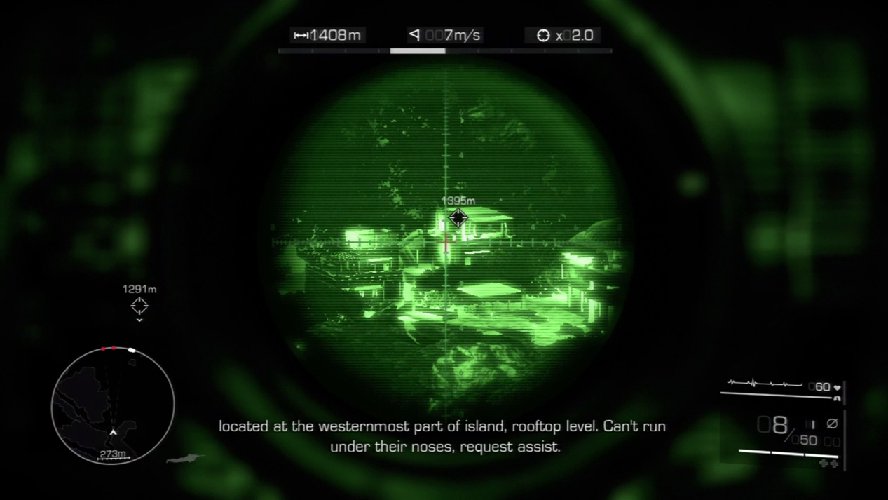
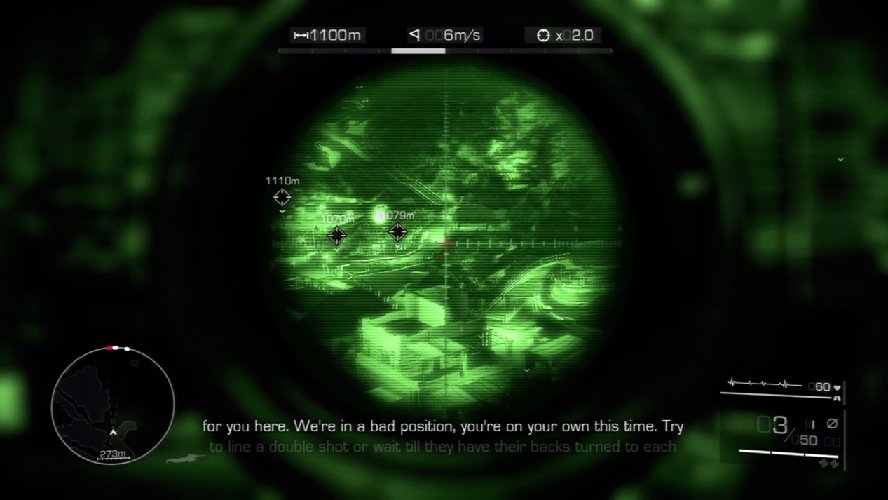
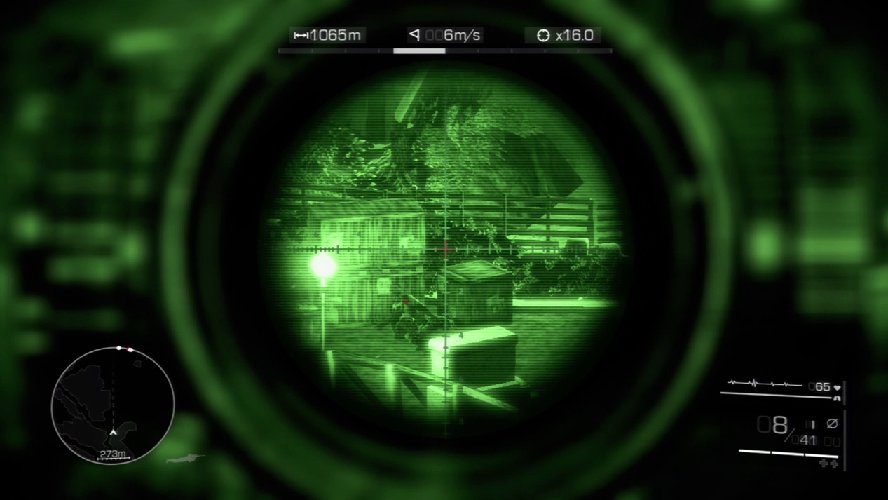
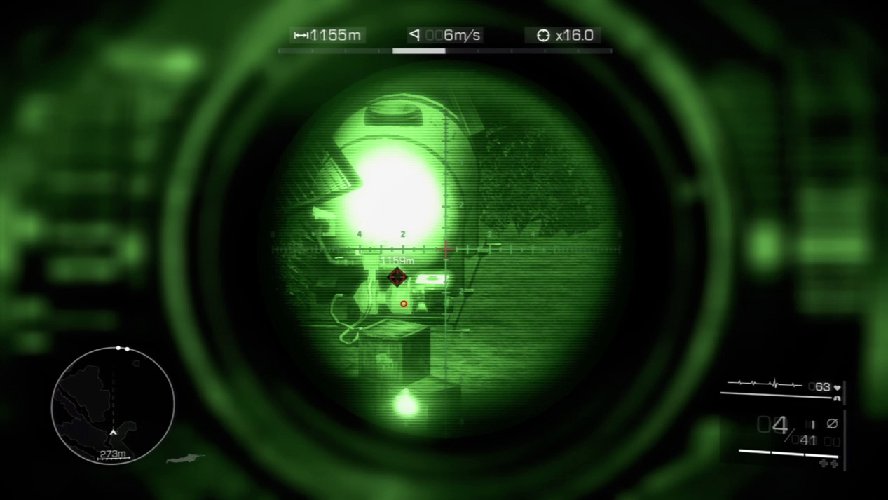
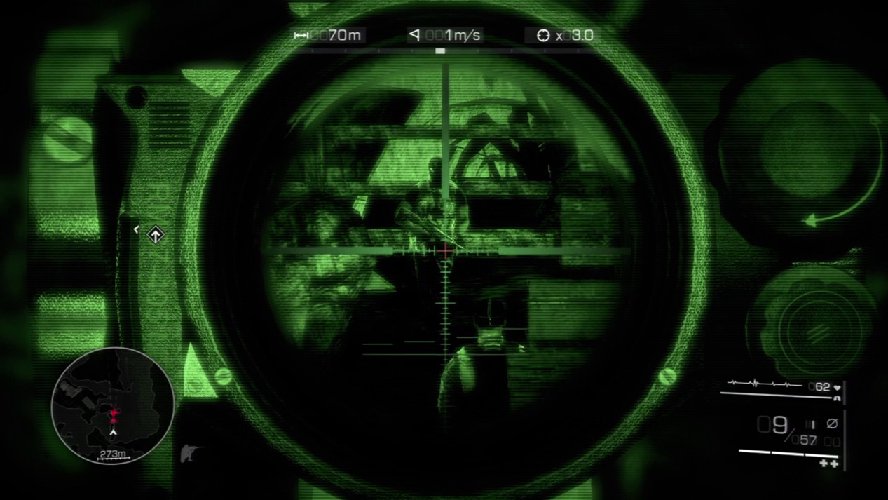
After you dispatch the enemy sniper set up your sniper spot on the edge of the overwatch platform. You want to make sure your field of vision can scan the entire villa below.
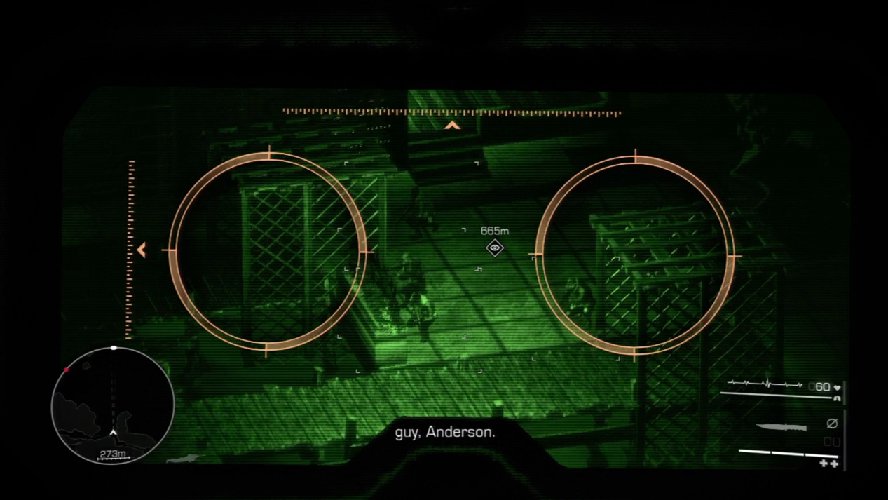
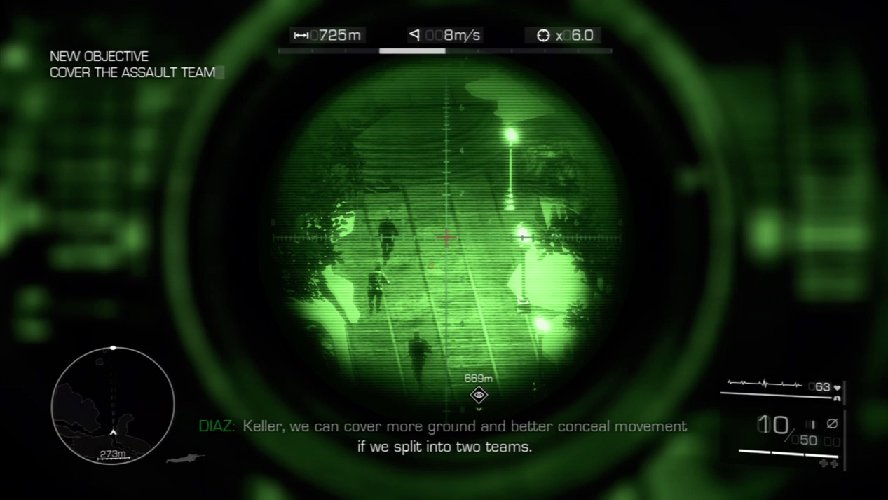
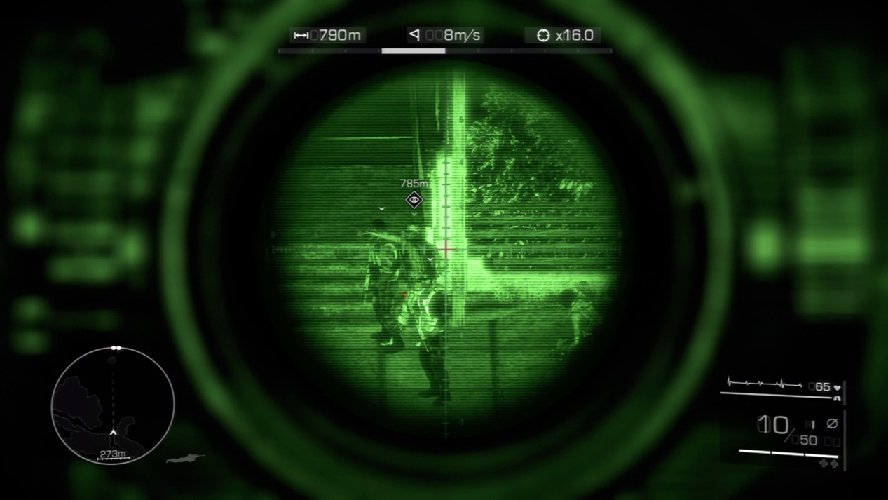
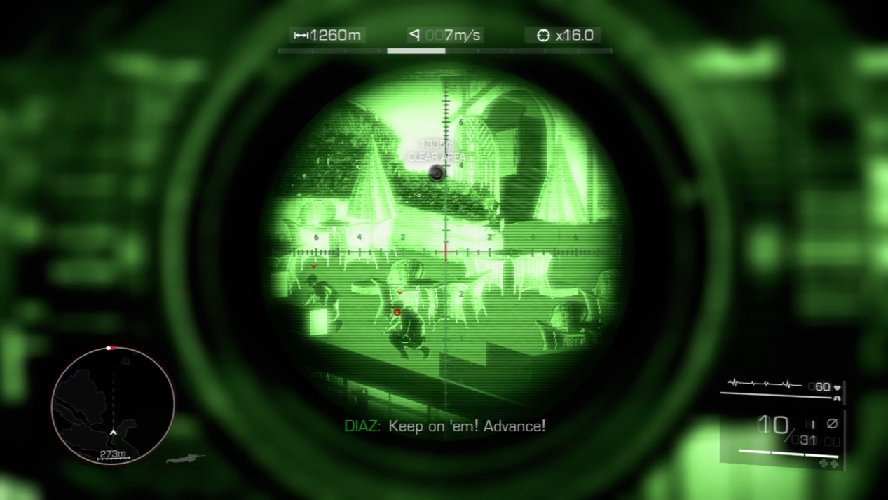
Look for your team to the bottom right of your field of vision. It’s important to follow them as they proceed through the complex, especially once they split into two task forces. Scan around the team anytime you don’t have an active target.

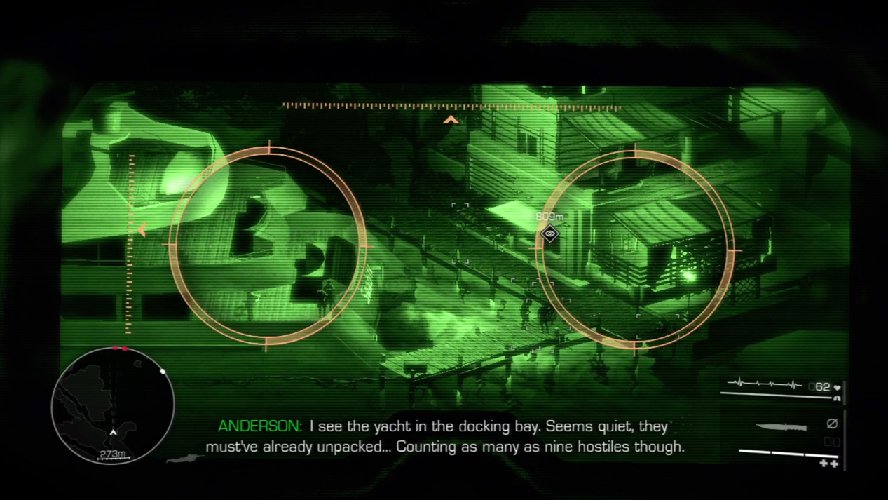
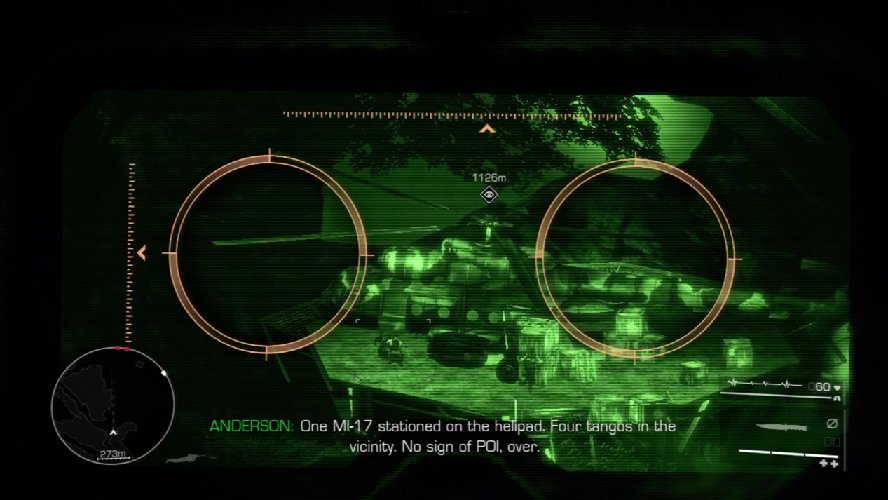
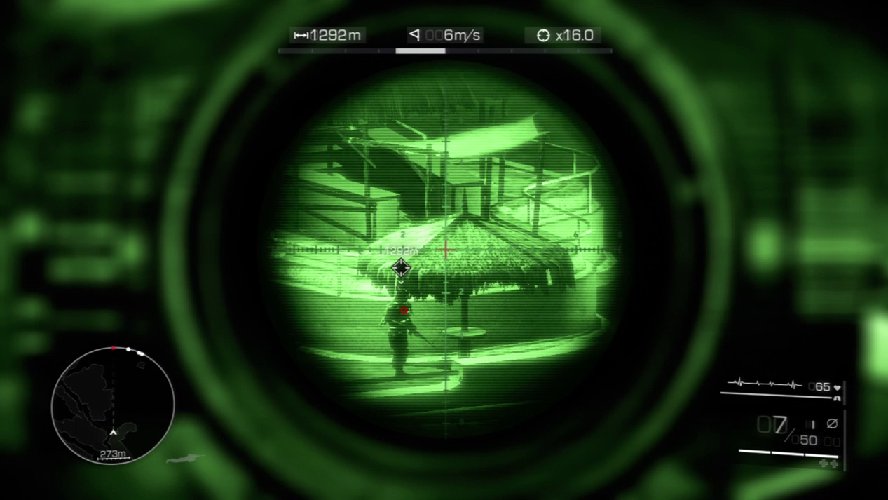
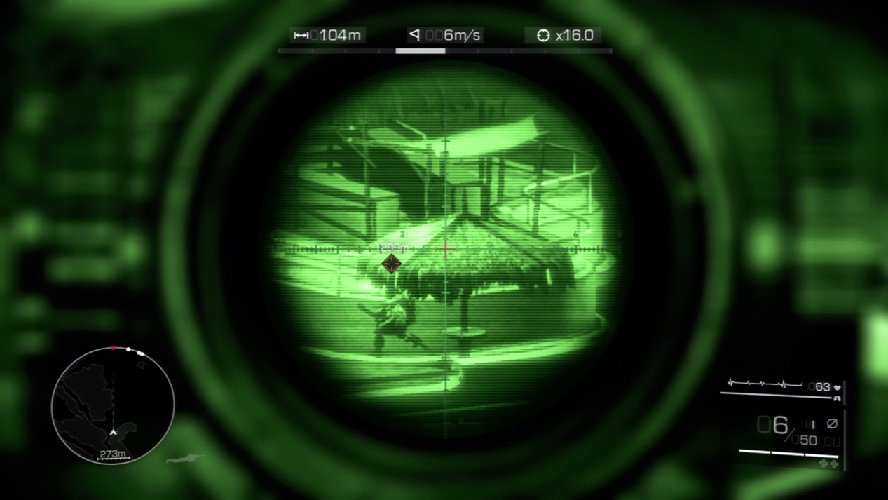
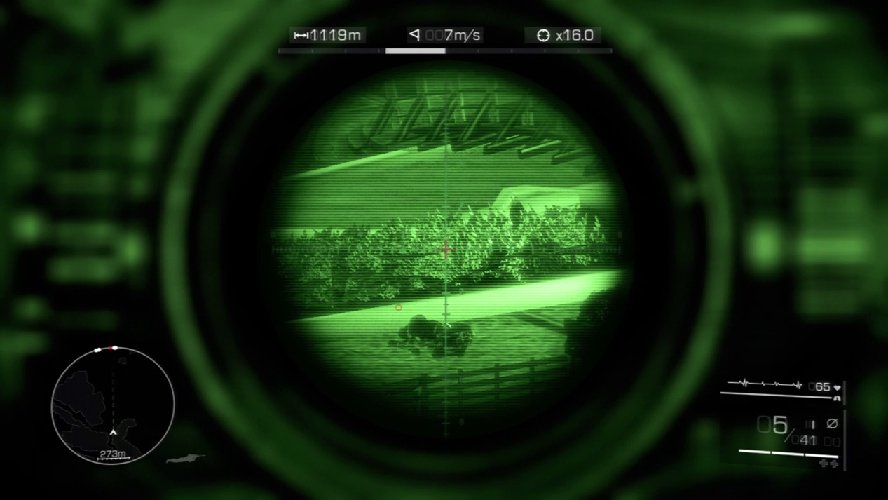
You have to monitor several buildings within the villa. To the north of the entrance point lies the restaurant with four enemies patrolling its perimeter. The yacht sits in the docks to the southwest; nine tangos swarm the area. The helipad can be found north of the yacht; four enemies guard the chopper on the pad. You will engage many of these enemies as the task force penetrates into the villa.
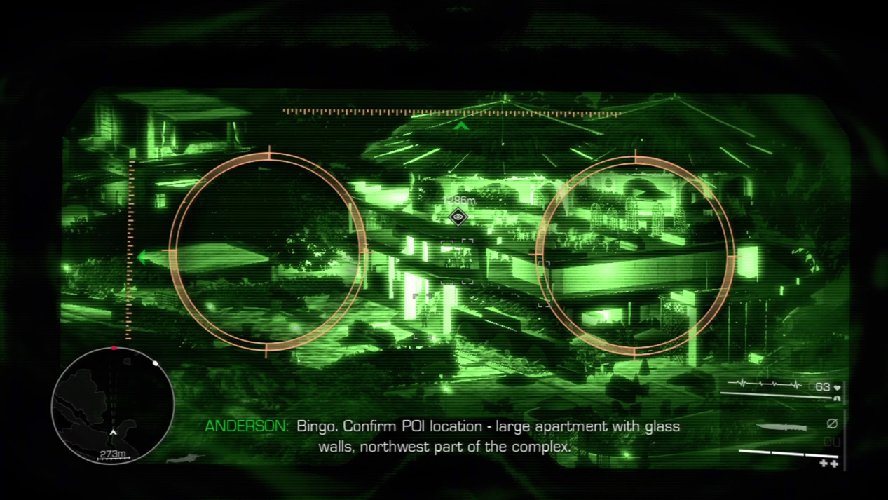
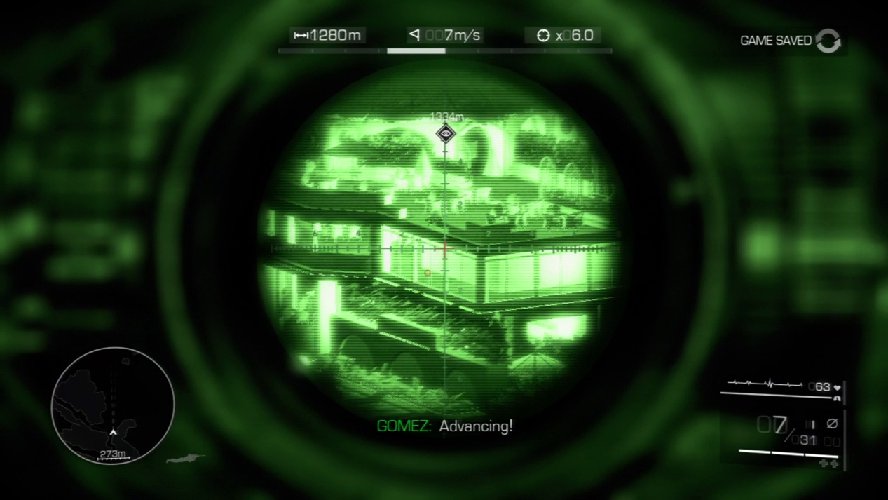
The large glass apartment building to the northwest holds the hostage. As the rescue attempt begins, he is being worked over by Kalalo’s men and doesn’t have much time left.

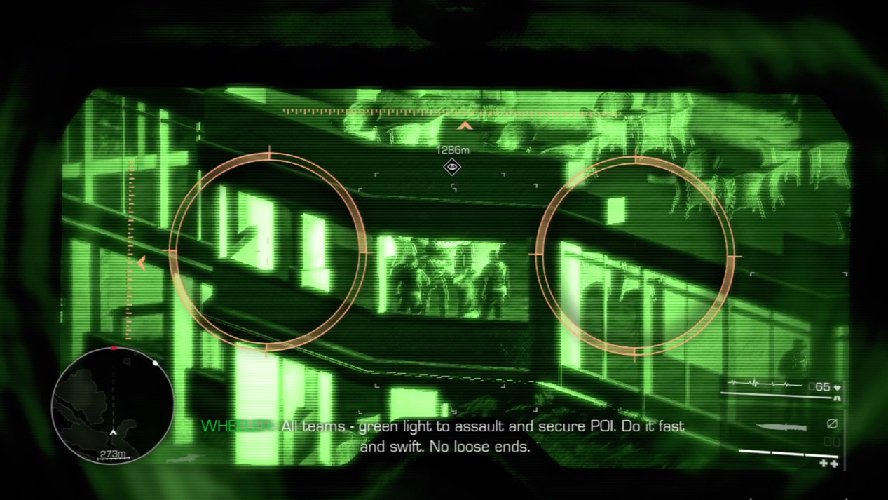
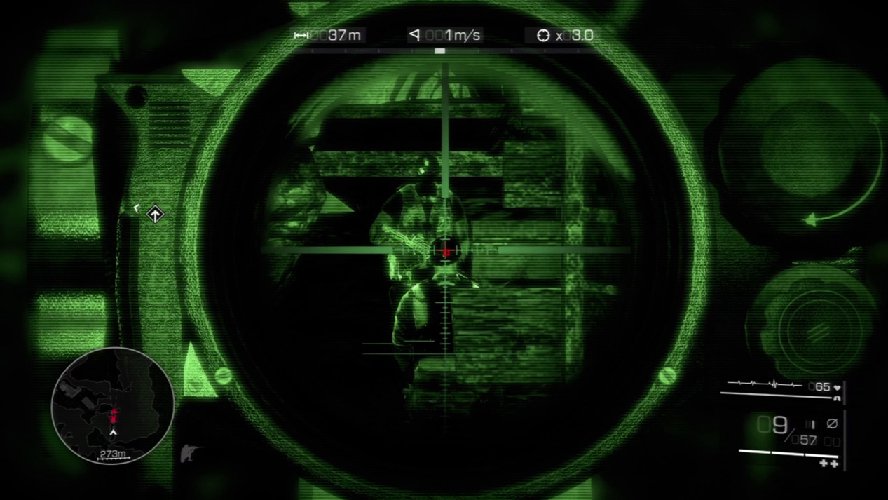
The team assaults the main villa entrance first. Two enemies patrol the path near the hedges, and as tempting as it is to take shots at them, the team opts to remove them quietly. Hold your trigger finger and watch through your scope as two of the team sneak up behind the guards and perform stealth kills.
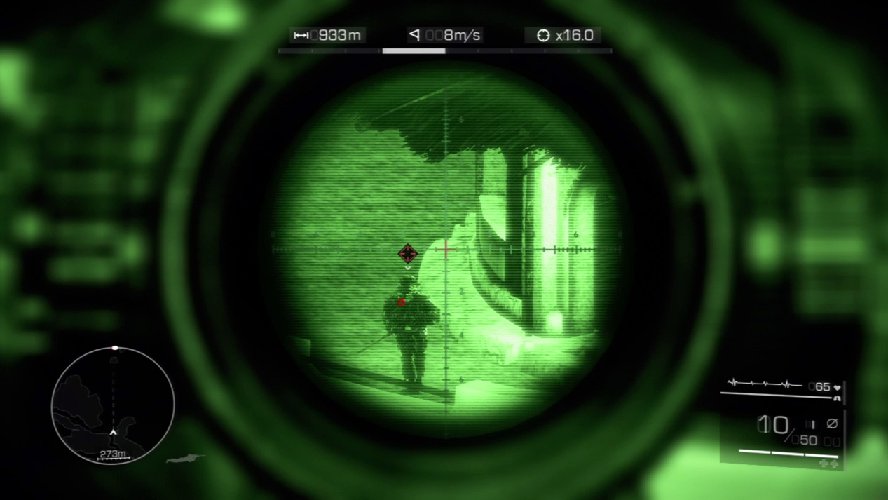
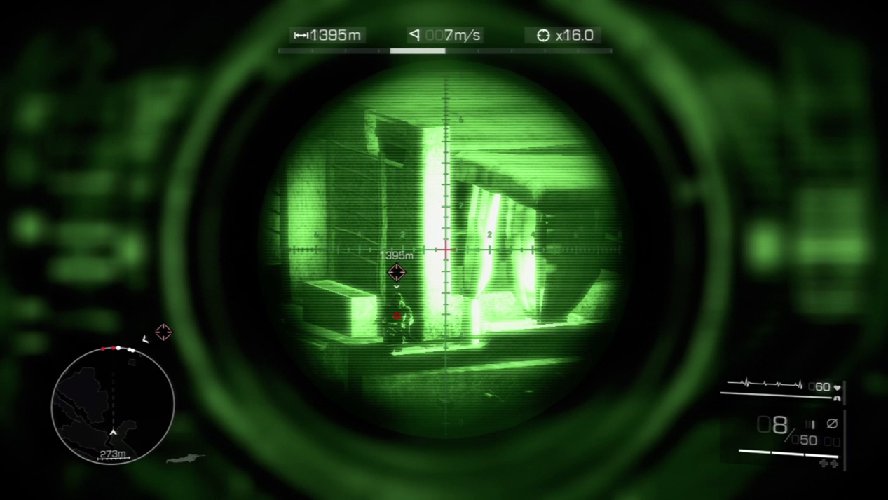
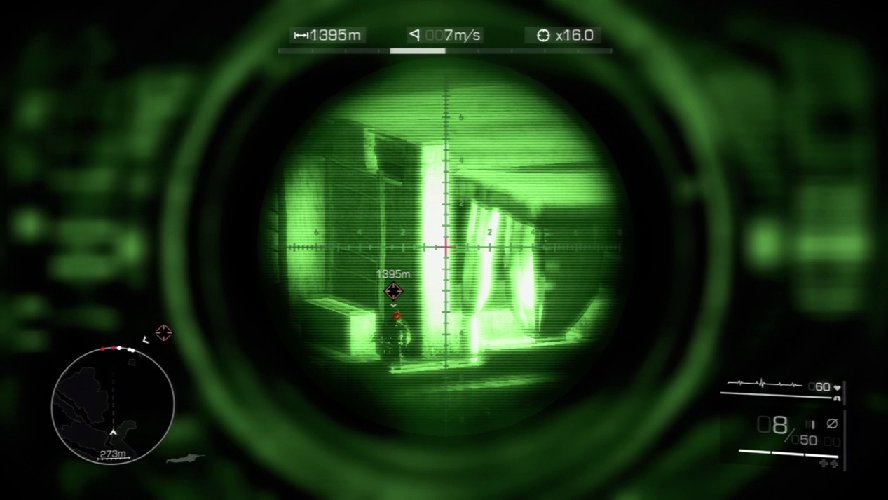
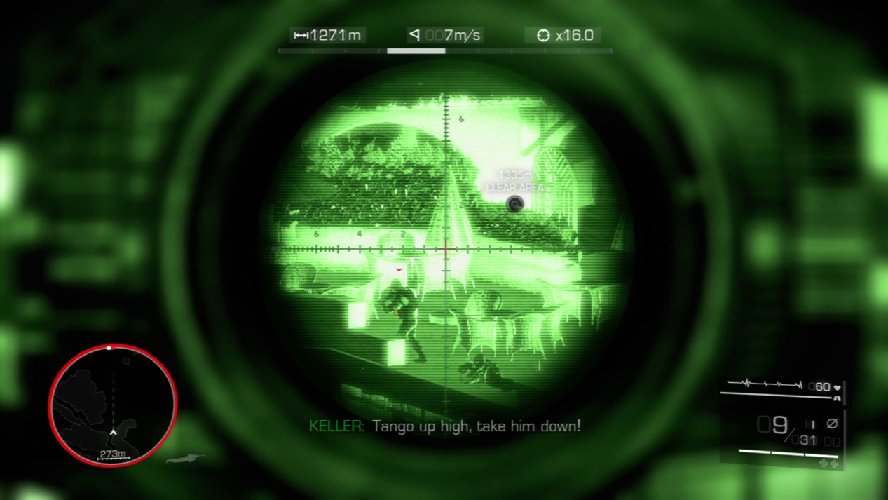
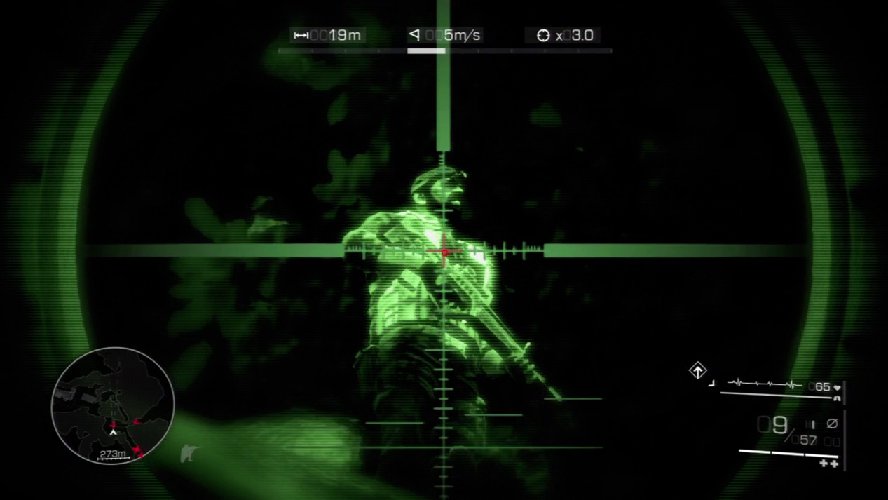
To proceed up the long staircase, you must eliminate an enemy sniper on the restaurant’s top floor. Zoom in at 16x magnification and pick off the sniper so that the team can ascend the stairs.
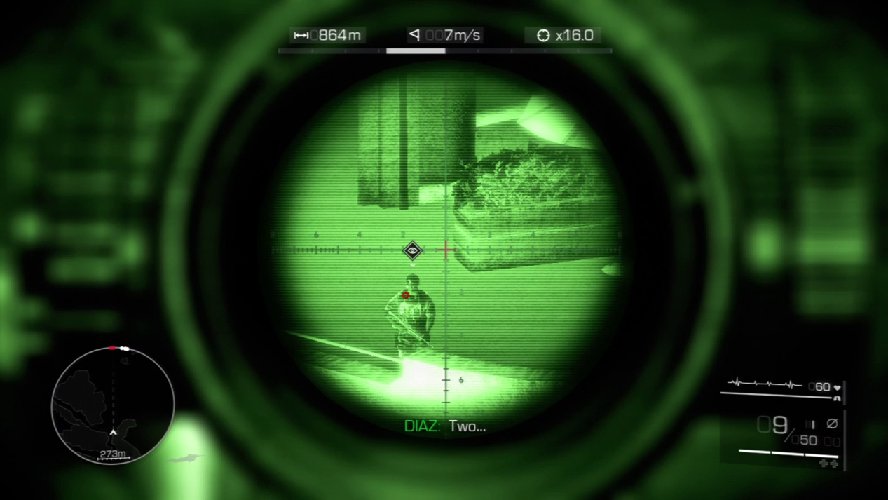

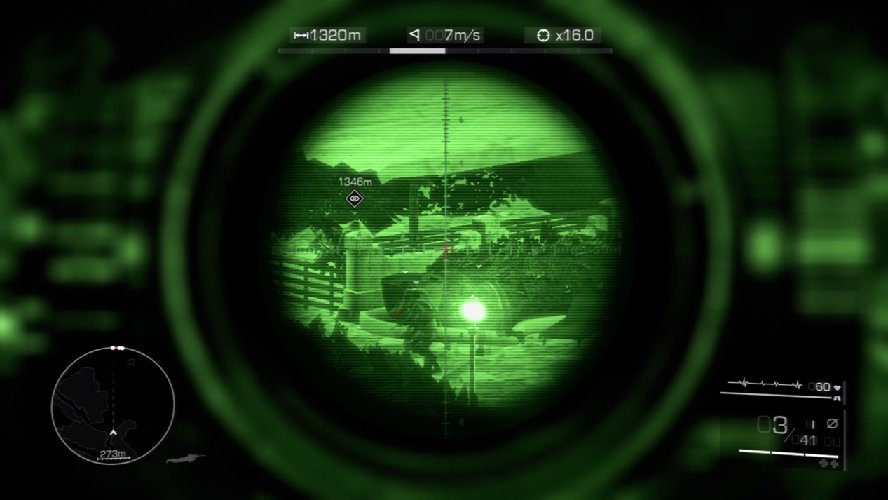
Now slide down to the southwest and get a fix on Diaz’s team’s location. There are two enemies at the building ahead, one on the terrace, and one below. Diaz can take out the lower enemy, but he needs you to blast the one on the terrace. Follow the enemy has he moves to the right along the terrace and, on the count of three, nail him.
The simultaneous kill with Diaz is a timed shot. If you don’t eliminate your targets at the same time, Diaz will pick up the slack and kill the second target. However, it’s an important lesson: You will have to be quick on the trigger in many attacks throughout the villa if you don’t want to raise the alarm.
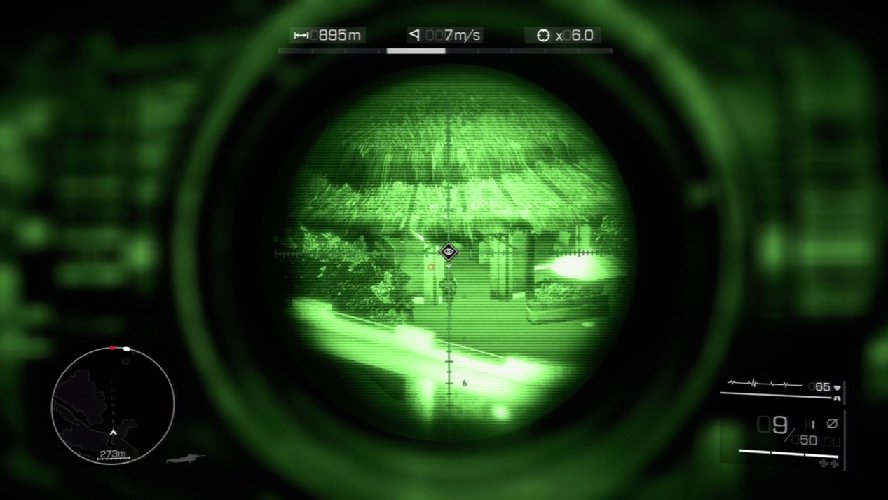
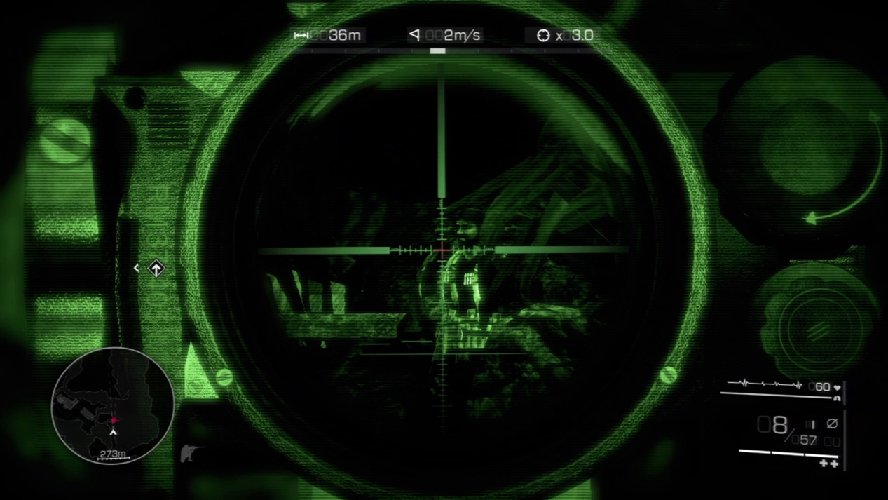
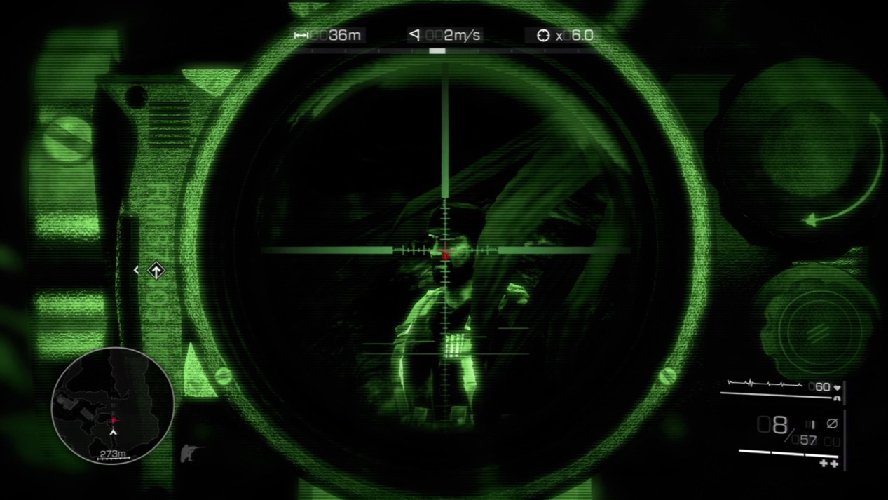
Next, the team directs your attention to two enemy snipers on the western side of the villa. Zoom in on the one in the northern bungalow and silence him before he spots any of the team.
Search for the second sniper on the distant building to the west. As you did with the first sniper, zoom in and line up the perfect shot before pulling the trigger.

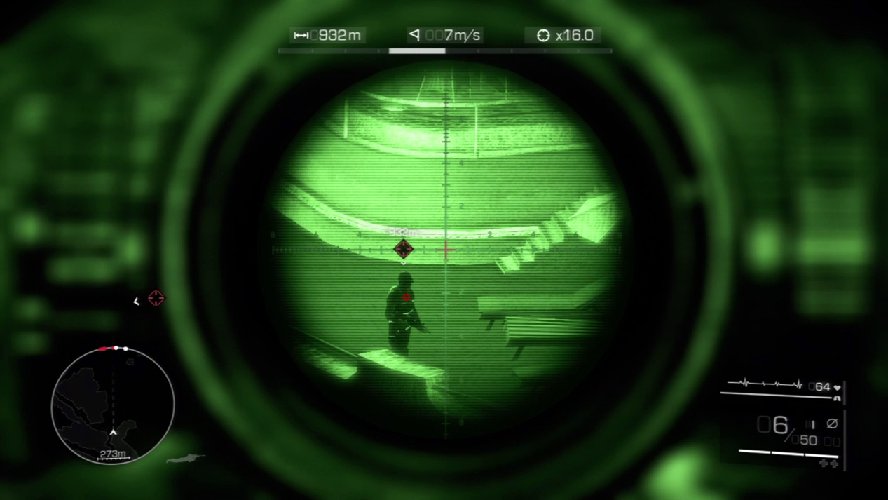
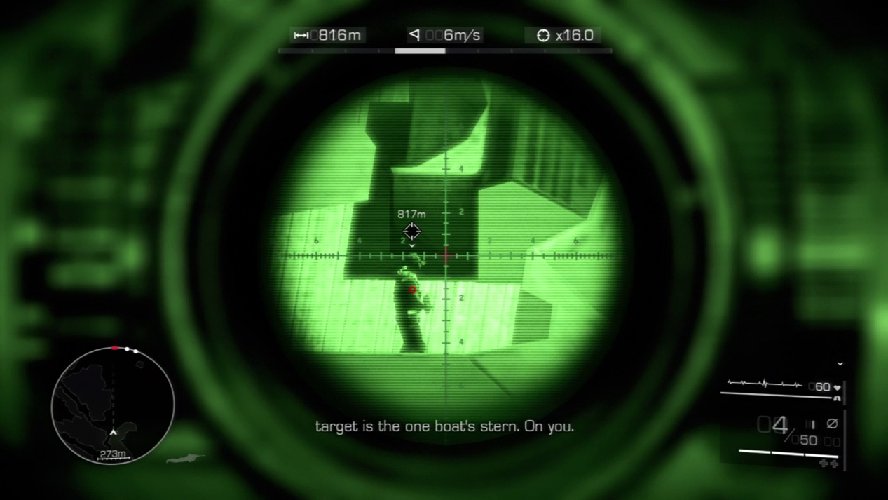
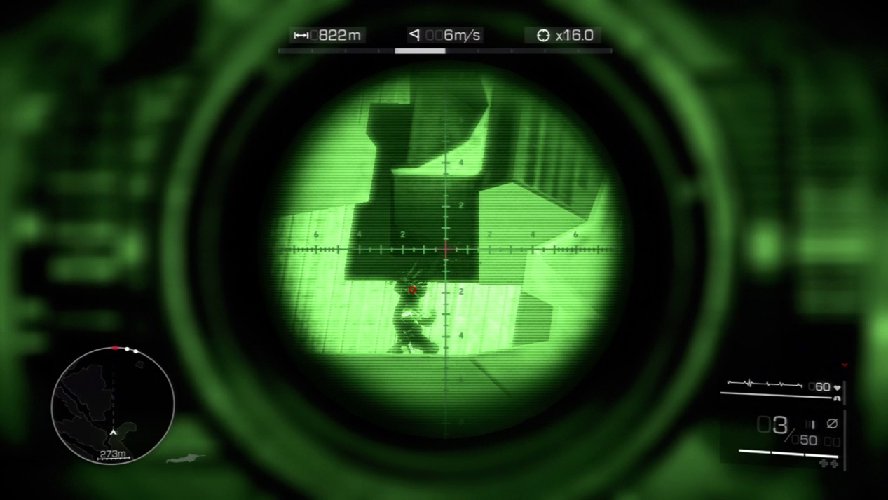
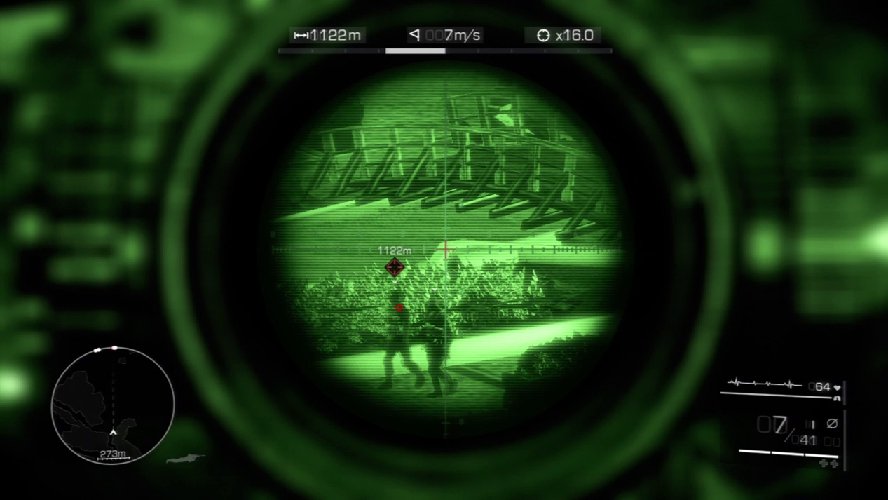
Swing your focus down to the building near the docks. You must eliminate the enemy on the top level who oversees the road. The team can pass until he’s dropped.
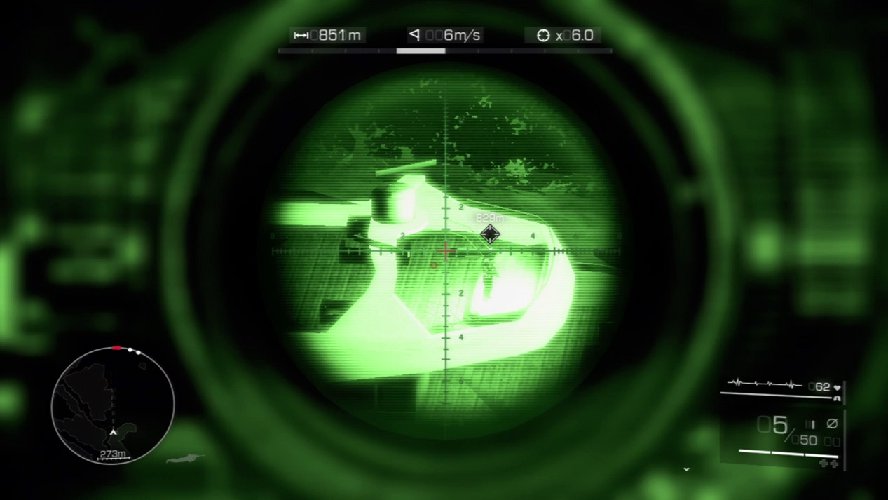
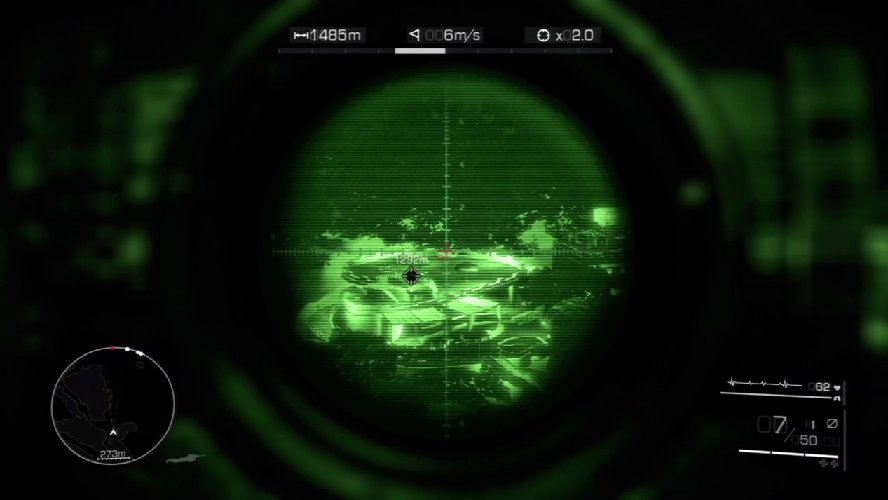
Continue down the docks and remove the enemy atop the yacht. If you pick him off first, none of the other nearby enemies will notice.
Slide your reticle down to the yacht’s lower level, just below where you picked off the first yacht guard. Snipe this second guard so that the team can pass the docks unnoticed.
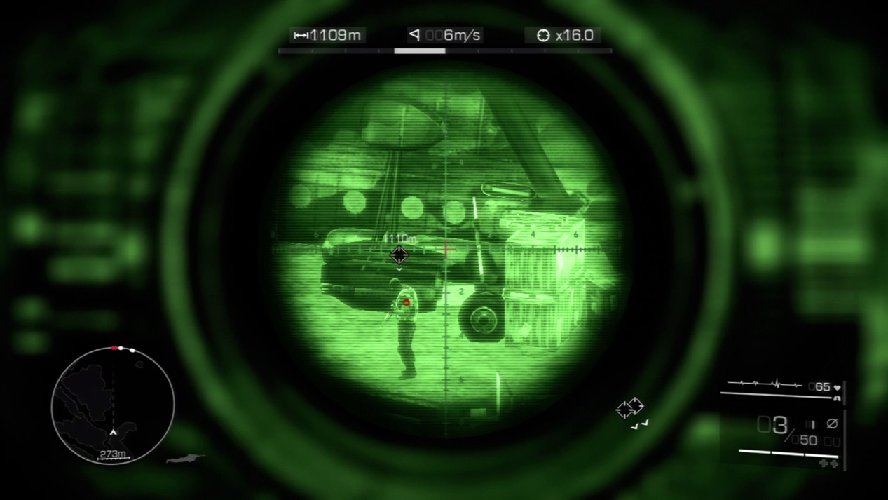
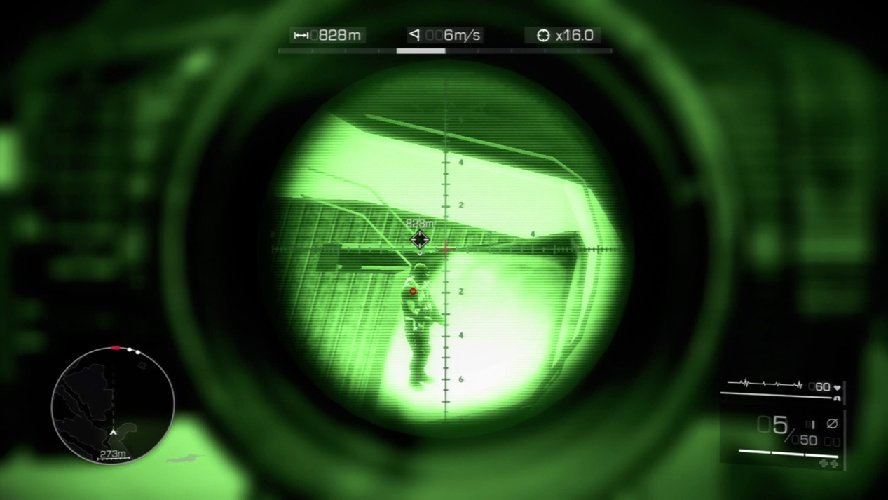
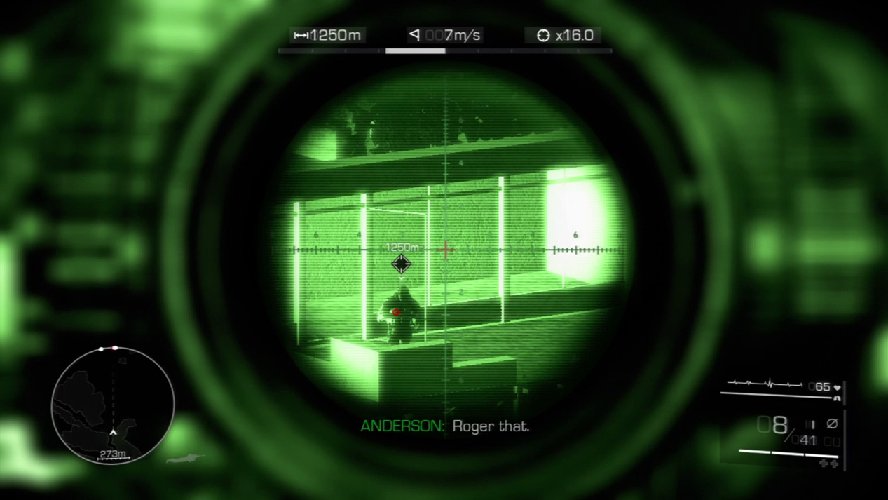
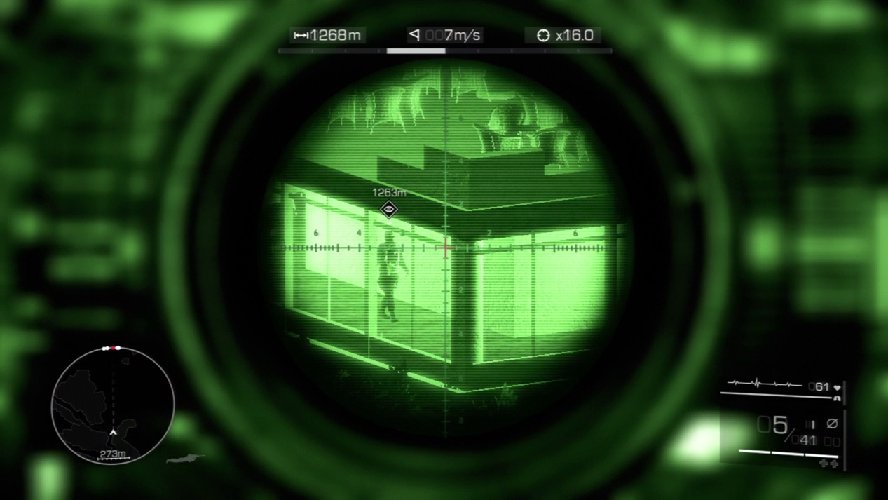
Four enemies guard the helipad. You must remove them in precise order to allow the team to continue. Search for the guard on the top level near the helicopter and punch a neat hole through him.
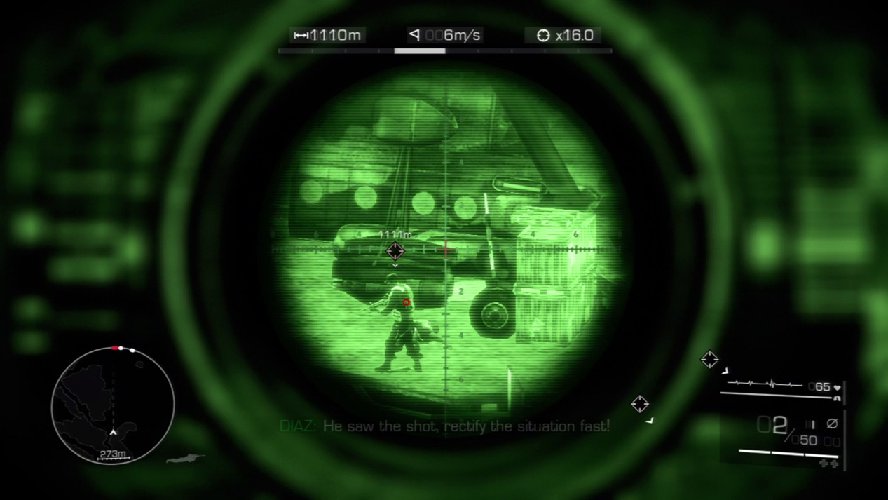
The chopper pilot will appear on the scene to investigate the disturbance. Zero in on him when he stands over the dead body.
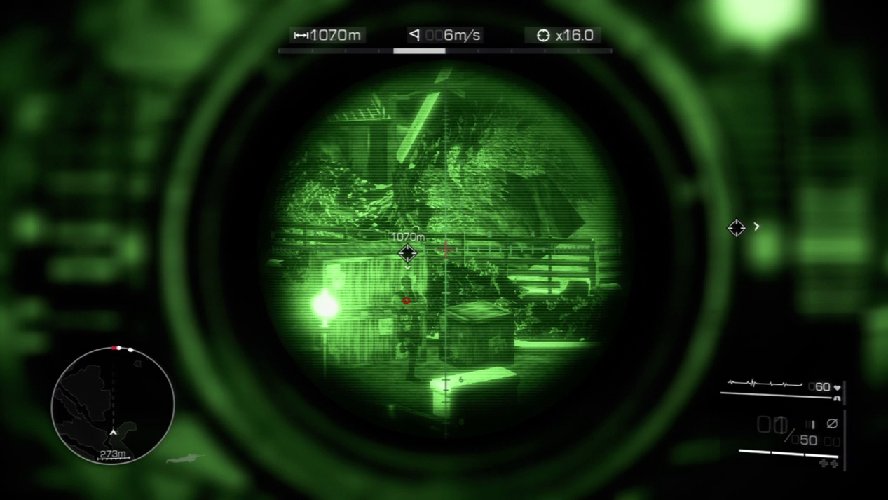

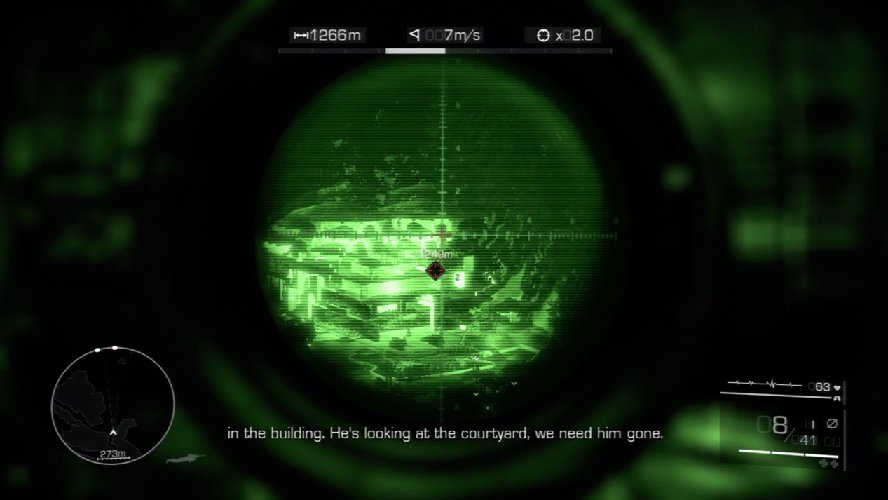
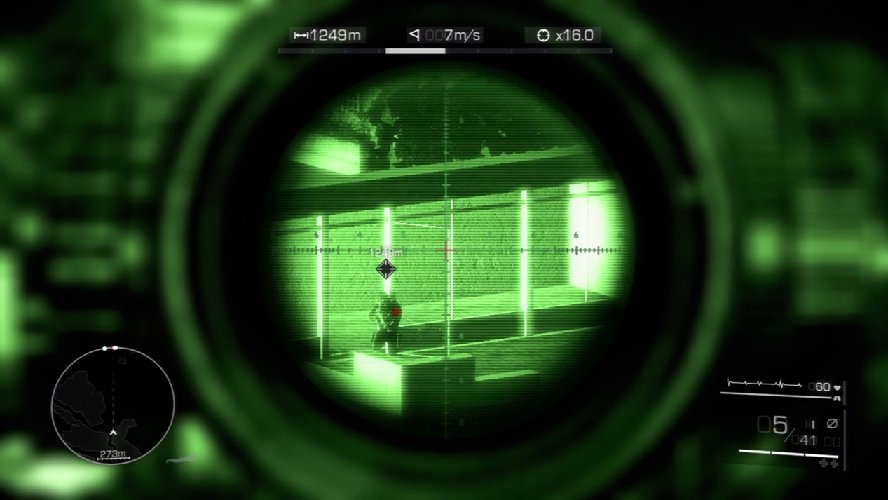
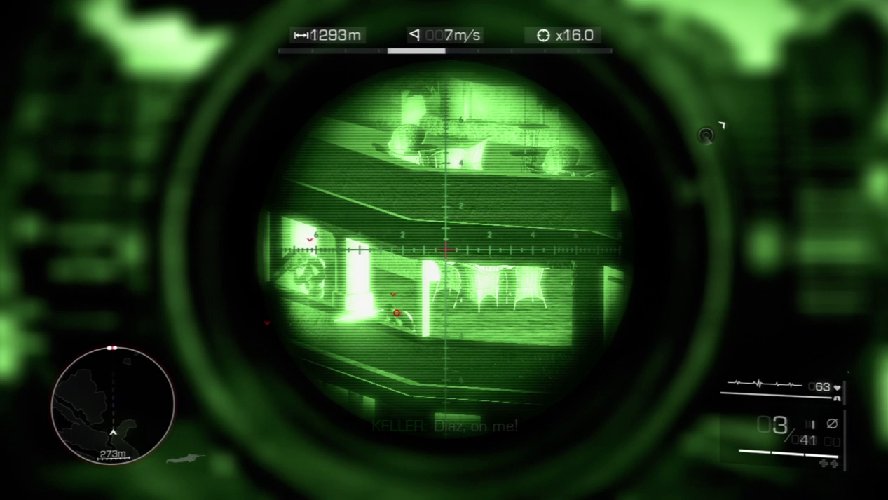
Move up to the final chokepoint. A single enemy looks over the courtyard. For the team to pass, you must remove the enemy without alerting any other enemies.
Drop your sights down into the courtyard and you’ll see two guards talking on patrol. Your job is to take on the one on the left while the team dispatches the second one.
Quickly scan back up to the courtyard building’s top floor. Another enemy approaches in the corridor and spots something wrong through the glass windows. He will raise the alarm unless you immediately snipe him as he exits the building.
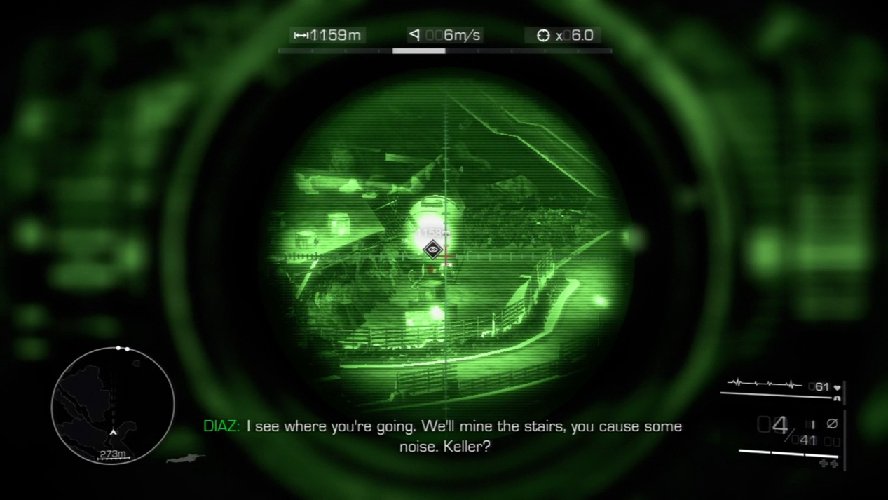
Before the big fight for the hostage begins, you need a little distraction to draw several enemies into a claymore trap devised by the team. Sight on the large fuel tank at the helipad. One well-placed bullet will ignite the tank and cause a very visible explosion.
Enemies charge over to investigate the explosion, and the team detonates the claymores to thin the resistance around the apartment building.

The remaining enemies hear the explosions and open up on the team from the apartment complex. If you wait too long, their assault rifles will destroy the team. Choose a floor and systematically eliminate each enemy as you scan across their cover.
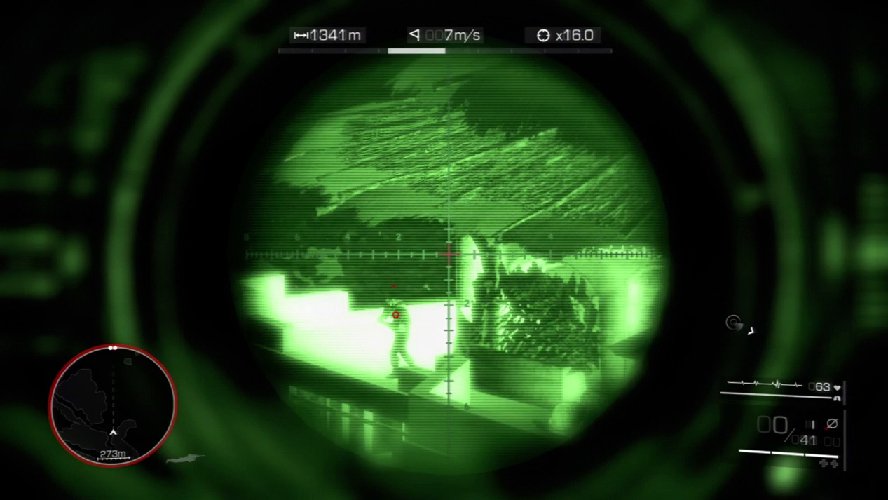
Continue plugging targets until all external enemies are eliminated. The team then advances on the apartment complex and goes after the enemies inside who are holding the hostage.
Wait patiently as the team assaults the apartment complex. You can’t see the action, but you can hear it over your comm.

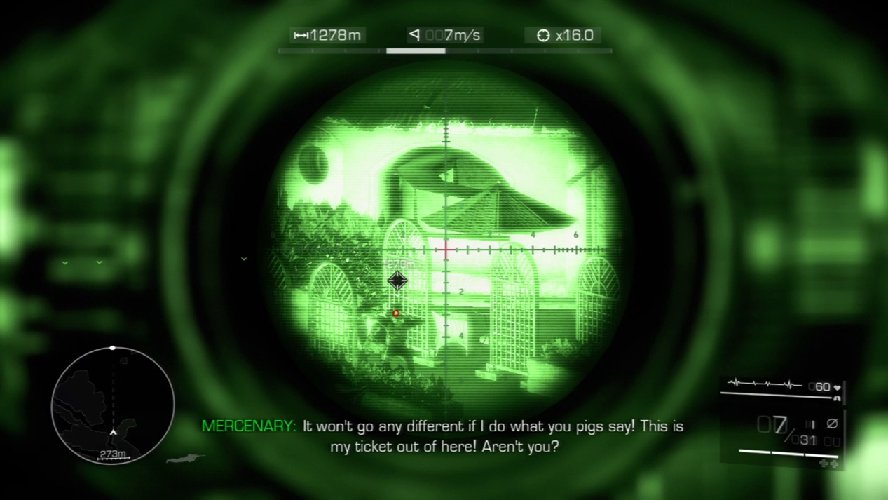
The final bad guy grabs the hostage. With the hostage being used as a human shield, the team can’t get at the enemy, but they do manage to force him out onto the exposed terrace. As the team advances on him and the enemy retreats, line up a shot on the enemy’s head or back. Be very careful to snipe the enemy without hitting the hostage.

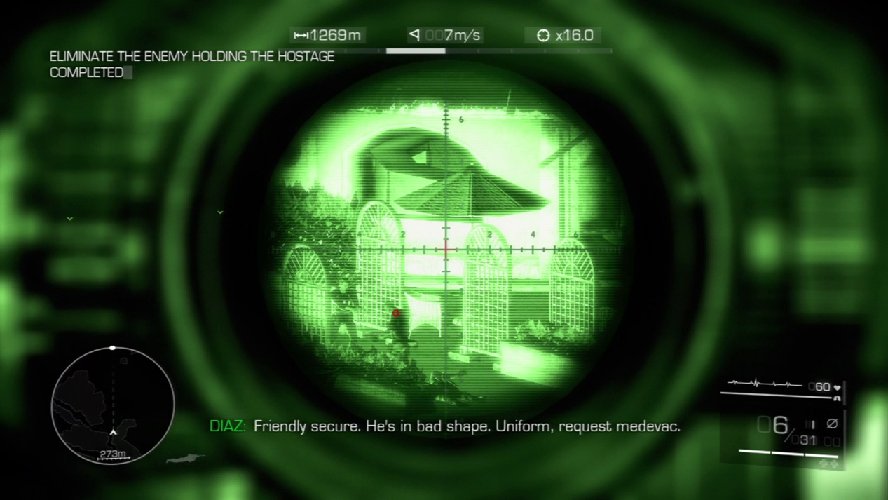
Now it’s time to leave the team to get the wounded operative out while you continue the mission toward the hotel.
Waypoint 5
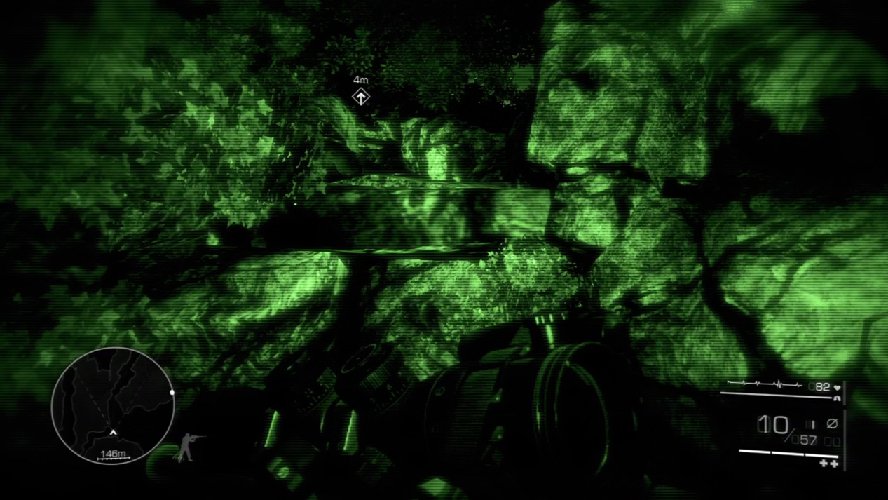
Leave the overwatch and follow the path to the nearby rock outcropping. Climb the rocks and continue to follow the path to the next enemy outpost.
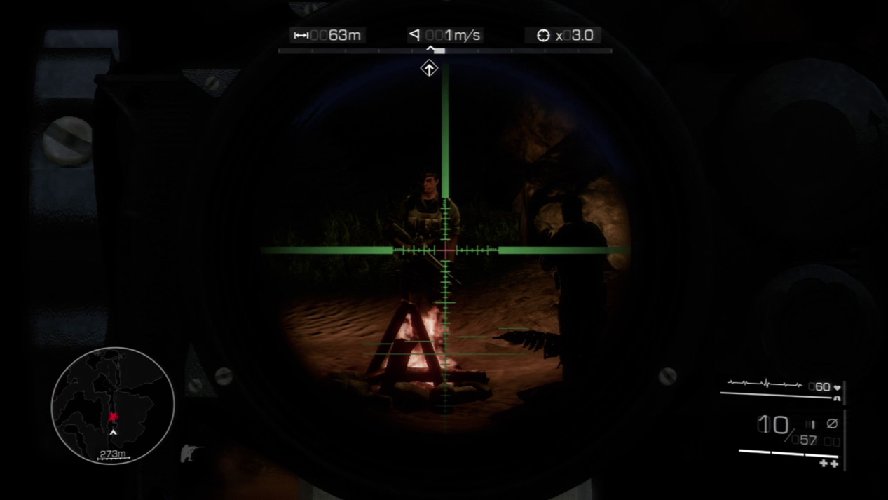
Crouch as you approach the outpost and wait for the lone guard on the top level to retreat deeper into the outpost and out of sight. Four enemies are below at the campfire. It’s advisable to leave them alone and concentrate on taking out the top-level guard. You can slip by the campfire guards easily if you just stay quiet and stay on the top level.

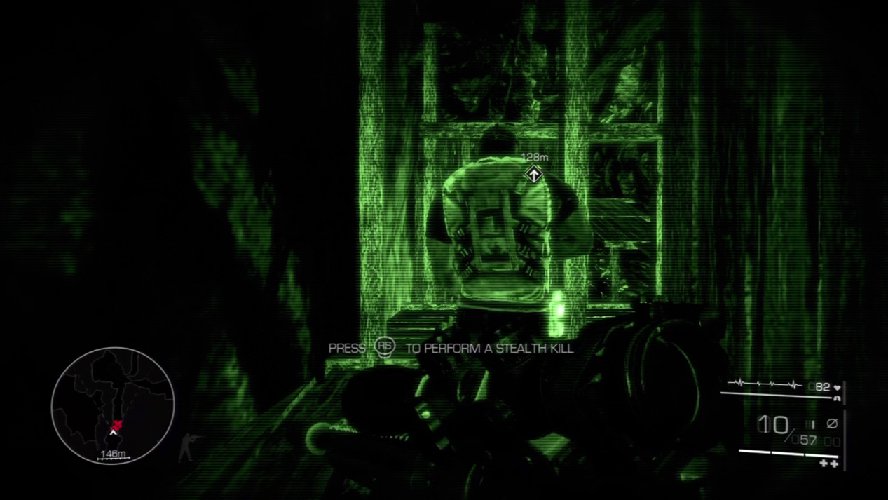
Quietly traverse the top level and sneak up behind the first guard. While his back is turned, come up behind him and silence him with your knife.
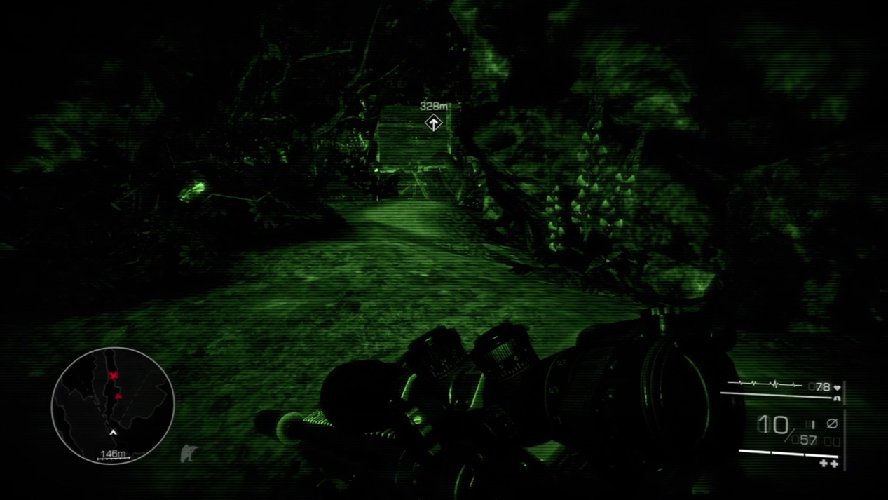
Exit the outpost through the back ramp. If you’ve been quiet, you’ll leave the majority of enemies there none the wiser.
Waypoint 6
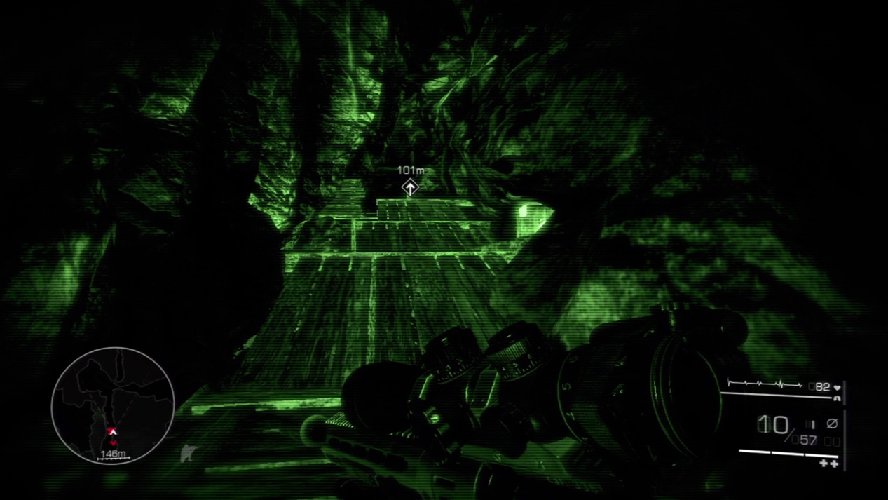
You’ll come up on a bridge near a waterfall next. All seems still, but if you listen carefully you’ll hear a guard whistling in the distance. Stay crouching and follow the path up the left side and hug the rock wall, keeping foliage between you and the bridge.
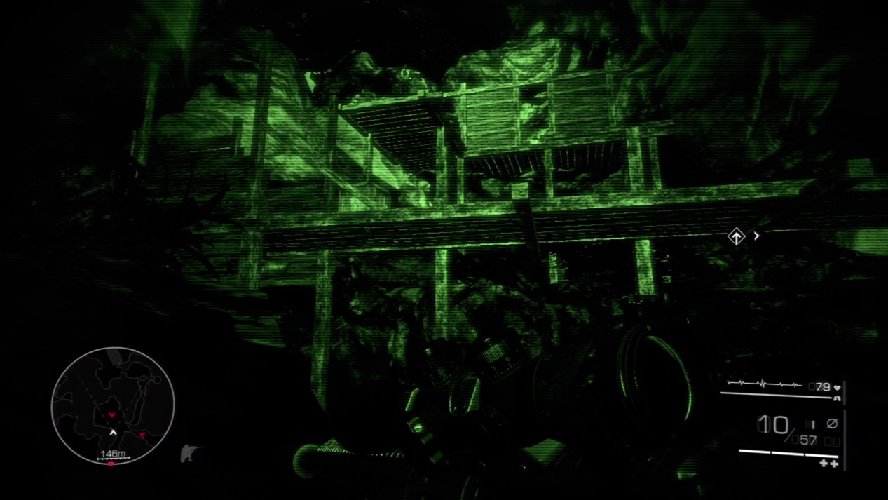
You’ll spot the guard on the upper platform above the bridge. If you don’t see him right away, continue to move toward the bridge and you’ll see him when he strolls out near the upper platform’s edge. Snipe him when he reaches this point.
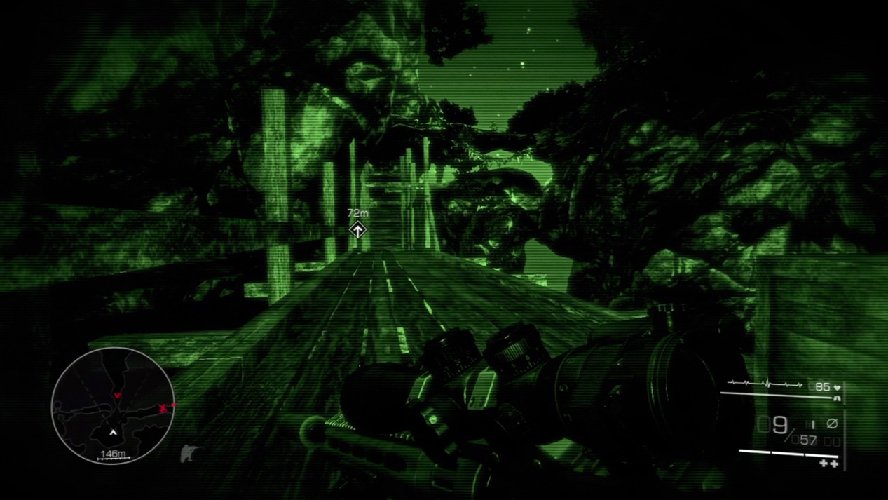
Cross the bridge and turn to the left. You shouldn’t meet any other resistance until the path descends toward the water again.
Waypoint 7
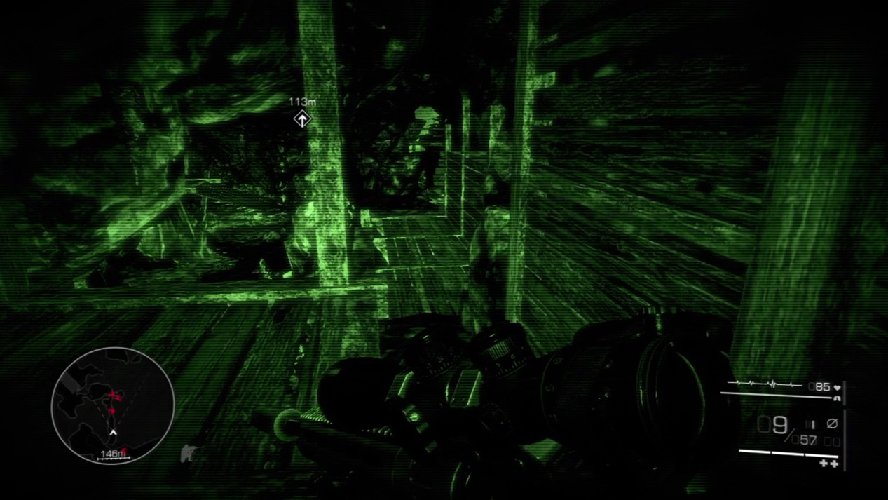
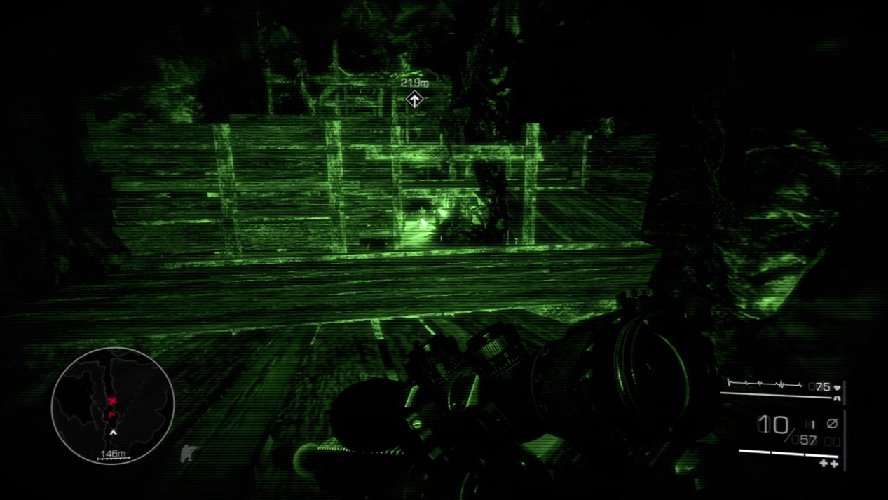
You’ll soon see water on your left side. When you hear voices, stop and look down the ramp to where the boards stick out on the right wall. Three enemies patrol this area, and two of them are very close.

After you drop the two enemies at the broken wall, advance on their position and scan ahead. A third enemy stands patrol near the next bridge. He may be difficult to spot in the plant cover; move back and forth until you can see him clearly, and then snipe him from afar.