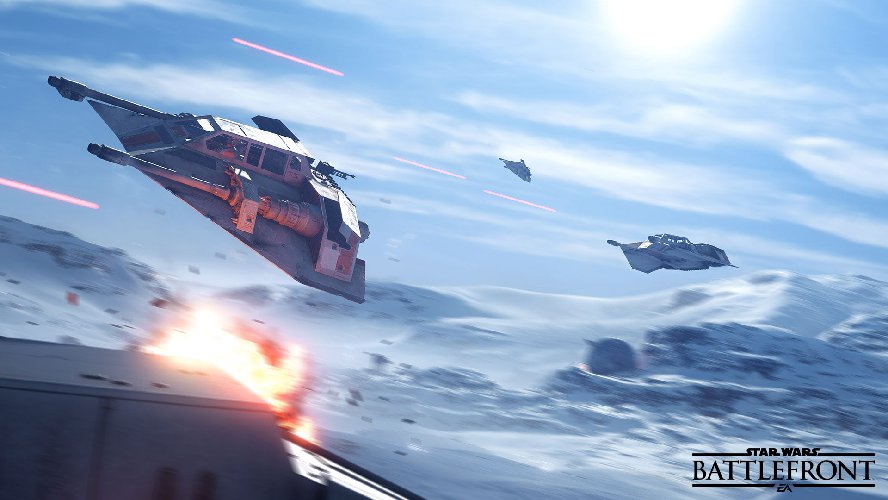
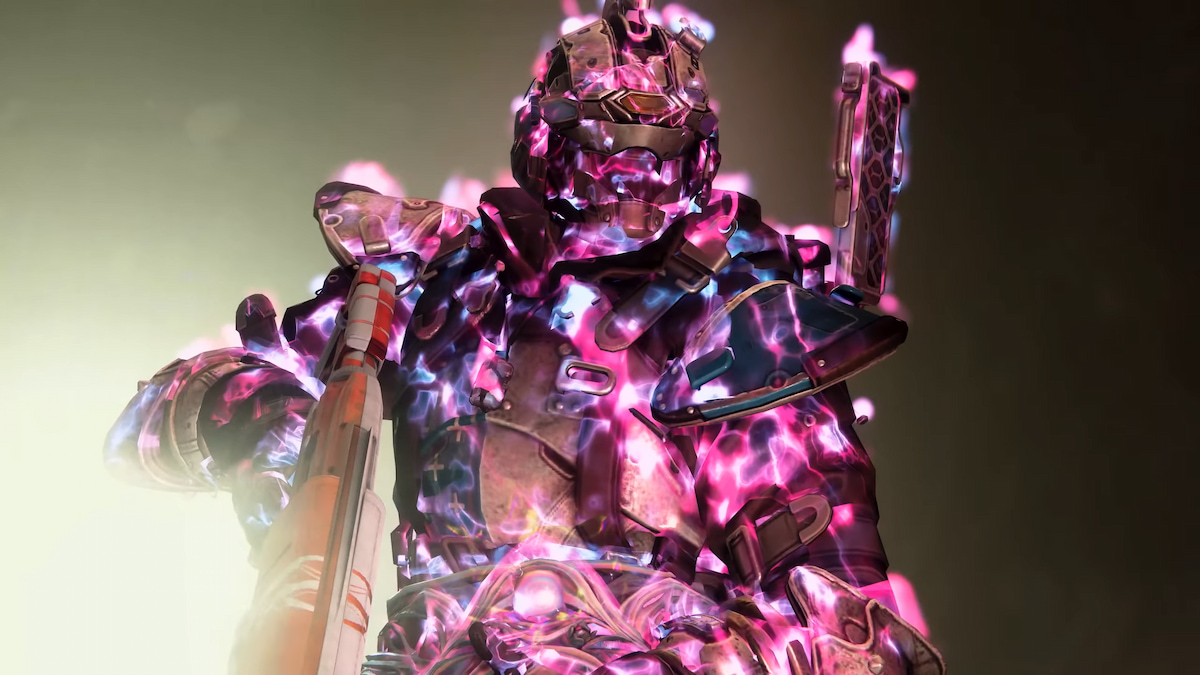
The Star Wars Battlefront Beta is about to be available across the galaxy to be enjoyed by Rebels and Imperials alike. To get you all ready for what’s in store, we have teamed up with our partners at EA to bring you some key tips and tricks.
Listed below are some great pointers on how to gain an edge playing the Drop Zone and Walker Assault game modes. Study them well and be a master of the battlefront.

Walker Assault on Hoth
Stay on the Move. It’s a Big Map:
Outpost Beta is large, and avoiding blaster fire from AT-ATs can be challenging. Unlocking and equipping the Thermal Detonator allows you to clear areas and open paths, making it easier to find an escape route when it’s most critical.
Know Where You’re Needed Most:
Controlling the sky is important, but keep your boots in the snow unless there are other starships in the airspace. Protecting or attacking the uplinks can be the difference between winning and losing the battle.
Maximize Your Damage against the Enemy Objective:
The most useful items against vehicles are the ion-enhanced weapons, such as the Ion Shot and the Ion Grenade. The Ion Shot charges your weapon with ion bolts for a limited amount of time, allowing you to deal extra damage to AT-ATs and other vehicles.
Sneaky Rebels:
As a Rebel, just as there are only a few seconds left before AT-ATs can make it to the first or second checkpoint, use the outpost inside the mountain to get close to the walkers. This prevents you from suffering the wrath of their Orbital Strike or heavy blasters. AT-ATs can only be attacked after being bombarded by your team’s Y-wings, so keeping your distance until then is the safest and most useful tactic.
Imperial Might:
As an Imperial, keep pushing forward until you have secured either uplink. Once an uplink is secured, push a little farther to set up a defense and minimize the enemy’s chances of activating the uplink. The Squad Shield power card is very helpful when you are setting up a perimeter.
Drop Zone on Sullust
Three-Dimensional Protection:
The Sulphur Fields are quite open, leaving plenty of opportunities for the enemy to gain the elevated advantage while your team is attempting to capture the drop pods. Defend yourself from vertical foes with a Squad Shield, or by dropping Proximity Bombs where you might be most vulnerable.
Spread Out:
During the capture phase, spread out, but don’t let the pod out of your sight. Avoid staying too close to the pod while it’s being captured; it only takes a single Thermal Grenade or Thermal Imploder to take out an entire defending squad.
Learn even more Beta tactics with our Survival Tips for defeating waves of enemies on Tatooine!
Star Wars™ Battlefront™ releases on November 17th; pre-order the game now! Then, earn every Achievement/Trophy, dominate battle with expert strategies, and learn about the best uses for every weapon and vehicle in the game with the official strategy guide.


