Unlock the complete Prima Thief Digital Guide and become a master Thief!
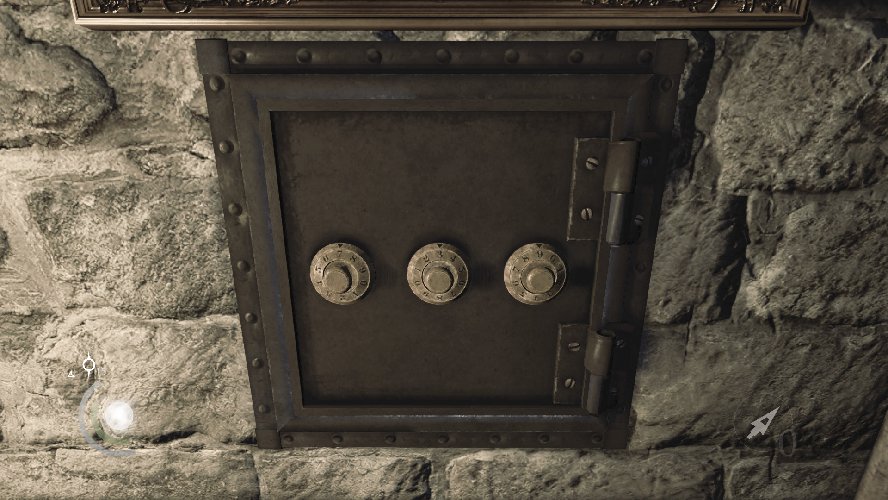
Thief is full of Collectible loot. Some is found in secret rooms and crawl spaces, while other trinkets are out in the open on the ground. The rarest and most valuable items reside in the many safes hidden throughout Thief. Finding them all on your own would not only require a great deal of work, but also some luck.
If the display cases in your Clock Tower hideout look bare, we have all the combinations and locations to every safe in the game.
Safe #01 – Chapter 1: Lockdown – Serendi Jeweler’s Cellar
This safe is hidden behind a painting in the Jeweler’s Shop. You must go inside the shop to progress the story, so finding it should be no trouble. Head down to the basement to find the Jeweler working away. Either knock him out or distract him to collect a document from his workstation called Lyegrove’s Letter. Read the letter to discover the safe’s combination is 7-3-9. Find the safe in the southwest corner and open it to claim Unique Loot (2/9) – Lyegrove’s Jeweled Mask.
Safe #02 – Side Job: Beauty Within – Miss Scarlett’s Town House
You must accept Basso’s Beauty Within side job to access this safe. This safe is not found playing the in-game chapters. Instead, it’s located in The City. When you exit your hideout, you will be in Clock Tower Plaza. Find Miss Scarlett’s Town House near Clock Tower Bookbinders. When you enter, Miss Scarlett will be asleep, but her father regularly checks on her. You can easily knock him out and move to the house’s main floor. The safe is on the south wall. To find the combination, enter the cabinet on the north wall and look to your right. If you can’t see it, use Focus to learn that the safe combination is 8-2-4. Inside, you will find Miss Scarlett’s Hand Mirror, completing the Beauty Within side job.
Safe #03 – Chapter 2: Dust to Dust – Workshop
This safe is located inside the workshop. One number of the combination is found on the back of the mechanical man. The second number is on the mechanical skill sitting on the chair. The third number is simply trial and error until the safe opens. Approach the safe and enter the combination 3-1-4, opening it and claiming Unique Loot (3/9) – Soul of the Automaton.
Safe #04 – The City – Sick Willy’s Stash
The game’s fourth safe is found in Baron’s Way South. It’s not part of a side mission or in-game story, so finding it won’t be easy. As the name of the district indicates, head south. When you reach Baron’s Way South, look for a ladder that must be lowered. You can hit it with a Blunt Arrow to knock it down. Climb the ladder and ignore the open window. Instead, look for a closed window that you must pry open to the south. The combination is the current date in the game. You can find this on a newspaper, but the combination is 8-4-2 to make things easier. The safe contains no collectibles, but does have some earrings and a necklace.
Safe #05 – Chapter 3: Dirty Secrets – Madam Xiao-Xiao’s Private Chamber
This safe is found in Madam Xiao-Xiao’s private chamber, just past her office. You must pass through this room to progress the story, so finding it should be no trouble. In case you’re wondering, you can find the combination in documents throughout the brothel. Approach the safe and enter 5-7-3 to open it. Inside, you won’t find any collectibles, but you will find a pocket watch and necklace.
Safe #06 – Chapter 4: A Friend in Need – The Keep
This is another safe that must be opened to progress the story. The Combination is found earlier in the chapter, inside the architect’s study. The Great Safe is found in the Keep within the safe chamber. Before you input the combination, you must reset the lock mechanism. Do this by pressing a button on the side of the safe, then quickly moving to the other side and pressing another. This safe requires two separate combinations. The combination on the left is 3-1-9 and the right is 0-1-8. Open the safe to progress the story.
Safe #07 – Chapter 5: The Forsaken – Room 3E
This is an area that you must visit to progress the chapter, though the room itself is optional. When you reach the treatment level of the asylum, turn the generator on to start exploring the rooms. Watch out for crazy patients roaming the halls. Enter room 3E (indicated on a plate by the door) to find the safe on the wall. The combination can be found on a note earlier in the chapter, but just enter 7-3-1 to claim the Serendi Stone Circles (5/7) – Ivory Circle.
Safe #08 – Side Job: Check Mate – Mourningside
Before you can access this safe, you must accept Basso’s Check Mate side job. Mourningside can be accessed by entering the door near the Shady Merchant. Look for two people huddled near a brazier. Climb the crates and pry open a window to enter Archie Maxwell’s House. The safe is in the basement of the building. Archie Maxwell is home, so beware of him walking about. You can choose to knock him out or simply try and sneak past him. When you reach the basement, beware of traps. There’s a wall with a combination lock on it, enter 7-7-6 to open the safe, snagging a chess piece and completing Basso’s Check Mate side job.
Safe #09 – Chapter 6: A Man Apart – East Lounge
This safe is found on the first floor of the Baron’s mansion. The combination can be obtained from a guard in the library, but we’ve also got it here for you. Two guards patrol the area outside the room with the safe. Consider knocking them out or using a distraction to buy you some time to open the safe. The combination is 8-8-9. Open it to find Serendi Stone Circles (6/7) – Sapphire Circle.
Safe #10 – Chapter 6: A Man Apart – West Hall
This safe is found in the west hall after you witness a Graven killing a guard in cold blood. The safe is in the room the one guard patrols. There really isn’t much choice but to knock him out. The combination isn’t discovered until later in the chapter, so try 0-1-7 to see if it works. Once the safe is open, collect some valuable loot. No collectibles are found inside.
Safe #11 – Chapter 7: The Hidden City – Loading Docks Interior
You must pass through this area to progress the story, but the safe can be overlooked. After you take the long elevator ride down, three guards will patrol above you. One of those guards walks a path in and out of a tunnel. The safe is in that tunnel. The combination isn’t discovered until later in the chapter, forcing you to backtrack once discovered. Enter 6-7-3 to open the safe and claim five valuable bonds, each worth 20 G.
Safe #12 – Client Job 4: The Carnal Connoisseur – Wine Cellar
In order to access this safe, you must accept the Carnal Connoisseur client job offered by Vittori. The safe itself can be found in the Wine Cellar, tucked behind a painting with two triggers. The combination can be found from two documents in the mission. Adjust the dials to 8-1-2 to open the safe and reveal a hidden door. Go through the door to collect many valuable items, including Client Loot (7/8) – Octopuss.
But we’re not done. Find all the collectible loot items. We show you how!


