
Wasteland 2 Guide: Visit the Radio Tower, Find Ace’s Log Book Pages
Travel to the Radio Tower and investigate the scene where Ace was found dead.
Continue your journey with Prima’s free Wasteland 2 Guide and Walkthrough.
The world in Wasteland 2 is a harsh place, and you’ll need a good and competent team to take on the troubles of the desert. You receive two choices upon launching the game and starting up a new save file: create your own squad of Rangers, or choose from a list of pre-made recruits. For the purpose of this walkthrough we chose to trust the experts at inXile and went with four previously created Rangers.
The Team
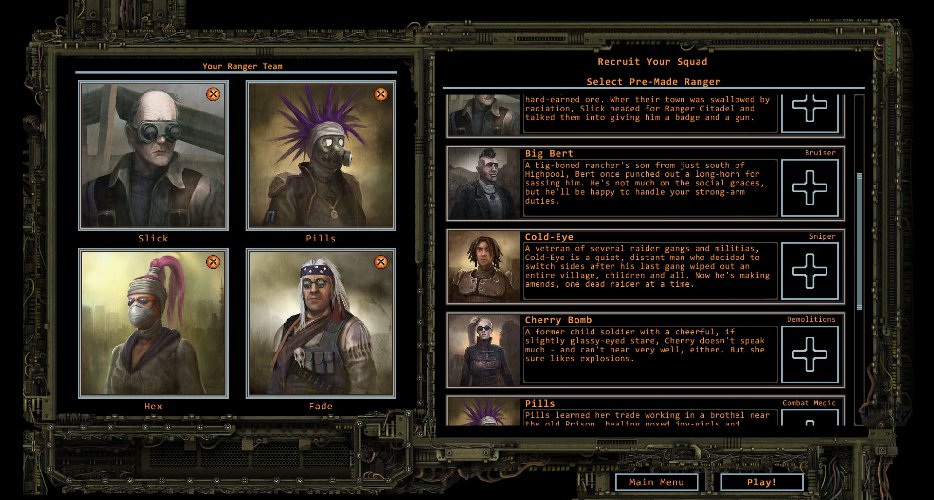
We chose a squad of four, but you can change this up if you crave an even greater challenge. Our team consists of the four base classes we consider the most important.
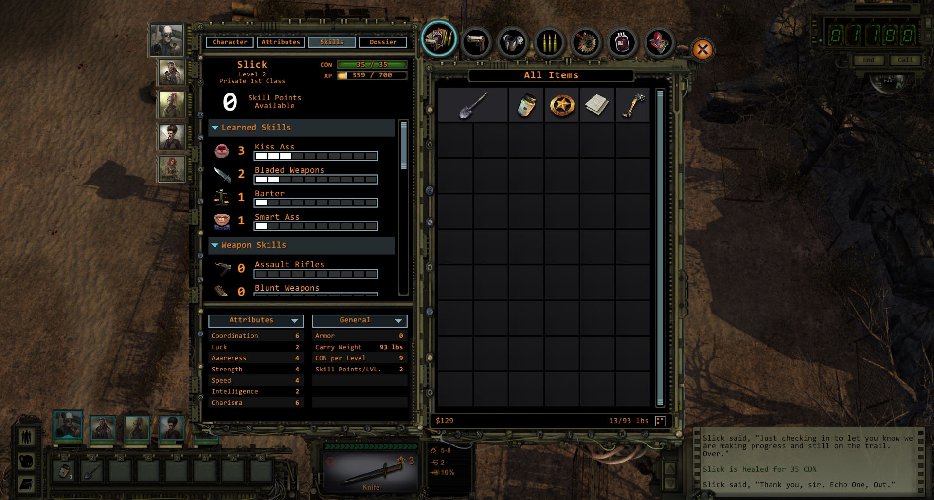
Slick – Negotiator
Skills: Barter, Bladed Weapons, Kiss Ass, Smart Ass
Fade – Safecracker
Skills: Lock picking, Safecracking, Submachine Guns
Hex – Techie
Skills: Perception, Computer Science, Energy Weapons
Widow O’Neill – Jill of all Trades
Skills: Bladed Weapons, Handguns, Kiss Ass, Perception, Smart Ass, Field Medic
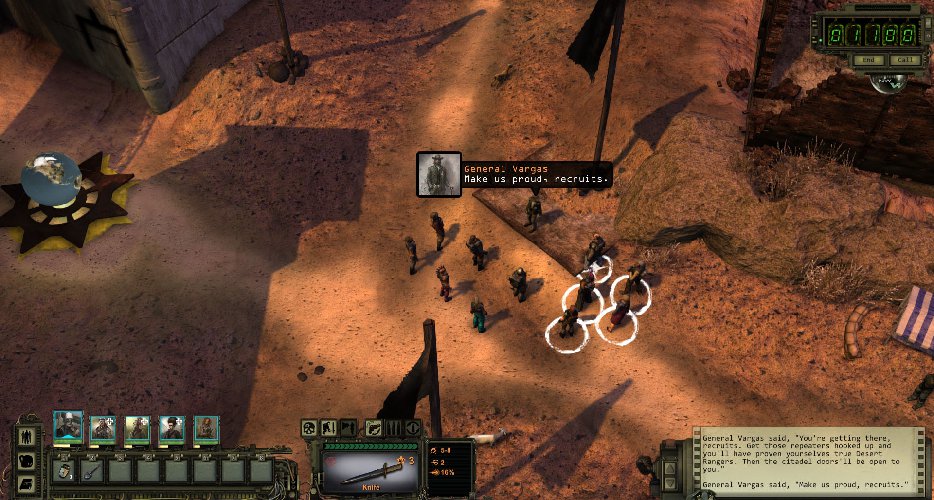
The Ranger Citadel
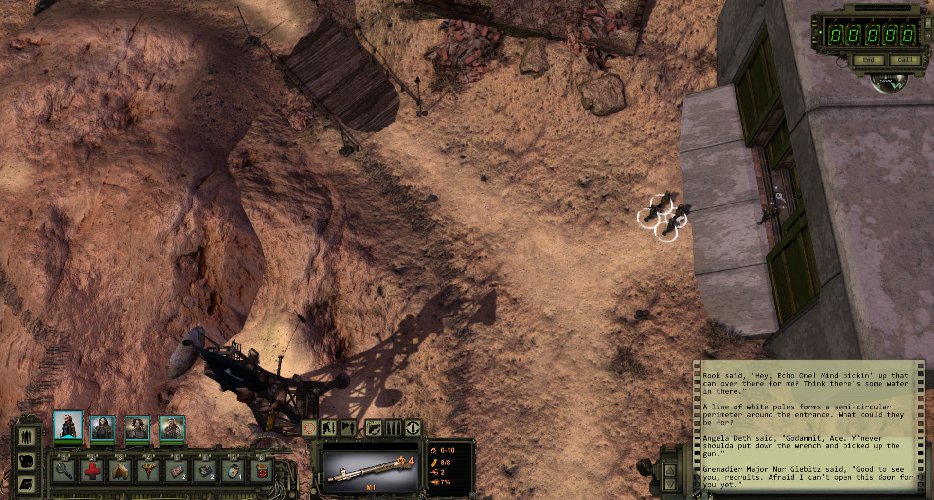
After witnessing the first cut scenes, you’ll enter into a conversation with General Vargas. Listen to him, responding when you need to until you’re shown your Party Map and receive the location of your first mission: Find the repeaters that Ace was carrying when he was killed. Finish the conversation and then head north from the Ranger Cemetery, making sure to pick up the shovel before continuing. Ignore the Citadel entrance for now, as you aren’t allowed inside until you prove yourself.
Continue north across a wooden bridge to find a trader. You can’t purchase much yet, but this is an excellent NPC location to remember, as sometimes you’ll need to spend cash on ammo or armor.
Continue past the trader to find three Rangers sitting on the ground. Ignore them and continue north around the path.
There will be another NPC here, this one busy cleaning graffiti off the walls. You can ignore him and use the shovel on the mound of dirt a few feet from where he is standing. You’ll find a few extra items, including some Scrap.
Now head back down past the lazy Rangers and continue along the path until you find Angela. Talk to her, as she’ll tell you a lot of story-based things, but at the end of the conversation, she’ll ask you to let her tag along. We chose to let her come. Quickly dig up the mound of dirt on the path you took to find Angela before continuing back towards the lazy rangers. There is also another mound of dirt on the path here, so make a short stop to dig it up.
Now that you’ve collected the little bit of stuff you can, it’s time to get ready to head into the desert. Stop by the trader before leaving and sell off any junk. Feel free to go ahead and purchase a few more pieces of ammo, then head over to the revolving globe and click on it to enter the Wasteland
The World Map
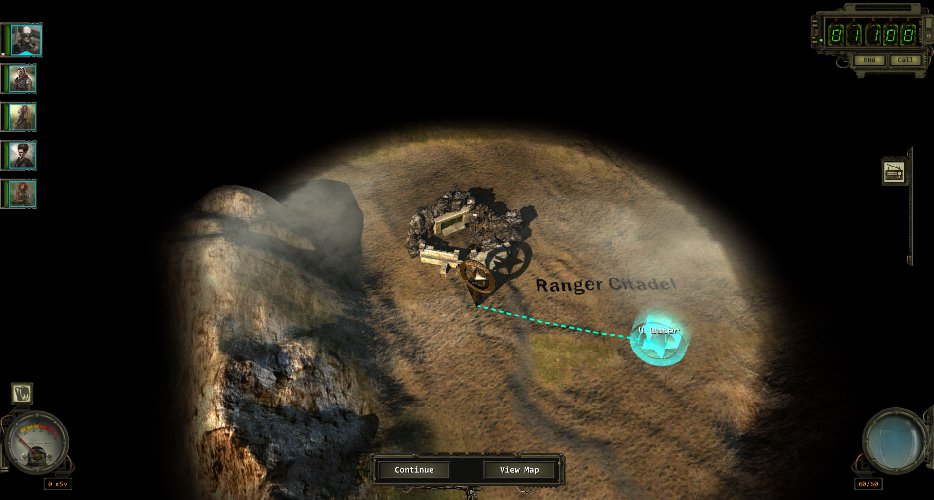
The World Map is your party’s way of getting around to different areas of the game. When you initially enter it you’ll receive a radio call from the Citadel.
Before we continue, we’d like to go over a couple of very important things pertaining to the world map.
First, water is a priority. The globe in the bottom right hand corner of the screen is your water indicator. Initially your entire team will have full canteens. It is very important that you pay attention to this meter, as running out of water is a very bad idea when in the Wasteland.
Another thing to keep an eye on is the radiation meter located in the bottom left hand corner of your HUD. As always, radiation is dangerous, and any paths that bring you close to it should be avoided or treaded carefully.
The last thing to keep in mind when looking at the world map is how much water each move will cost you. When moving your cursor around to select a path to move, a small set of numbers will show you how much water it will cost to make that move. Be careful when taking long movement paths, as the world is covered in a black fog of war. There is no telling what is beyond the edge of your explored areas.
That’s really all there is to the World Map, other than the fact that you can still access your character’s inventories by selecting the backpack above the radiation meter in the bottom left hand of the screen.
Now that you know how to get around the World Map, it’s time to bring up your detailed Party Map. Do this by clicking on the View Map button at the bottom of the screen. Through this map you can see various settlements that you’ve marked, as well as sites that you need to explore for any missions you might be working on. For the purpose of this walkthrough, we selected the Radio Tower that General Vargas marked earlier to continue the mission. Click it and then choose the Travel option on the right hand side of the screen.
There is an Oasis on the way if you want to stop and refill your canteens. This will stop your current path, so simply go back into your Party Map and select the Radio Tower once more to get started.
RADIO TOWER
Once you enter the Radio Tower instance, you’ll receive a mission update from the Citadel giving you a few more instructions concerning your mission. Once you’re done, head north into the area.
Ahead, you’ll come across a large dried pool of blood on the ground. Follow the tiny splotches up to where the path forks. To the left you should see a bush that appears to have a glowing orb over it. Examine the bush to find Ace’s badge.
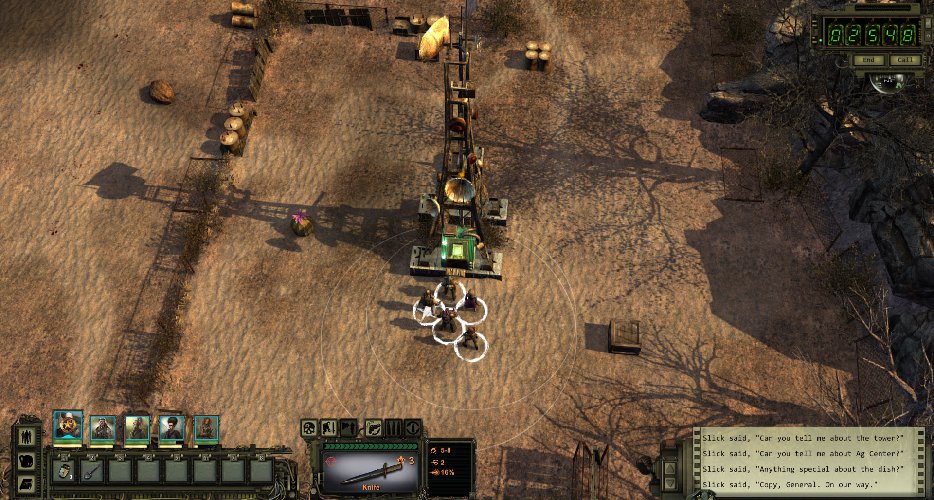
Continue on the northward path until you’re pulled into a conversation with Spyke Alpha. He’ll threaten you for 15 scrap. If you’re running the same setup as we are, or if you have characters with equal or similar traits, choose the Break conversation option. This is a Kiss Ass conversation cue and will convince Spyke Alpha to let you by without any trouble. On top of avoiding a fight, you’ll also receive coordinates on your Party Map to a Mysterious Shrine.
With a fight avoided (or once enemies are defeated), go ahead and continue exploring the area you just opened up. Start with the tower. Examining it will reveal that someone with tech skills can re-splice some wire on it. Use a character with Computer Science and have them fix the wires.
Now continue exploring past the tower, headed northeast. You should see an item on the ground. Pick it up to receive one of Ace’s Log Book Pages. Continue out of the gate where you found the Log Book Page to find blood splatters on the ground by a stack of barrels. Follow the splatters North through the pass in the rocks to find a Broken Metal Leg on the ground.
After picking up the leg, turn right and follow the oil patterns on the ground to find the entrance to a cave. Click on the cave to enter it and continue deeper into it to find a box of items on the left. Open it and take the items before pressing deeper into the cave to attack the large Toad patrolling the area around a dead machine slumped against the wall.
After taking down the Toad, grab its loot and then the Log Book Pages scattered around the cave. Clicking on the item box in front of the dead machine will give you the remaining Repeater Units, as well as another Log Book Page. Now use Perception on the machine to receive a hint that you can retrieve something from it. Use Computer Science on it in order to receive a few extra Energy Cells (ammo) as well as a Synth part. Now click the Call button on your radio to update the Citadel of your mission progress.
You’ll be given new orders to continue on with Ace’s original mission, which was to connect the Repeater Units to the three most powerful radio towers in Arizona. One tower is already connected, so it’s time to connect the others. You’ll also be told to retrieve some parts from the dead machine. If you haven’t already, use Computer Science on the machine to retrieve the items mentioned above and then head back out of the cave.
Level Up
Before we go any further, level up your party for the first time. To do this, click on the Call button to get in contact with General Vargas. After reporting in, you’ll be taken into your character inventory.
Since this is our first level up, we haven’t been given any extra attribute points, but we do have some extra skill points to spend. You can go ahead and spend them if you want, or if you choose, hold onto them for a later time.
If you want to go ahead and spend them, simply click on the Skills tab above your character profile. We chose to level up our characters as follows:
Slick – +1 Kiss Ass
Sadly, none our other characters had quite reached the level up point at this time.
Back to the Ranger Citadel
Now that you’ve been given your next mission, go ahead and make a quick journey back to Ranger Citadel. Once there, you’re going to need to talk to General Vargas. Tell him about the Log Book Page you found, as well as turn in the Broken Metal Leg to him. He’ll pass it on to Captain Mercaptain and you’ll receive new information concerning two of your side quests. Open up your Log Book by pressing the L key and take a look at the updates.