With a variety of scenarios and outcomes, Beyond: Two Souls provides a gripping and intense experience for PS3 owners. With this in mind, here’s the best way to tackle Chapter 9: The Condenser.
Paranormal activity plagues a laboratory, thanks to a rift being opened. Jodie is sent in by Nathan (or the CIA, rather) to fix the situation. She’s the only one who knows what lies beyond the rift.
A Warm Welcome
As Nathan and Jodie pull up, exit the car and head for the laboratory’s entrance; there’s one heck of a gruesome sight. Meet up with Nathan at the entrance and watch a cut scene, then head inside the building.
Access the Elevator
Make your way down the dark corridor. Follow the blood trail leading to an accessible elevator. Examine the panel and press the switch; the elevator is stuck and won’t move.
Switch to Aiden and go inside the elevator, then descend down inside of it. A crate prevents the elevator from closing. Shove it out of the way to get the elevator moving again.
You’re Not Alone
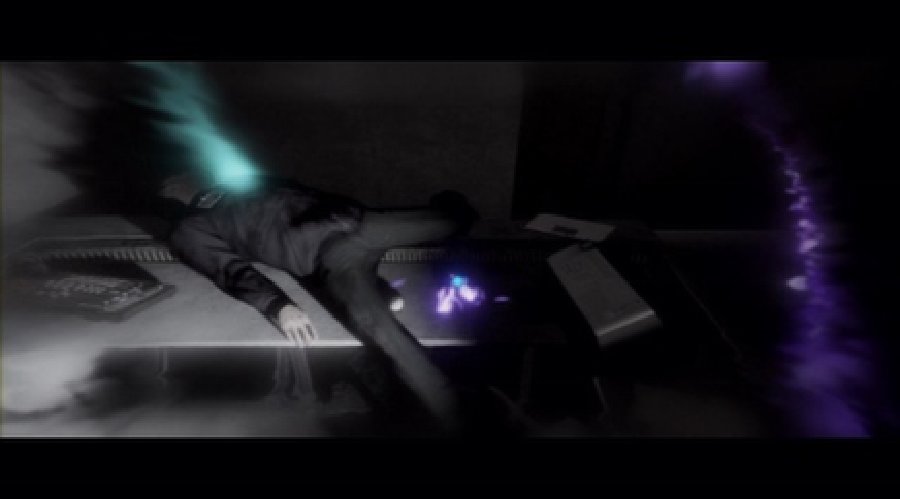
When the elevator arrives, grasp its door handle and push it open by tapping X. With the elevator open, hop inside it. A scientist’s corpse will freak Jodie out. Get up when she loses her balance. Afterwards, examine the body and trigger a flashback using Aiden. Direct the beam towards Jodie’s head while maneuvering both orbs.
At the flashback’s conclusion, access the elevator’s floor panel and hit the switch. You’ll ride down to floor “-4,” the laboratories.
Nothing but Death
On Floor -4, approach the soldier’s body to trigger a cut scene – the man gives you a forewarning in the room ahead. Get back on your feet after Jodie has another frightening fall, then move the soldier’s corpse that blocks the room ahead. With the corpse out of the way, open the door and head inside a narrow hall.
Peek-a-boo
Walk past the scientist’s corpse (you’ll witness a creepy moment here) and approach the door at the other end. Look through the door’s window, then try to open it for yet another disturbing scene. Jodie isn’t capable of opening the door alone, so switch to Aiden and head inside the room on the other side.
There’s Always a Switch
In the other room, you’ll find a switch on the entry desk (it’s next to the corpse). Press it as Aiden to open the door. Jodie can now enter this area.
Anyone There?
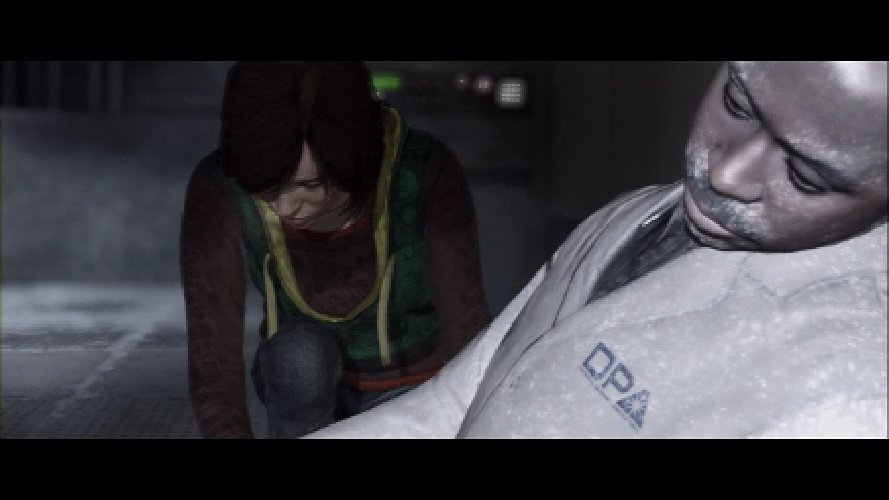
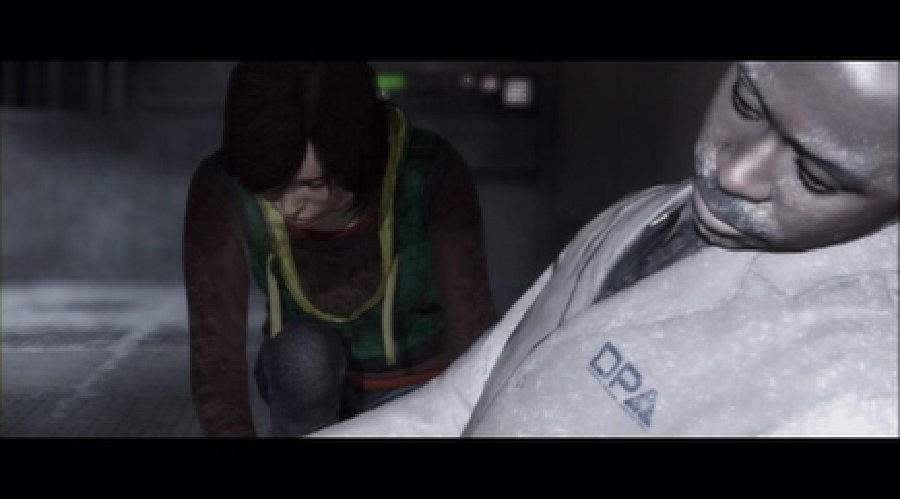
As you enter the room as Jodie, examine the body on the desk and trigger another flashback. This will give you more info on what happened in this laboratory. When you’re finished, take your first right and head through the broken-glass doors (the path straight ahead is blocked by fire). You can trigger another flashback from the scientist’s body in this room as well.
In the Vent We Go
Jodie will point out an air duct she can navigate through in the ceiling. The vent is blocked by a heavy panel. You can attempt to move it as Jodie, but she doesn’t have enough strength. Instead, switch to Aiden and push the large panel out of the way.
Doing this will convert the panel into a ramp for you to reach the air vent. The vent can only be opened by Aiden; pull it open before you climb up. Jodie will need to pounce upward to reach inside the duct, so use the motion-button prompt to get inside.
The Room Below
Crawl through the vent and drop down into the office on the other side. This room is on fire, so be cautious and head around the flames. Once again, you can trigger a flashback from a corpse in here. Work your way to the other side of the room (more phenomenon will be present inside). A radio will suddenly play next to you – take care of this disturbance by throwing it into the fire as Aiden if you’d like.
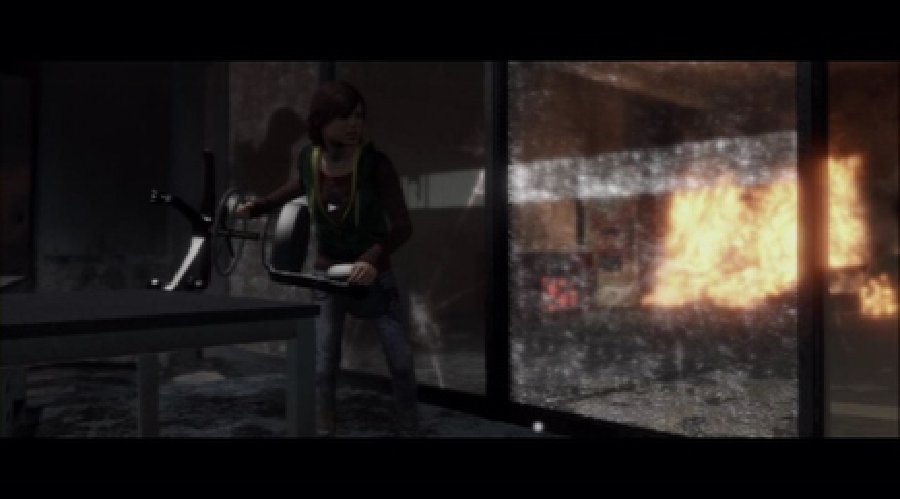
When you reach the other side of the office, you’ll notice the glass windows are cracked. There are two ways to break them: (1) As Jodie, pick up the office chair and smash the glass repeatedly, or (2) As Aiden, shove one of the tables through the glass to break it.
Fire Fighter
With the glass opened, walk through the window to reach a dark hallway with vending machines. You can turn on the vending machines with Aiden if you wish, but it has nothing of importance. Also, another flashback can be triggered from the corpse in front of the soda machine. Follow the “Level -4” bend in the hall to your right. Check the fireman’s body for another flashback – and a hint.

The path is blocked by flames. Jodie will mention she needs a fire extinguisher. Switch to Aiden and float through the fire. You will find an extinguisher lying on the ground; push it through the fire and to Jodie so she can use it. Then switch back to Jodie, pick up the extinguisher and use it to put out the fire (hold L1 to spray it).
Mad Scientist
Now that the fire is cleared, head to the room labeled “Lab 02” on your left (a scientist on fire will collapse in front of you when approaching the office). The lab is built around the same breakable-glass you went through earlier. Here, you can either climb through the broken-window and get out, or simply smash it open with the chair as Aiden. We recommend the latter because it’s more fun.

In Lab-02, you’ll hear an outcry from a scientist nearby. He’s hiding in the top-right corner of the lab. When you approach him, you’ll witness a cinema and the man will get possessed by an evil entity. This is a chilling segment, but nothing you’re not familiar with. Use your button-pressing and dodging skills to evade his attacks. Sway in the same direction as Jodie implies.
Note: If Jodie is inured in this fight (or if you miss some button sequences), Aiden will save her. Upon doing so, you’ll need to heal her wounds.
Cool Scene: In Lab-02, there’s another dead scientist sitting in front of a computer monitor. Check his body to initiate a thrilling (and funny) cut scene.
Dodging Skills: Part Deux
With the possessed-scientist dealt with, return to the hallway by exiting on the left side (opposite from where you entered). Move onward and check the soldier’s corpse for a flashback. In front of the dead soldiers, a large console is blocking the entryway to Lab-03. Again, you can try to push it as Jodie, but make it easy on yourself and blast it a couple times with Aiden.
There’s a whole bunch of evil presence in Lab-03, so get your fingertips ready. Everything will begin to move and attempt to hurt you, including tables, chairs, cabinets and even a wire. Watch and follow the button cues to avoid being hurt.
If you succeed in this segment, the chapter will continue. If you don’t, refer to the Alternative Ending section. When you succeed in this event, approach the nearby door. Open it halfway from the panel and then crawl through.
Freezing Hall
It’s bitter cold in this hallway, and to top it off, a bunch of dead scientists are a part of the scenery. Make your way to the door on the opposite end of the hall (straight ahead) and examine the emergency panel. Unfortunately, the panel requires an ID card, which you don’t have. One of these scientists, however, should have one.
Turn around and enter the office to your left (through the open window). You can begin searching each body for the card, but save yourself some time and discover it from the corpse leaned up against the wall in the back of the room. Hold X to view the body (and card), then grab it.
Walking Dead
Grabbing the ID card from the scientist triggers another quick-time event where several possessed-scientists come to life and attempt to kill Jodie. Press the button prompts to evade their threats. Soon, Jodie will jump through one of the windows – lean towards it and run for the emergency door.
The ID card won’t work right away when Jodie tries to use it on the panel. In the meantime, you’re required to protect her and will take control of Aiden. It doesn’t take much to bring them down, so target each one quickly and attack them using the joysticks.
Not Saving Jodie
Failing to protect Jodie will result in the “bad” alternative ending. Check the Alternative Ending section for more details.
Restricted Area
When you fend off the scientists in due time, Jodie will finally get the door to open. This will put you back in control of her. Go over to the second door ahead and use the ID card again to gain access to the following lab where the condenser rift lies. You can trigger yet another flashback from the corpse inside.
When you’re ready, go over to the monitors in front of the large window. Another scene will take place, and you’ll witness the condenser’s true power.
Close the Rift
After the scene, pull the power lever next to the computer. Unfortunately, nothing will happen. There’s another console Jodie will need to access. Take one wild guess where it is. Yup – inside the condenser room where evil entities roam about.
Enter the condenser hall via the door in the top-left corner. Jodie is going to make a run for the console, and Aiden will need to protect her again. This scenario works much like a quick-time event. The game will automatically swap between both characters.
When you’re Jodie, you’ll need to move up and towards the console in each section while pressing button cues. When Jodie is threatened by evil entities, you randomly take control of Aiden and need to vanquish them. We put together some quick steps to get you through this last segment of the chapter below.
Note: Failing to reach the condenser will result in the “bad” ending. Refer to the Alternative Ending section for more details.
-Run right and begin ascending the ladder.
-Evil entities will swarm Jodie. Dismiss them as Aiden.
-On the second-floor catwalk, head towards the next ladder and dodge the entity (if it does hit her, you’ll need to fend off more of them).
-The second ladder is too high for Jodie to reach. Switch to Aiden and push it down for her, then climb up.
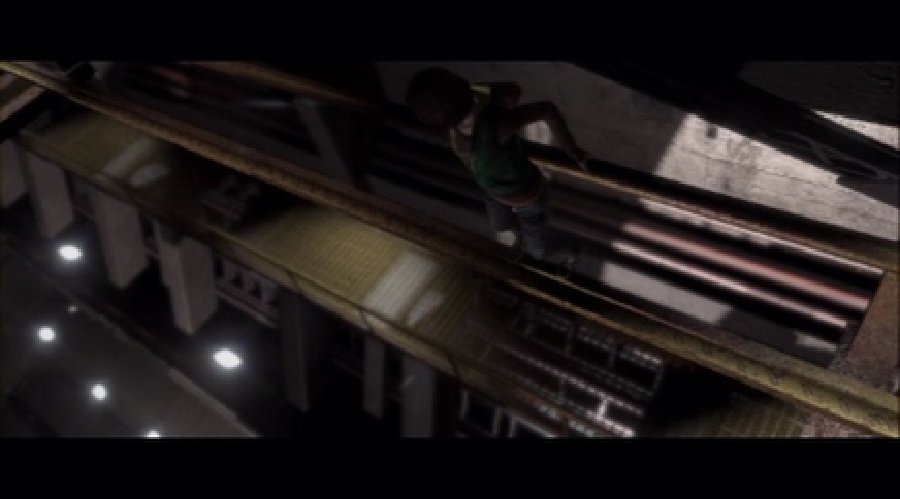
-On the third-floor catwalk, a section is broken. Jodie will need to side-step on the beam to get across. Defend her as needed, then run for the following ladder.
-When you reach the fourth floor, a panel for a crane will be beside you. Hit the switch and then leap forward: Jodie will land on the crane. Here, fend off the entities and then regain your footing as Jodie. Run and leap for the catwalk ahead afterward.
-Once you reach the fifth-floor catwalk, you’ll approach the console. Here, you need to simply run for the console, but be sure to leap over the gaps on the catwalk to make it there.
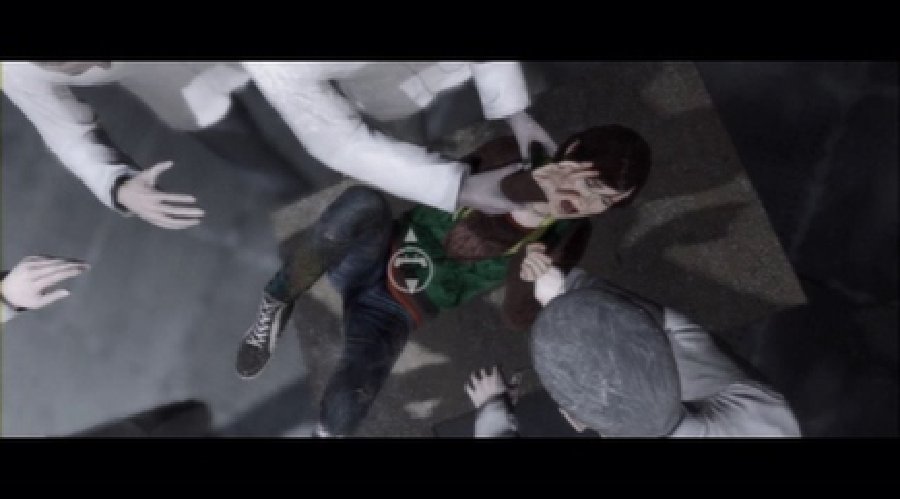
Alternative Ending
There are many ways to wind up with this ending. In a nutshell, this conclusion will ensue if Jodie is hurt enough, you lose a fight or fail to reach the condenser.
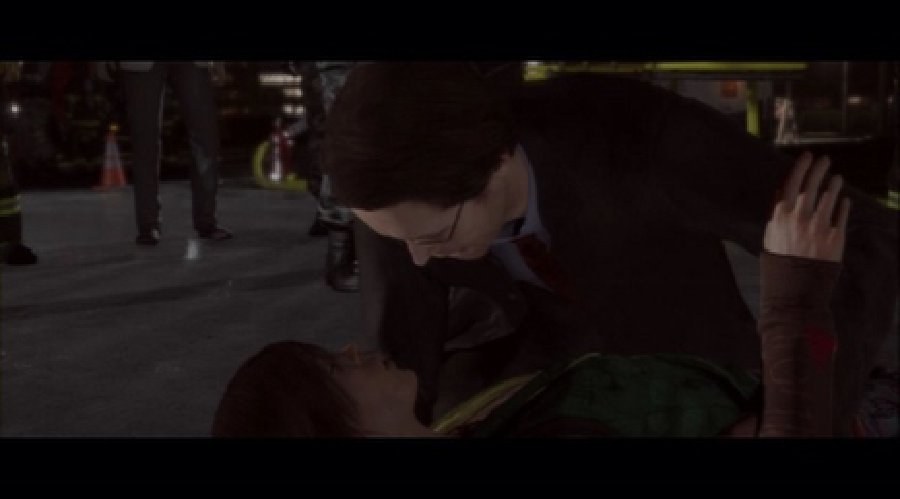
In any of these scenarios, Jodie will give up, so to speak, and abandon the mission altogether. Upon doing this, Jodie will need medical attention and collapse in front of Nathan outside. The chapter ends here.
Beyond: Two Souls is currently available for PlayStation 3.


