One of the best things about Destiny 2 has been digging into the lore. Not only does the game include some massive bits of backstory for players to theorize over and digest, but over time Bungie has slowly taken some of these situations and brought them to life in-game, for players to find. Callum’s Grave is the latest location to make an appearance, and in this article we’ll show you how to reach Callum’s Grave in Destiny 2, as well as talk a little bit about how players believe it will play into the overall narrative of the game.
On top of the obvious connections that the grave seems to make with the in-game lore, many players have also theorized that the location they’ve found is a part of the time-gated portion of the Malfeasance Exotic Hand Cannon quest. There’s no official proof of this just yet, so take that with a grain of salt, but it is definitely an interesting thing to find added into the game with Forsaken’s release. Any players looking to make their way to this location and see it for themselves will find themselves face to face with one of the most difficult jumping puzzles in Destiny 2 so far. Here’s what you need to do to find your way through.
How to Reach Callum’s Grave
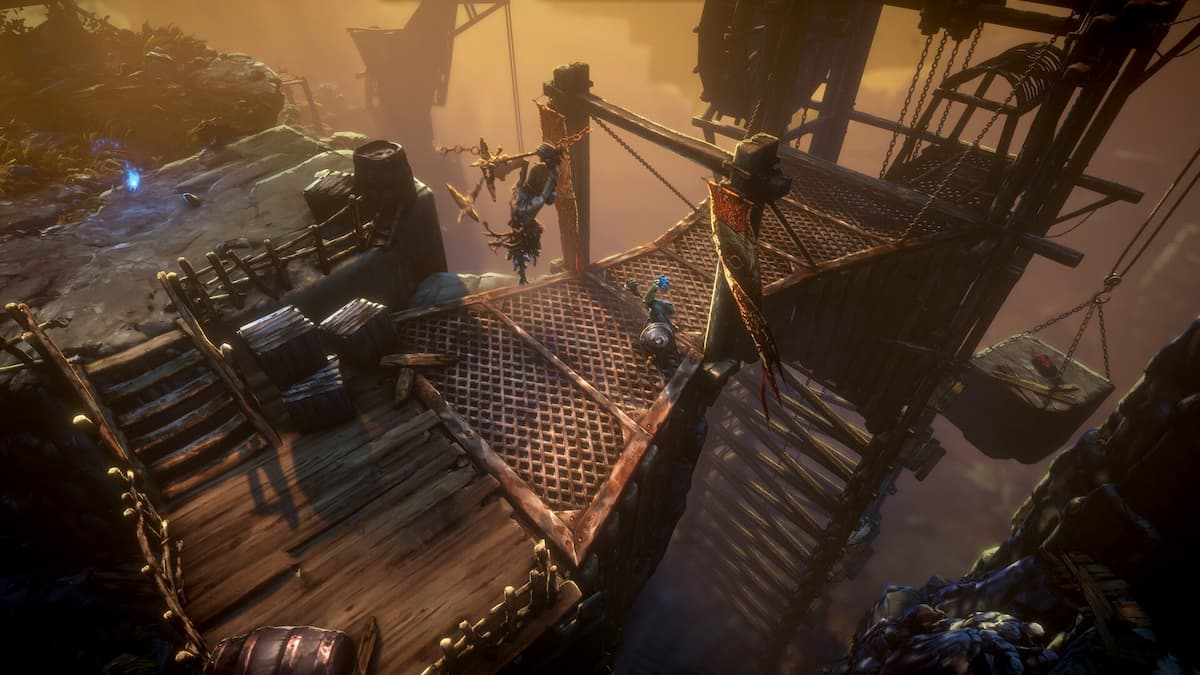
Callum’s Grave is a location that players can find when exploring the Corrupted Strike in Destiny 2: Forsaken. Located in the Dreaming City, this strike contains a hidden jumping puzzle that you can complete to reach the area where Callum perished in battle. Now, there’s no official backing stance on how involved this portion of the game is in the Malfeasance Exotic Hand Cannon quest, or if this is even connected to anything other than the game’s lore and backstory. However, we’ll be sure to provide an update on that if more information is released.
After completing the first with the massive Ogre in both the normal and Ascendant planes, it’s time to start on your journey to find Callum’s Grave. Head through the portal and then down the steps in front of you to discover another portal that you can travel through to reach the Ascendant Plane and begin the first steps of this journey.
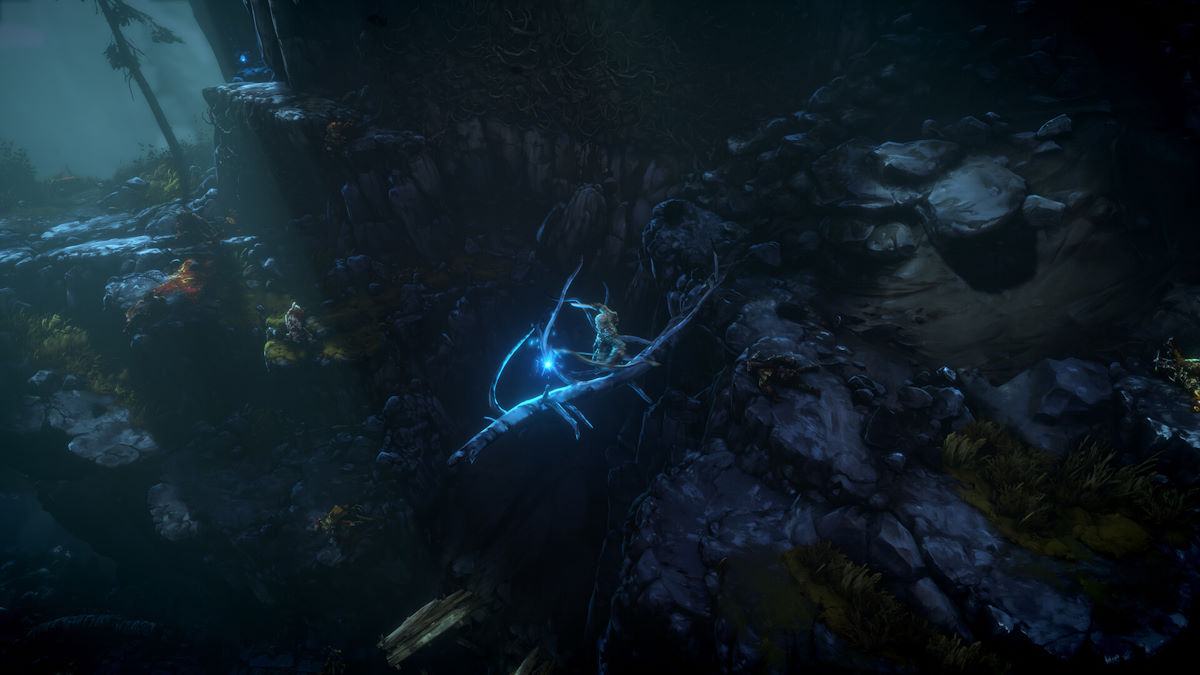
Now, the hard part of this all is going to be completing the jumping puzzles involved. This might be very difficult for some players, and you’ll need to come to the table prepared if you want to reach the other side without dying. As soon as you spawn into the Ascendant plane, turn around and run to the right until you see a crystalline structure. There’s a large rock behind this structure that you will need to jump up to.
Once you reach the rock, turn and look for a crystalline ledge that you can jump over to. Jump onto it, then up and to the right to reach a small alcove. From here you can jump to a small piece of rock that juts out, and then up to the top of this rock to reach a higher portion of the area. Now, place your back against the wall and jump out and to the right, wrapping around the cliff face until you spot another ledge that you will need to land on top of. From here, jump out and up to the right once more to find the final ledge in this part of the puzzle.
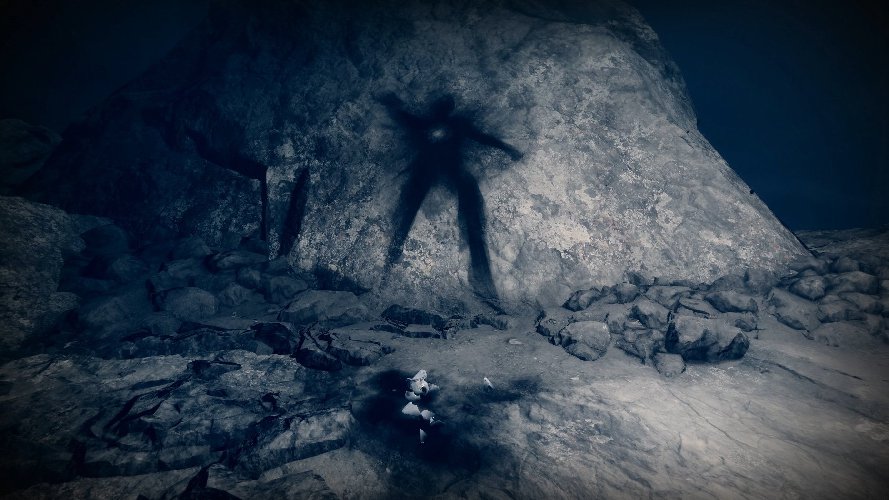
With the ledge reached, simply continue onward until you spot a light in the distance. Jump over any gaps in the path and continue to the light, where you should see the remains of a human corpse as well as a Ghost, both long dead. Many believe that this corresponds with Callum’s death, a scene that is explained in the lore entry Shadow on a Wall. You can read the full entry on the Ishtar-Collective website, or check it out in-game if you’ve managed to unlock it.
Either way, the location you visit definitely plays some part in Destiny’s extensive lore. For now, it’s just a cool little place you can visit, and definitely something you should check out if you want to dive deeper into the game’s secrets. You can head back over to our Destiny 2 guides for more in-depth content around the game, including guides on the Wanted Bounties, as well as an extensive guide to all wishes on the Wall of Wishes in the new raid.