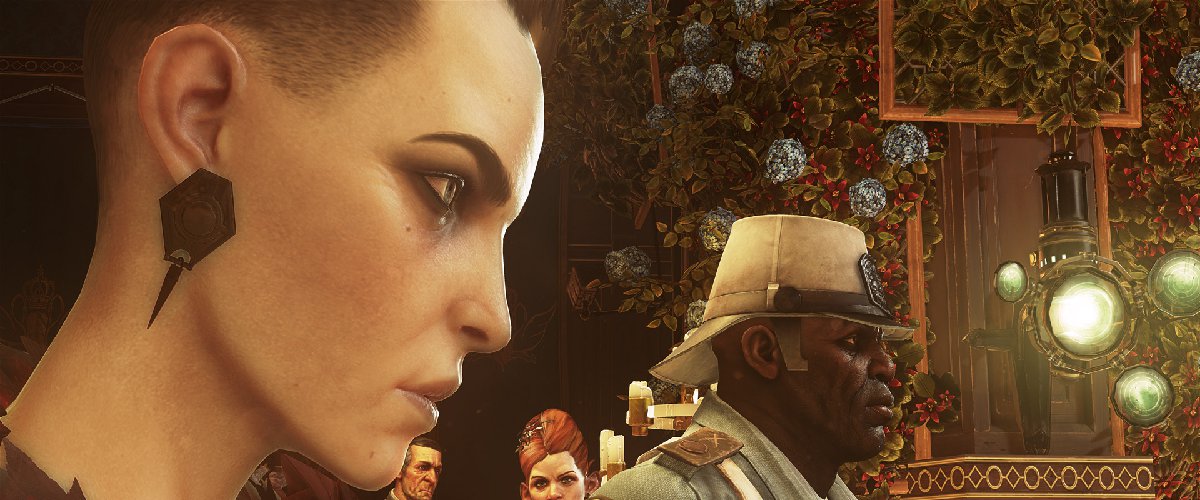
In this guide we will show you how to complete the fifth chapter of Dishonored 2, The Royal Conservatory, with a Low Chaos rating.
Learn What Vice Overseer Byrne Knows
After the events of the last chapter, The Clockwork Mansion, Anton Sokolov revealed that Breanna Ashworth, the person who runs the Royal Conservatory, is allied with the people who stole the throne from the Kaldwin family. In this chapter, you’ll need to infiltrate the conservatory and take out Ashworth.
Before you approach the Conservatory head-on, take a moment to find out what the Overseers know. There are also a ton of collectible items around this area, so make sure to grab them before continuing. You’ll be dropped off in Cyria Gardens, where you will start the mission.
Loot the immediate area, then crouch and look to your right. There is a Guard above you, patrolling the docks. When he turns towards the stairs, Far Reach up to him and knock him out. If you look ahead from here, you will spot an additional assortment of Guards by the next set of buildings. Wait for the patrolling Guards to move away, then Far Reach to the left side of the street and ignore the other Guards behind you as you head over a canal. Slow down up here, though, as the group of civilians in front of you are actually criminals, which you’ll want to avoid.
Use Shadow Walk to move quickly and quietly without getting their attention, then stick left and watch for a basement entrance that leads down to the Black Market. You can purchase some items here if you wish, or continue through the mission. If you head inside and purchase some items, you can receive an additional mission from the Black Market shopkeeper. We won’t bother with that this time around, however, as it can be quite challenging for those trying to complete the game using stealth and Low Chaos.
Head back to the canal from the market, being careful to avoid the howling criminals nearby. Stick to the upper catwalks above the water and make sure to crouch as you move towards the pawnshop. There are Guards that can easily see up here, however, crouching causes your body to be hidden behind the short wall to the side, allowing you to sneak past without being seen. Look out for a door that leads into the pawnshop, and be wary of the three Guards posted on the rooftop. Since they all look out over the street, you can easily sneak up behind them and take them out very easily.
Look for and make use of the open vent in the rooftop to gain access to the Overseer’s chamber. Luckily he’s already asleep, so just knock him out for good and loot the entire room to find an Audiograph that will complete your goal and give you more information about Ashworth’s dealings with your enemies.
Uncover Ashworth’s Role
From here all you need to do is make your way across the rooftops using your jumping skills and Far Reach ability. Be wary of the Guards in the area, but you shouldn’t have too much trouble if you stick to the high ground. There are plenty of items like Runes and Bonecharms to be found in this section, so make sure to loot it before continuing through to the Conservatory. Once you are ready to continue the mission, push forward towards your waypoint and look for a half-opened window that you can climb through to enter the Conservatory.
Crouch and enter the laboratory. There are two women in the room ahead of you, so listen in on their conversation to learn that they are Witches, with Outsider powers like yours. They’ll still go down really quickly, though. If you can get the drop on them. The first one to leave moves out into the hallway and away from the room. This is your first target. When she turns her back to the wall, approach and take her down. Pull her body into the lab and hide it, that way she cannot be seen in the hall. While you could try to sneak up on the other Witch, who is just sitting on her bed, it is much easier to simply pull out your Crossbow, line up the shot, and take her down with a sleep dart.
Head down the main hallway and use your Dark Vision to locate another Witch patrolling the room nearby. Choke her out carefully and drag her to a cleared area to hide her body. The upcoming area is the most difficult portion of this mission, though, as you will have to deal with multiple patrolling Witches. Use bookcases in the area for cover so that you can approach closer to the Oraculum. Use patience in this situation, and make sure to let a couple of the Witches come towards you before you knock them out. Once they turn to walk away, take them out quickly and drag them behind the nearest bookcase to hide their bodies.
There are also Witches patrolling the upper tier of this room, and they can see down into the area that you are currently in. Make sure to stay behind cover as you move through the area, and always make sure they aren’t looking in your direction before moving. Luckily the only Witch on this level of the area is stocking books, so she is easy to choke out and dispose of. Once on the third floor, head to the front of the building to find Bloodfly nests all over the place. Destroy the nests as you pass them, and collect any loot you find along the way.
Make your way back to the stairs and interact with the elevator call panel to bring the elevator up to you. Hide before it arrives, though, as the dinging bell will attract the attention of a nearby Witch. Wait for her to leave, then head into the elevator and Far Reach through the hole in the ceiling. This will allow you to access a nearby library, which will lead to a window you can use to continue through the chapter.
Once outside the library you will hear telltale signs of a conversation coming from the floor beneath you. Listen in for a bit of interesting information, but then head into the office and lab on the opposite side of the hallway to find some additional loot as well as some Lenses, which you’ll need to progress. There’s a door nearby that leads outside to a ledge with a few Bloodbriars and two Gravehounds. There is also a Rune here you can grab. Simply destroy the Bloodbriar in front of you with ranged attacks, then Far Reach past the briar’s body and come at the altar from the opposite side to keep from waking the Gravehounds.
Head back into the building and look out for patrolling Guards. You can search the office at the bottom of the stairs to find some loot, but you’ll also need to grab the Documents off the main desk to continue the chapter. Make sure to watch out for the statue of Delilah, as it will warn Guards to your position and cause you to be spotted.
Take Out Breanna Ashworth
Now it is time to take out your target and shorten your list of opposition. Head back through the Conservatory to the second floor and use the Lenses you found in the office and lab at the Oraculum. After everything is install, pull the lever on the right to bring Breanna Ashworth’s life to an end. It doesn’t count against your Low Chaos rating, either, which is nice.
Retrieve Breanna Ashworth’s Audiograph
Before you can leave there is one more thing you must take care of. Head down to the first floor of the Conservatory and look for a set of stairs leading down to the basement. With Ashworth down, the building is actually much safer for you to explore, so take your time and look around for goodies you might have missed. Head down the stairs into the basement and look for the Quartermaster’s room. Inside you will find the Archive Key, as well as a Bonecharm. Grab both then head back into the basement area and head deeper into the basement. Take out the Bloodfly nests you come across, then use the Archive Key to open up the locked door and grab the Audiograph that you are looking for. This will complete the main mission, so you can head back out the building and meet up with Captain Foster to continue the story.
Continue through to our walkthrough for the fifth chapter, Dust District, or head back to the Dishonored 2 walkthrough to learn additional tips, tricks, and collectible locations.


