Return to The Evil Within Walkthrough.
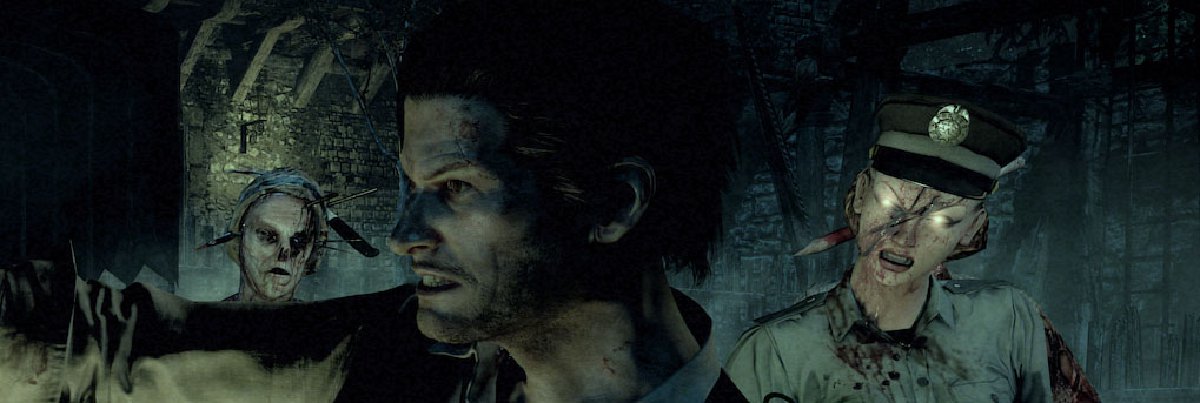
The chapter will begin with Detective Sebastian Castellanos climbing down a ladder, and that’s just about the only downtime players can expect for approximately the next hour. What follows will be a series of mazes, boss fights and continuous terror that is nothing short of a marathon. Let’s begin.
This is a chapter where describing every turn and doorway would be nearly impossible, so instead we’re going to focus on giving the details on how to progress forward. It might be an item you’re looking for or an enemy you have to kill, but we’ll give you the goods on what it takes to survive. Because the game is quite linear, players should be able to find their way (eventually), so don’t be afraid to explore and scavenge for goods.
Upon reaching the bottom of the ladder players will be able to find the Mansion Basement Note. It won’t really help you progress through the chapter, but it won’t hurt so you might as well pick it up.
After grabbing that and doing some looting, continue on your way, heading down a ladder and crouching underneath a trip-wire of sorts. When you pass through two large double doors and into a very dark area, the first real challenge of the chapter is upon you.
As long as the lights are out you’re fine, but as soon as they turn on there will be a giant blade that circles the room. If you’re standing when it swings by, you’re going to lose your head. You can move around under it, just make sure to crouch. Oh, and the area is full of enemies.
Make your way to the right side of the room and into a secondary area. You’ll be safe to walk around here, and when you find a ladder you’ll be on the right track. Use your Shotgun to down any problematic foes, working your way into a back room where you’ll find the Battery Pack sitting on a desk. This is your ticket out of the first of many nightmares.
Head back down to the first floor, once again fighting your way through the side rooms in search of a place to put the Battery Pack. After placing it in the correct location you’ll be able to start making your way to the door. This is of course on the other side of the massive blade that’s swinging around the main room, so hop into the middle and crouch. Just make your way forward until you find a hallway and the doors shut behind you.
Keep moving along until you climb down another ladder, then spend a few moments looting the nearby rooms as you mosey along. You’ll come to a door with a lever, and pulling it will reveal that you’re searching for yet another Battery Pack. Oh joy.
Go through the nearby door into what can only be described as a maze mixed with a house of horrors. There are traps, enemies and even a makeshift boss fight that you’ll need to survive, and it will all come at you at once.
Tip: You can often lure your adversaries into the traps that were intended for you. It’s hard to plan, but when it works it’s quite effective, not to mention satisfying.
Fight and crawl your way through the maze of enemies and traps until you reach your Battery Pack. It’s actually not that far from where you entered the area, and when you have it, keep moving through rooms in search of its home. When you pass between what looks like a giant wood chipper, then crawl under some filing cabinets, you’ve arrived.
The Battery Pack will have given power to the door that you couldn’t pass through some time ago, but it’s also turned on all the horrible devices of death in the rooms you just passed through. The good news is these devices can harm your enemies as easily as they can you. The bad news is there are two massive boss-like creatures that appear to have giant fishing hooks for heads.
Start making your way back through this house of horrors, using your Shogun to dismantle the smaller creatures, and your Explosive Bolt for the fishing hook dudes. In fact, a couple Explosive Bolts at their feet and we were able to take both of these monsters out simultaneously.
Tip: These fishing hook fools both had 3,000 Green Gel on them. It’s likely worth stopping to snag that.
As you make your way through the maze of destruction you’ll eventually come to an iron gate that can be operated using a nearby crank. Turn the wheel and pass through the gate, then pull the nearby lever to get through a door a short distance ahead. This will deliver you back to the problematic door that started this mess. Pull the lever to progress further along.
No tricks here. Just sprint through the halls until you’re transported via a scripted event, then keep moving through more corridors until you pass through two giant double doors and find yourself staring at chain link fence up ahead.
Remember the crazy spider-lady boss fight? Well, we now know its name is Rebirth Laura, and it seems there are about six of them, although we’re pretty sure it’s just one. It’s important to know it doesn’t appear you can kill it, so don’t bother wasting your ammunition. In fact, for the next part your focus should be on disrupting its progress as you attempt to find a door, or some other passage to the next part of the chapter.
Head down the stairs to find your path blocked, then pull the nearby lever to open the two nearby iron gates. Crawl under them as quickly as possible to avoid Rebirth Laura. When you’re through, keep moving along through a few corridors and doorways until a short cut scene shows you slamming one on the beast’s arms.
Tip: The next area will be filled with pipes that have flames coming out of them, or at least could have. Look up to the roof for levers, then shoot those when your foe comes close. This will activate the flames and set the creature on fire, giving you a chance to find a way out.
When you arrive at an area with flames shooting out of pipes you’ll want to put bullets into the levers that control them. This will allow you to move forward, passing into a corridor and through to a ladder that is blocked off by fire. Pull the nearby lever, but before you can climb the ladder you’ll need to avoid the spider-lady for a few moments. Lure her to one of the nearby pipes and set her on fire to buy yourself a bit of time.
Climb up the ladder and make your way forward. Rebirth Laura will chase you, but you can shoot another overhead pipe to set her ablaze. When she’s screaming in agony, run forward and pull the giant lever that controls the fire blocking your path. If you need to, turn around and shoot her a couple of times to slow her progress, although this is not the most effective use of your bullets.
Continue moving until you can turn right into a short corridor, then shoot the overhead lever to make your way through into the next area. The spider-lady will be close behind, but by now you know the formula deal with her. Use the pipes to light her up, then search for a giant lever that will allow you to pass through to the next area. When you do, you’ll make your way to an elevator and trigger a cut scene. No more Rebirth Laura for you.
Then next time you’re in full control you’ll be back in the foyer of Ruvik’s mansion. Head through the main door on the first floor, making your way through the hallway until you trigger a cut scene. It’s a long one, so grab a drink and enjoy. The next part is just as intense as the last… maybe more so.
When you’re back in charge of Castellanos, loot and move through the parking structure until the boss fight kicks off. When it does, stay as far away from the multi-headed beast as you can. We made the mistake of letting it get its hands on us once… that was enough.
Tip: Now is not the time to mess around. If you have the parts, craft as many Explosive Bolts as you can, plus consider whipping out your Grenades. Bullets at this guy are like pebbles against a mountain. Utilize several Explosive Bolts and Grenades to end this fight in a big hurry.
The boss-fight area is somewhat like a horseshoe, so jog around it to avoid the attacks from your foe. There are even a couple of side rooms to hide in, but the beast can reach you if you aren’t careful. Loot up as much as you can, then do what we told you to in our tip and blow this guy up.
When the monster is finally down, make sure you grab any loot you missed while running for your life, then climb aboard an elevator to trigger the chapter ending cut scene. Congratulations on surviving that one.
Continue with The Evil Within – Chapter 11 – Reunion.


