You’re 45 minutes to an hour into Nintendo’s The Legend of Zelda: A Link Between Worlds. Now it’s time for the first official dungeon! Don’t be nervous. We’re here to help you every step of the way. For more in-depth strategies, check out Prima’s Collector’s Edition Guide, along with this extremely limited Legend of Zelda Box Set.
For the complete walkthrough, visit Prima’s free A Link Between Worlds guide.
The Eastern Palace
Gain Entry to the Palace
The only route you can take to the palace as of now is heading south from Link’s house and crossing the bridge. In the west section of palace area, you’ll see a set of stairs guarded by two crystal (ball) switches on its sides, as well as pillars with the bow symbols. Nail each switch with an arrow to unlock the door ahead.
Not a Maze
It may seem a bit confusing around the palace’s outside area at first, but keep in mind you’ll need to stay in the upper sections (using the stairs) and move east. There’s a small hut located to the west, but you won’t have the proper “ability” to access its goodies right now.
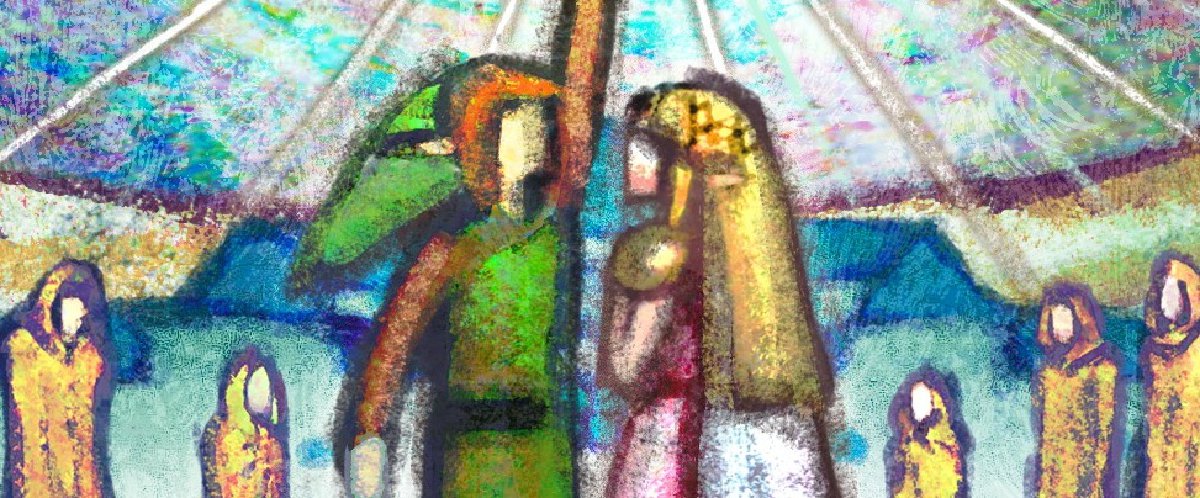
Osfala fella
When you reach the Eastern Palace’s main entrance, you’ll encounter Sahasrahla’s sidekick, Osfala. He’s rather cocky and ignores Link’s warning about the recent events, and then enters the palace with his Sand Rod. It’s time to venture into your first OFFICIAL dungeon of the game! Save your game from the weather vane nearby and proceed inside.
Eastern Palace – 1F
Switch the Tile
Upon entering, go right and step on the switch tile (that stands out). This unlocks the northeast door. Enter the room inside. Sadly, you’ll only find some Green Rupees. Return to the entrance and look across the central gap; there’s a crystal switch on the other side. Hit it with an arrow to assemble a bridge that allows you to cross. Head up one screen.
Free Rupee
From this hall, shoot the crystal switch to the left while taking care of the slimy enemies. This will unlock the upper-left door from the palace’s entrance and allow you to reach the chest containing a Red Rupee! When finished, return to the central path and go inside the northern corridor.
Great Balls of Fire
Large black balls shoot from an endless pit from the north. To avoid them, side-step from their opposite position. The large balls cannot be evaded, so use the narrow paths on the sides to steer clear. You’ll notice a large door to the north is locked and you need a key. We don’t have it yet, so go to the left side of the room from the northwest and ascend the stairs. Cross the bridge to reach the upper eastside of the corridor. You’ll discover another tile switch on the floor here – step on it to open the east door and go through.
Crystal Switch’n
The central floor in this hall will raise and lower itself periodically. When you’re leveled with it, stand on the platform. You will notice two crystal switches on your left and right: one on the lower platform, the other on the higher one. As the platform descends, shoot the switch with an arrow to your left. Then, as it ascends, quickly fire an arrow to the right-side switch. Doing so will lower the northeastern platform carrying a chest. You have limited time, so be quick and snag the small key inside!
My Compass
Return to the black ball room and go through the northwest passage that’s open. Here, you’ll battle a wave of slimy enemies. This is an easy fight; each one only takes one sword hit. Defeating them reveals a chest on the above platform nearby, and also unlocks the south door. Head through the south door, ascend the stairs, enter the north door and then open the chest to obtain the Compass.
Eastern Palace – 2F
With your key and Compass in hand, return to the flowing balls room and unlock the north door with the small key. This leads you to 2F and a battle against some small Armos statues. Step on the central switch to trigger the fight and swing your sword like no tomorrow! Winning the battle will unlock all the doors around you, and also spawn a green portal. The portal takes you back to the entrance of the Eastern Palace; it wouldn’t be a bad idea to take the shifted path and save your game. When ready, re-enter the portal to return to 2F and enter the east door.
Shield Yourself
Numerous arrows fire from the walls in this corridor. Use your shield to prevent from getting pierced. Work your way towards the stairs and to reach the higher walkway. Follow the path down wielding your shield. At the end, step on the tile to open the south door. Hop down and proceed through.
Tricky Crystals
Several crystal switches are present in this room. Hitting each one has a different effect; the lower-right switch will raise the eastern platform you can ride on. This is tricky though – you’ll need to fire an arrow from a slanted position to hit it. If done correctly, the eastern platform will raise. Hop onto it, and when it ascends, fire an arrow to the northern switch to unlock the east door.
Like Clockwork
This hall contains four crystal switches on the central platform, as well as arrow booby-traps and two moving ledges working clockwise. Pounce on one of the platforms and equip your shield to avoid being shot by an arrow. As you move along the edges of the room, fire your arrows with good precision and hit the four switches in the center. Nailing all four will reveal a chest holding another small key.
More Switching
Go back left one screen to the multiple crystal switches. Ride the platform up and follow the higher path by going left. To the north lies a large door with a giant keyhole. You don’t have the correct key yet, but you can hit the crystal switches on the sides of the large gate. Doing so raises another platform; this time to the west. Run over and defeat the mini Armos, then hop onto the western platform. The platform allows you to reach the locked door on the west side. Unlock it with your small key.
Bad to the Bone
You are pitted against some skeleton knights in the western corridor. These foes have a tendency to leap backward as you try to swipe them, so corner them against a wall. Three hits for each enemy should do. When clear, the northern ledge will descend and allow you to open the large chest. Open it to claim the big key.
To the Boss’s Lair
Once you acquire the big key and defeat the skeletons, a door from the higher level opens in the hall. Ascend the stairs and head through the passage. Smack the crystal switch inside to reveal another crystal switch in the boss hall. Return there, ride the western platform up and then nail the crystal switch on the pillar. Performing this will rotate the central platform; unveiling the true entrance to the boss chamber. Use your big key and unlock the large gate.
Twisted Wizard
In the boss chamber, you’ll witness a cinema and encounter Yuga performing his dark magic on Osfala. It won’t be long until the sage is transformed into a painting like Seres! Yuga won’t flee this time, however; he instead challenges Link to a one-on-one battle.
BOSS! YUGA
Yuga is quick and will morph into the walls as you get close. He changes position frequently. On top of that, a deep pit rests in the central floor of the chamber, which you can fall into. Keep yourself on the move and watch the wizard morph from the wall. When he appears, you’ll have the opportunity to hit them with an arrow. Piercing his body will stun him momentarily, so go in and strike as many sword hits as you can before he floats away. Take note: Yuga will appear from different locations, but you can still fire an arrow diagonally for a shot!
Yuga has two attacks you should worry about. With the first, he summons his knights after you. This is a great chance to snag any health you need when you defeat them, but you should use caution and avoid falling in the process. The other one – and more deadly threat – is his fire waves. Yuga will cast a series of fire from the outer edges of the room. This can also knock you off your feet! Do NOT stand still; instead, run along the room clockwise (or counterclockwise) to avoid damage.
A Beautiful Portrait
When you inflict enough damage to Yuga, another cut scene will take place. Yuga will deploy his evil magic on Link and transform him into a picture! It looks to be the end of our hero, yet Ravio’s Bracelet proves useful and frees Link from becoming a wall decoration. This wins you the ability to merge between walls as a portrait and gain access to new areas. To merge, approach a wall and press A. This button also disables the ability. Take note this drains your power meter and grants you limited time to transform.
Like Paper
Grab the full Heart Container and test your new ability. You can slide through a crack in the wall to the left leading outside with your merging ability. Snag all the Rupees here and be sure to pick up the power potions on the patio that refill your power meter. Now merge back into the wall and return to Yuga’s room. Another crack can be seen on the right side that you can fit through. The right path leads to another patio, and allows you to descend to the lower platform. Working to the eastern platform on 3F holds a chest. Inside is a Silver Rupee worth 100 big ones!
2F’s Outer Section
When you’re done fiddling around, merge back to the western side to discover a lift platform. Ride it down to 2F. The same concept applies here; use your merging ability to get across each obstacle (timing is everything). It’s worth noting there’s a Purple Rupee located on the northwestern ledge on 2F. Again, you need to slip in the walls to reach it. Once you’ve reached the southwestern ledge of 2F, slip into the crack to return to the palace’s interior on 1F. If you desire additional loot and chests, check for more cracks in the walls and merge into them.
Exit the Palace
Upon exiting the Eastern Palace, you’ll be greeted by Sahasrahla and be treated to another lengthy cinema. It’s apparent that something big is happening at Hyrule Castle. All along, that special charm given to you by Zelda was the Pendant of Courage. Save your game and listen to Sahasrahla’s info on the other pendant’s whereabouts (both are marked on your map). You’ll need the other two treasures to claim the Master Sword and break the seal casted on Hyrule Castle. Sound familiar?


