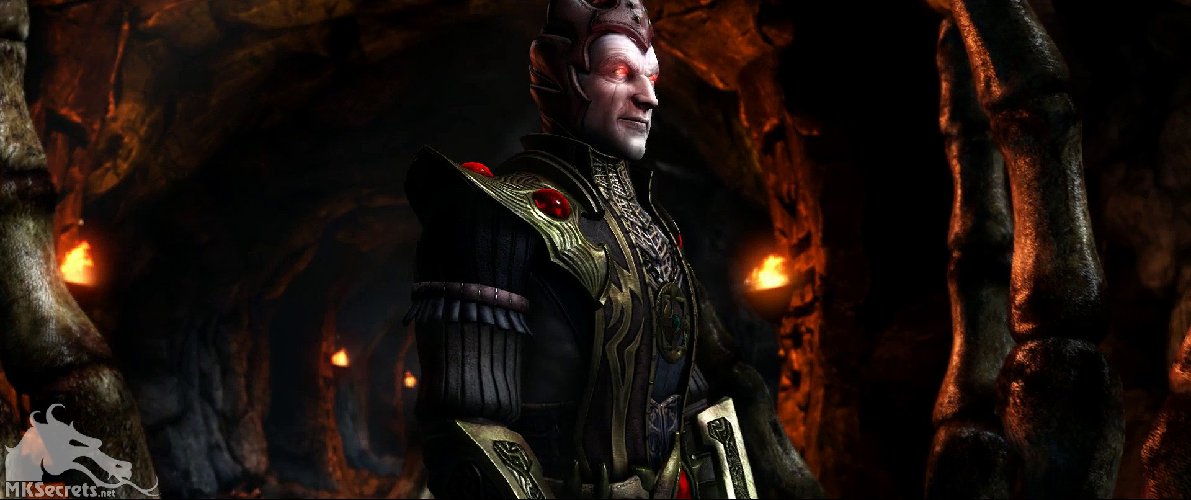
Shinnok is a character that relies more on his super meter than almost any other character in Mortal Kombat X. Most of his combos require meter to get decent damage, and he also needs meter to stay safe after many of his combos. The Bone Shaper variation gives him an overhead/low mix-up and a lot of range, while the Necromancer variant offers a few decent zoning options. In the Impostor variant he can steal an opponent’s special move and gains an aerial teleport, but most consider this to be his weakest variation.
Notation Key
PlayStation/Xbox
1 – Square/X
2 – Triangle/Y
3 – X/A
4 – Circle/B
Charging Shoulder
Notation: Back, Forward+3
Enhanced: Yes, with armor.
Shinnok’s Charging Shoulder stops just short of covering the entire length of the screen and works well for punishing attacks from that distance that would otherwise be safe. It also works well to end combos. The enhanced version (Krushing Shoulder) inflicts more damage, has armor and you can combo after it if the opponent is cornered. Both versions are not safe if the opponent blocks, but this is Shinnok’s only option for an armored attack after getting knocked to the ground.
Hell Sparks
Notation: Down, Back+2
Enhanced: Yes, but no armor.
The Hell Sparks consist of three fireballs that shoot upward from the ground in rapid succession. They cover the area directly in front of Shinnok and extend to nearly full screen. If these are blocked a smart opponent can punish Shinnok. After any of the fireballs you can press Block to burn one meter and launch the opponent into the air for a combo if it hits. If it’s blocked Shinnok is not only safe, but has advantage to continue offensive pressure. The enhanced version (Hell Blast) offers the same options but executes a little faster and inflicts more damage. This special move is best used to end combos to make combo string safe with Hell Blast if you have meter to burn.
Amulet Strike
Notation: Back, Forward+1
Enhanced: Yes, but no armor.
At first glance the normal version of the Amulet Strike may not seem to have much use. The range is a little less than half a screen length, it doesn’t inflict very much damage, and it’s not safe if an opponent blocks it. However, what it does do is absorb an opponent’s projectile attack. You have to time the Amulet Strike correctly, but it will completely cancel out an opponent’s projectile instead of passing through it like most other projectile attacks. It will only absorb a single projectile so enhanced versions that shoot multiple projectiles will still get through.
The enhanced version (Amulet Curse) has even less range, but the same absorbing effect. It also gives Shinnok significant advantage if it’s blocked. You can cancel many of Shinnok’s combos into the Amulet Curse to maintain offensive pressure if you’re willing to spend the meter.
The Devil’s Hand (X-Ray)
Shinnok’s X-Ray is very similar to most other X-Ray attacks in Mortal Kombat X, but it tracks the opponent and comes up right under them which makes it a little easier to connect. You can combo into it to guarantee it will hit, but Shinnok is a character that relies quite a bit on meter in order to keep himself safe and to get decent damage from his combos. Enhanced special moves should always take priority over The Devil’s Hand unless using the X-Ray will finish off an opponent and you can guarantee it will hit.
Basic Strategy
Shinnok is a character that relies almost entirely on the attacks he gains from his variations. His basic attacks and combos that are universal don’t add up to much. He has to use meter to stay safe and does not have a good overhead or low attack that can be used as a mix-up. In fact he doesn’t have any low attacks that start a combo and not a single standalone overhead in his universal move list.
Use the Dark Magic combo (1,1,2,3) as you main poking string of choice at close range. The last hit is an overhead, and if the opponent blocks the combo is safe against most characters in the game. If the combo connects, cancel into a special move after the third hit to maximize your damage. The Immense Power combo (3,1,2) is very similar in that many characters have difficulty punishing the combo if it’s blocked.
While the Divine Power combo (Forward+2,2) is not safe if the opponent blocks, it covers a lot of range and you have plenty of time to determine if it hit or if the opponent blocked. If it hit you can cancel into a special move for additional damage.
The Shin Kick (Back+3) is a decent low attack, but it doesn’t lead into anything. You can take a risk and cancel it into a special move for a bit more damage, without an overhead attack to make an opponent stop blocking low, this won’t get you far.
Impostor Variant
In the Impostor variation Shinnok gains two special moves, Mimicry (Down, Back+1) and the Air Tricky Portal (Down, Up in the air). The Air Tricky Portal is essentially an aerial teleport. The default notation places Shinnok directly behind the opponent at whatever height the teleport was initiated at. You can press Back immediately after the notation (Down, Up, Back in the air) to teleport directly in front of the opponent.
This is useful for avoiding projectiles and other attacks in mid-air, but if the opponent isn’t in the middle of an attack it’s very easy to hit Shinnok as soon as he reappears. You can attack as soon as you appear, which works well if you use the Air Tricky Portal to avoid an anti-air attack, then follow the teleport with 1 or 2 in the air to get a Neutral Jump Punch that hits as an overhead attack and bounces the opponent off the ground for a juggle combo follow-up.
Mimicry gives Shinnok access to one special move from the opponent and a small damage increase for a short time. You can combo into it or use it outright, but if it’s blocked Shinnok can be punished. Some of the special moves you steal are better than others, but we’ve got a full list for you here!
Special Moves Table
Bone Shaper Variant
Shinnok gains quite a few attacks, combos and special moves in the Bone Shaper variation. For basic attacks he gains the God Strike (Forward+2) which reaches about halfway across the screen and leads into the Deity combo (Forward+2,2,1+3). Unfortunately, if the opponent blocks it stops at the God of Darkness combo (Forward+2,2) which is not safe. It’s best to use God Strike by itself unless you’re sure it will connect.
The Banishment combo (Back+3,1,Down+2) is one you should be using often in this variation. It ends with an overhead that’s safe if the opponent blocks. If it hits you can continue into the Konquer All combo (Back+3,1,Down+2,Up+2), but the last hit is not safe so make sure you only finish it if the first part of the combo connects. The Fall From Grace (Forward+2,1,Down+2) and Brute Strength (Forward+3,1,Down+2,Up+2) combos function the same way. If the opponent is blocking stop at the Fall From Grace combo, and if it connects continue into the Brute Strength combo.
Here’s where Shinnok finally gets to play with an overhead/low, 50/50 situation. One of his new special moves in the Bone Shaper variation is the Scepter Slam (Down, Forward+2). This attack hits low and covers almost the entire length of the screen. If it’s blocked Shinnok can be punished, but you can use it to punish opponents from a distance, or as a mix-up at the end of the Banishment or Fall From Grace combos. The last hit of both combos is an overhead. If you use the Scepter Slam after the second hit, that gives Shinnok a low instead of an overhead like the opponent will expect. The enhanced version (Scepter Launch) has armor and launches the opponent for a juggle combo and even more damage.
This should be your primary mix-up in the Bone Shaper variation. You should be going for the Fall From Grace or Banishment combos often, mixing up the last hit with the Scepter Slam or Scepter Launch to keep your opponent guessing. Start with the normal combos first to condition your opponent to block the overhead. If they block the low Shinnok can be punished so you want to do everything you can to make them want to block the overhead instead. Hit them with it a few times and they should stop blocking low.
Shinnok’s other new special moves in the Bone Shaper variant are the Scepter Strike (Down, Back+1) and Dark Beam (Back, Forward+1). The Scepter Strike is an unblockable attack, but it’s fairly slow to execute and you can’t combo into it from a standard combo like you can other special moves. The enhanced version (Scepter Quake) inflicts more damage and causes a hard knockdown. You can land an unavoidable Scepter Quake after hitting a Krushing Shoulder (Back, Forward+3+Block) for 25 percent damage. If you have the meter to spend, this is a great way to end a match.
Dark Beam is a projectile attack that covers the entire screen and hits mid so your opponent can’t duck under it. It’s one of the faster projectile attacks in the game and works well if you’re trying to zone out an opponent from across the screen. The enhanced version (Dark Blast) inflicts more damage and knocks the opponent down. Neither projectile is safe if the opponent blocks it at close range or has a way to punish Shinnok from a distance so be careful when you’re using it against characters such as Scorpion or Ermac who have teleports and full-screen attacks.
Necromancer Variant
Shinnok gains three new special moves in the Necromancer variation, Summoned Fiend (Down, Forward+4), Judgment Fist (Down, Back+1) and Devil’s Flick (Back, Forward+2). This is Shinnok’s best zoning variation because all of these attacks can be used from across the screen.
Summoned Fiend calls forth a hand from the ground directly in front of your opponent. It hits mid as it grabs the opponent, and it’s not safe if the opponent blocks and has an attack that can reach Shinnok from across the screen. You can combo into the attack to make sure it hits, and the enhanced version (Summoned Slam) bounces the opponent off the ground so you can follow with a juggle combo.
Devil’s Flick works in a similar manner to Summoned Fiend. Shinnok summons a hand that appears directly in front of the opponent and flicks them backward. This attack is safe if the opponent blocks so you can use it to end blocked combos. The enhanced version(Devil’s Backhand) gives Shinnok a small advantage if the opponent blocks and causes a hard knockdown if it hits.
Finally, Shinnok gains the Judgment Fist, which is similar to Goro’s Stomp special move. Shinnok summons a hand from above the opponent, which slams down on top of them. This attack is unblockable, but it’s also rather slow and easy to avoid. A smart opponent will watch Shinnok’s hands to determine when the attack is coming and jump or dash to avoid it. The enhanced version (Judgment Smash) inflicts more damage. Use either after a hard knockdown to make it more difficult for your opponent to get up off the ground.
Sample Combos
Impostor
28 percent – 1,1,2, Hell Sparks (enhance the last hit), Forward, Forward, 1,1, Hell Sparks
Bone Shaper
30 percent – 1,1,2, Scepter Launch, Neutral Jump Punch (1 or 2), Forward+2,2,1+3
Necromancer
32 percent – 1,1,2, Summoned Slam, Neutral Jump Punch (1 or 2), Jump Forward+1, Forward+2,2,4, Charging Shoulder
Fatalities
The Grinder – Down, Back, Forward, Down, Up (Mid-Screen)
Flick Trick – Hold Block, Down, Up, Down, Up, Release Block, Press Block (Mid-Screen)
Brutalities
Gory Hole – Kill the opponent with Amulet Strike (Back, Forward+Hold 1), holding 1 during the attack.
Have A Nice Day – In the Bone Shaper variation, with one bar of Super meter, kill the opponent with the Deity combo (Forward+2,2,1+3).
For more information on Mortal Kombat X, head over to Prima’s free guide or directly to tips and combos for Goro or Quan Chi.