Beat Thief and unlock all safes then be sure to unlock the complete Prima Thief digital guide and become a master Thief!
Thieving Challenges
Remain Undetected – 350 G
Distract 4 Threats – 200 G
4 Combat Takedowns – 110 G
Lift All Loot Items – 300 G
You must complete Chapter 5: The Forsaken to unlock this client job from Vittori.
Objective 1: Free Ysabella
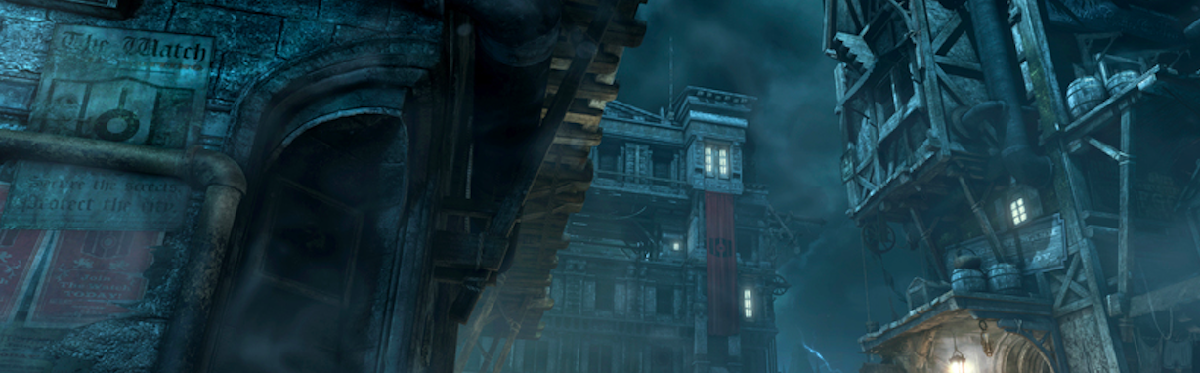
There are two ways into this job. You can enter from the loading area or the underground passage below Market Street. The most common way to enter is the loading area, so that’s where our walkthrough will begin. This is also a job where in order to get all four Thieving Challenges, you must take an aggressive approach.
The first thing you’ll see is an Eelbiter trying to get into a wall safe. Too bad he isn’t as good as Garret at these things. Grab your Blunt Arrows and fire one to distract him. Just hit the wall around him. Do this to the same Eelbiter four times to complete the Distract four Threats Thieving Challenge and pocket 200 G.
With that out of the way, sneak up on the lone Eelbiter and steal his three coin purses. If you’d rather wait, put a Broadhead or Sawtooth Arrow in his leg, finishing him off with your Blackjack. You can pick up his three coin purses when he’s down, at the same time getting one of your four combat takedowns. With the room clear, go about looting it, making sure not to miss the wall safe.
Go north, opening the door to see three Eelbiters in the area. One is trying to open a door, one is doing a patrol around the balcony and the third is in the north doorway. Wait for the patrolling Eel to finish his conversation and move to the east side of the balcony. Hit him with a Broadhead Arrow in the leg and finish him with your Blackjack. That’s combat takedown two of four. As long as he’s on the east balcony, nobody will hear the commotion.
Move to the west where the Eelbiter is fussing with the door. Watch out for broken glass on your way there. You can pick his pocket or just shoot him in the leg with another Broadhead Arrow. Finish him off with your Blackjack for another combat takedown while remaining undetected. If you didn’t pick his pockets, grab the coin purses from his body on the ground.
Go through the locked west door that the Eel was trying to get in. Loot the room completely before you backtrack and head into the north room. There’s an Eelbiter talking with a caged bird. Once he moves to the west wall, put a Broadhead Arrow in his leg and then sneak past the bird to finish him off with your Blackjack. If this is done near the west wall, the bird won’t kick up a fuss. This will complete the four Combat Takedowns Thieving Challenge, worth 110 G.
Loot the room before exiting and head down the stairs to the east. There are two Eelbiters talking on the first floor. Wait for one to go on patrol and then sneak up on the other. Thief’s choice here: pick his pocket and knock him out, or knock him out and loot his body. Either way, hide the body when you’re done. Sneak up behind the Eel who went on patrol and take him out as well. Go about looting the area now. Grab the City Heritage Plaques (15/16) – Watch Station from the wall to snag the first of two Collectible Loot Items in this job.
When you’re satisfied that the area is picked clean, go through the east door. Be careful, there is an Eel searching the room. Sneak up behind him and perform a knockout when he’s not looking. Loot the area, making sure to check the chest for Whiteridge’s Duty (5/6) – The Porcelain Lady. That is the last of the Collectible Loot Items on this job. There’s still the business of rescuing Ysabella, though.
Head down to the basement where the cells are. Use the key from the upstairs office to open the door. If you don’t have the key, time to head back up to the top floor and grab it. When you enter, go left to an open cell and grab a poppy. Don’t loot the cells, since they’re empty except for Ysabella and a couple Eelbiters who you do not want to meet. Ysabella’s cell is on the west side, so go open it for her.
Objective 2: Escape the Watch Station with Ysabella
As you begin to move Ysabella towards the exit, two more Eelbiters head to the basement level. You can handle this in any manner you like. We took a position facing the east door that we entered the cell blocks through. As the Eelbiters make their way in, take them out with a Broadhead Arrow to the head. You can also go for body shots if you use the Sawtooth Arrow. It should kill them, but even if it doesn’t, they are easy prey. Just stick to the shadows and don’t let them see you.
Now that the area is clear, go back and pick up Ysabella. Carry her out of the cell block and to the locked north door. Pick the lock and make your escape to finish the job.


