This feature will show you where to find the eight basic Bomb Diagrams in The Witcher 3: Wild Hunt. We will also talk about each bomb, letting you know which is best for different circumstances.
For instance, there are a lot of different types of enemies Geralt must deal with on his travels. Each one of these enemies has strengths and weaknesses. Generally, one of their weaknesses will be to a specific type of Bomb. If you deploy this Bomb during combat, the chance of defeating your foe will greatly increase. If you’re playing on a lower difficulty level, this advantage may not be needed, but if you’re the crazy kind playing on Death March, you’ll need every advantage you can get your hands on.
All Bomb Diagram Locations

It should be noted that each Bomb can only be made if you find the Diagram that shows you how. The good news is that all eight Diagrams are found in one location. The bad news is that each Bomb has both an Enhanced and Superior variation, and those are not all found in the same location. Today, our focus will be on the eight basic Bombs you can craft, and what they can do for you when you’re in a fight.
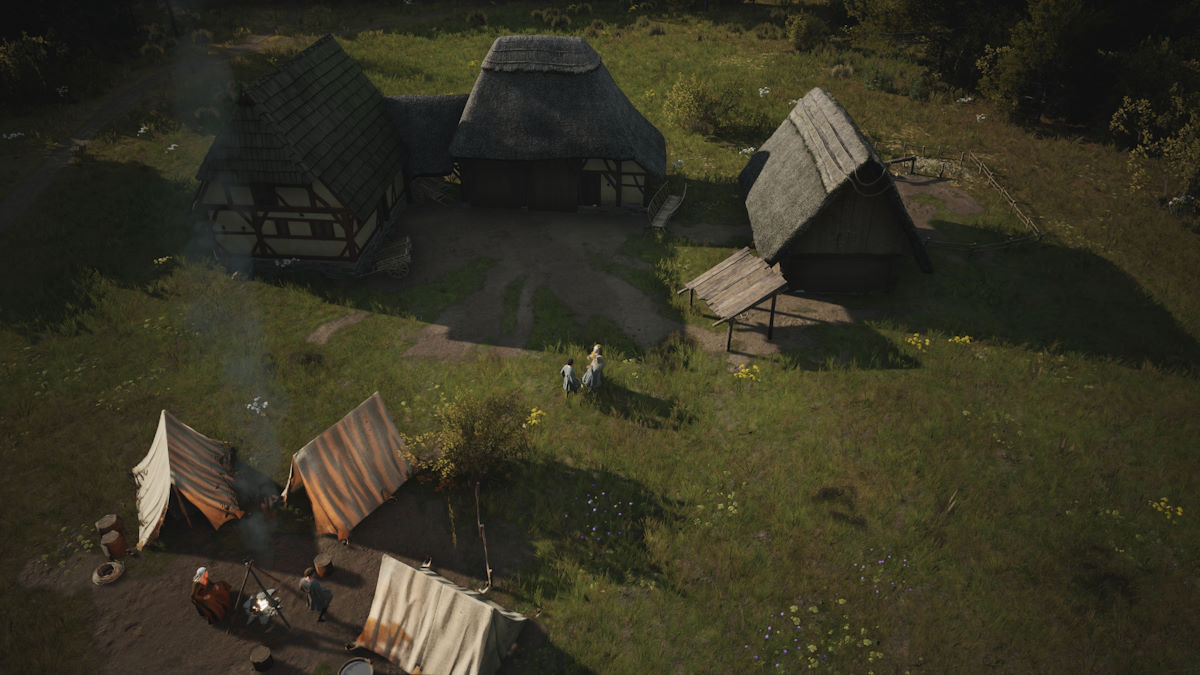
To get all eight Diagrams, fast travel to the Herbalist’s Hut Signpost to the northeast of Oxenfurt. If you do not have that Signpost unlocked, fast travel to the Novigrad Gate and head northeast. If you don’t even have that Signpost, go northeast from Oxenfurt and you’ll be on the right track. The exact location of the Herbalist’s Hut is shown in the image above.
- The Witcher 3 Walkthrough
- The Witcher 3 Griffin School Gear
- The Witcher 3 Cat School Gear
- The Witcher 3 Bear School Gear
Once you arrive, speak with the Herbalist and buy all eight Diagrams for the basic Bombs you will need on your journey. This includes the Dancing Star, Devil’s Pufball, Dimeritium Bomb, Dragon’s Dream, Grapeshot, Samum, Moon Dust and Northern Wind. In total it will cost you about 2,000 Crowns to make the purchase, but the amount of destruction you get for this investment makes it well worth it.
Dancing Star
One of the most common uses for the Dancing Start is to destroy monster nests, and the valuables that you loot from those nests will pay for all eight of the Diagrams you purchased in a big hurry. When it goes off, the Dancing Star will produce a fiery explosion, meaning it will generally work well against anything susceptible to your Igni Sign.
Devil’s Puffball
The Devil’s Puffball is a Bomb that releases a cloud of poison when it detonates. You can’t use it to take out monster nests, but it is particularly effective against Cursed Ones, such as Berserkers and Werewolves. You may not run into many of these enemies, so you could probably get by keeping a few of these Bombs in your inventory rather than in your pockets and ready to toss.
Dimeritium Bomb
The purpose of the Dimeritium Bomb is to block the magic abilities of the monsters you will face in The Witcher 3. You should deploy it when fighting against Elemental enemies, such as Djinns, Earth Elementals, Fire Elementals and even Gargoyles. This should help even the playing field when you meet them, and you’re going to meet plenty when you hit the Skellige Isles.
Dragon’s Dream
The Dragon’s Dream Bomb can be used against a variety of foes, but it works best when paired with the Igni Sign. Dragon’s Dream releases a cloud of gas that will explode when ignited. Find a beast vulnerable to fire, then hit it with the Dragon’s Dream and Igni combo. You could also throw this bomb at an opponent with fire near them, such as a Fire Elemental.
Grapeshot
Grapeshot is one of the more commonly used Bombs due to the shrapnel damage it does when it goes off. You’ve likely used it to destroy more than a few monster nests, but it can also be deployed against the Hybrids you come across, such as Griffins and Sirens. Try knocking your enemy out of the sky using Aard, then hit it with a Grapeshot Bomb for maximum effect.
Samum
The Samum Bomb will also help when trying to destroy a monster nest, but there are enough options to do that, so save it for when you really need it. Specifically, you will find value in the Samum Bomb during Act 3, in main quests like Cold Contempt and A Cut Above the Rest. Use this Bomb to blind Imlerith, and then hit him with some fast attacks.
Moon Dust
Players will find value when using the Moon Dust Bomb against Specters. This type of enemy includes Hyms, Nightwraiths, Noonwraiths and anything else that transforms. That’s what this Bomb does – it stops your opponent from transforming, allowing you precious time to cut it down. Try using it along with your Yrden Sign and you should find Specters easy to defeat.
Northern Wind
The final Bomb is the Northern Wind. When deployed it will freeze your enemy. Blows landed on a frozen enemy will cause more damage, so effective use of this tool can have positive effects. It can be used against certain Hybrids, Elementals and Necrophages. As you should be doing with any Bomb, be sure to consult your Bestiary to see what works best.
As we mentioned, there are three Diagrams for each Bomb, and we only covered them in their most basic form. As you travel, slay and loot, you’ll find some of the Enhanced and Superior variations, which will no doubt help you survive the deadly enemies of the Northern Realms.