
Rise of the Tomb Raider – Abandoned Mines, Find the Crafting Tool, A Father’s Sword Relic
Explore the Abandoned Mines to find more submachine gun parts and the combat knife!
In this portion of Rise of the Tomb Raider, things start to get crazy for Lara Croft as she has to fight her way through a flurry of Trinity soldiers as her and Jacob try to make it out of the Abandoned Mines. Along the way you’ll find the combat knife, A Father’s Sword relic, more ancient coins and even another piece to the submachine gun.
Shortcut
Follow Jacob through the tunnel until it begins to collapse. Run straight ahead, following the path and turning when boulders fall to block your progress. Don’t worry about any of the soldiers you may see along the way, as they will not attack. This portion is strictly about running to the end.
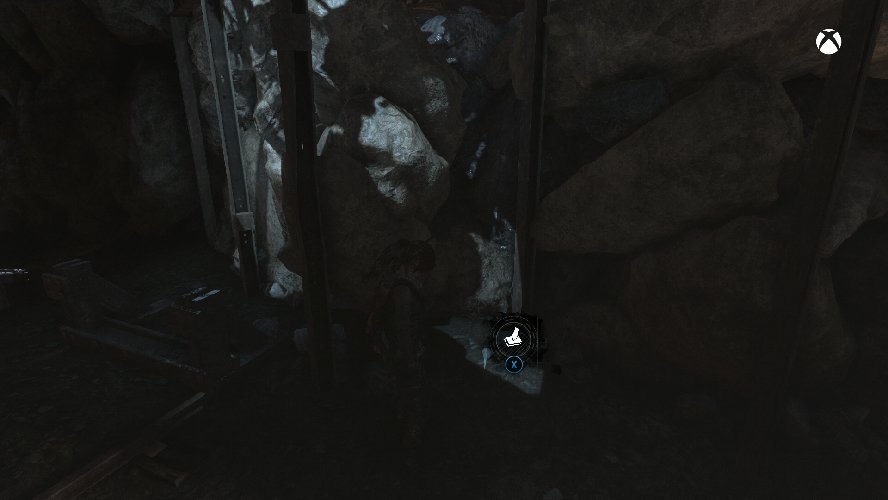
Once you reach the end of the running segment crawl through the small gap at the end of the tunnel to enter a room with three soldiers. One is on a ledge above and two more are on the far side of the room. If you wait a moment they will split up so you can take them out one at a time in a stealth-like manner, but you can always just gun them down as soon as you enter the room. The choice is yours, but once they’re all down, loot the ore from the walls, the mushrooms off the ground and the hidden item in the dirt in left corner (from your starting position).
Try to activate the lift to find that it doesn’t work. Instead, move the mine cart in the middle of the room all the way over to the wall, then jump up onto the platform above. Pick up the Combat Knife on the table, then cut the rope to drop the wooden boxes to the floor, clearing your path. Jump to the far side and cut the two ropes holding the elevator up.
Drop back down to the lower area and climb on top of the elevator (which is now on the ground). Jump over to the ice wall to the right of the elevator and latch on. Climb up to the top then jump back over to the elevator shaft and work around to the left. When you can’t go left any more, climb up a bit, then jump over to the ledge on the left.
Read the papers on the desk then head through the tunnel. Collect the Ancient Coins on the ground next to the first dead body in the corridor to the right and read the manuscript next to the second dead body. After the row of dead bodies to the left there are some loose stones on the ground. Jump over this area to avoid the trap, then continue up the stairs ahead to find a camp fire.
Examine the mural to the right of the fire, then head up the stairs and around the corner to find two enemies. On the stones here are mason jars which can be crafted into smoke bombs if needed. Take out the two enemies in this room, then loot the left wall to find a manuscript on the table, a salvage box and ammunition.
Swing around to the right to find several more enemies in the adjacent room. There’s an oil drum in the middle of the room which can take out several enemies when shot to make it easier on you. Take out the soldiers, then look in the loot crate to the left to find a Crafting Tool, with more loot scattered about the room.
Examine the manuscript to the left of the machine on the far side of the room, then take the zip line across the chasm. To the right there’s a wood platform sticking out into the chasm near a zip line. Jump from the wooden platform to the zip line to reach the truck, then quickly move to the left and over to the stone path before the truck falls.
There’s a rope attachment, a cart with another rope attachment and a cart filled with stones on this path. You need to run a rope between the rope attachments and knock the cart filled with stones off into the abyss. Once that’s done, reel in the rope cart then cut the rope so the cart goes flying into the truck and knocks it off. This rips the door off the shrine so you can enter after you get back over to it.
Head around behind the ice on the far side of the path, climb up onto the platform and take the zip line across the chasm. Follow the path into the room below to find a bevy of soldiers waiting for you. There’s a hidden coin cache right where you drop into the room, so don’t forget to go back and get it when the enemies are taken care of. Take down the soldiers, then loot the room and head to the far side to find a monolith behind the wall. Examine the monolith and the salvage basket behind it, then turn around and head down the stairs to the right.
As you slide down the stairs you need to jump over to the ice wall to avoid the spike trap at the end. Climb up the ice wall and go left when you hit the junction. At the end of the corridor is an item box sitting on top of the crates. Open it to find A Father’s Sword relic.
Head in the other direction, moving past the barricaded wall to the right (we’ll go back to that in a moment). In the far right corner there’s a hidden item on the ground. To the right is another loose stone that indicates a spike trap. Jump over the trap and collect the Ancient Coins on the ground to the right and the satchel straight ahead.
Go back to the barricade you passed before and use your rope to pull it down. Continue down the corridor and jump up into the alcove to the left to find a manuscript and a bit of loot. Keep moving down the corridor and jump over the loose stone in the ground near the end to avoid the spike trap (right next to the ice wall). Collect the loot basket at the very end, then climb up the ice wall.
At the top more soldiers await you. There are several on the ground floor, but one is perched high above to the far left. Take down the soldiers on the ground, then make quick work of the soldiers above before climbing up the ladder to get to the perched soldier’s location.
Open the locked item crate at the top to obtain a Submachine Gun part inside, then scramble up the wooden plank on the wall to the right. Read the map on the table to the right, then jump to across the gap and use the zip line to reach the crane hovering over the chasm.
Move around to the right and climb up to the top of the crane, then move down the makeshift walkway and over to the stone path to the left of the crane. Drop down to the lower area and push the cart with the rope attachment into the middle of the track so it’s in-line with the caldron hanging over the chasm.
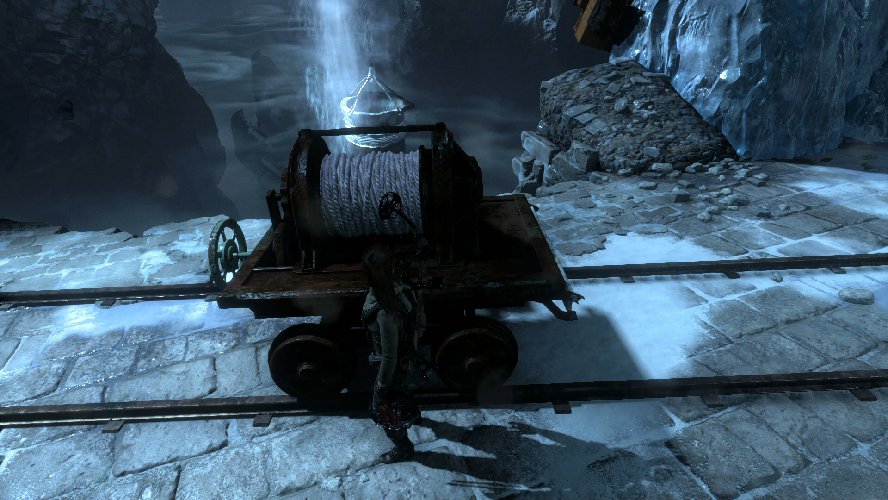
Stand between the rope attachment and the caldron and shoot a rope between them, then move around to the side of the rope attachment and turn the gear to maneuver the caldron into the waterfall. If you’re not lined up correctly you won’t see anything happen. Move back around to the other side of the cart and push it until the caldron starts to fill with water.
After a short cut scene full of destruction, run up the crane and jump over to the far ledge before the boulders crush you. You’ll have to jump again at the edge of the stairs to make it into the shrine.
Warming Up
Grab the two salvage boxes behind the statues, and the Ancient Coins by the statue in the middle of the room, then head down the stairs and to the left. Jump over the loose stones in the floor to avoid the spike trap and continue into the water ahead. Dive under the water and rapidly swim to the next point where you can come up for air. If you don’t press B repeatedly to swim faster you will have difficulty making it.
Come up for air then dive down again and rapidly swim to the next opening. Head up the stairs to enter the Geothermal Valley.
Continue on to the Geothermal Valley or head back to our Rise of the Tomb Raider game hub for more tips and tricks to get through the game.